Home Improvement Project Idea: Painted Fireplace Surrounds with Chalk Paint® by Annie Sloan
Stuck at home like all of us? Painted fireplace surrounds can immensely change a room’s look and be knocked out in a weekend or less…
Hey there, 2020 sure has been a wild ride, and we’re here with our first blog post of the year. Good gosh. Like many of you, we have been spending increasing amounts of time at home and assessing every nook and cranny for ‘improvements’ to pass time and stay in our own space. Sometimes these improvements are purely based off changing style preferences, and sometimes are crucial to the overall state of certain rooms and structures.
One such project is changing up fireplace surrounds and mantles! Whether wood, tiled, or stone, they can be painted to varying degrees and styles. That’s great news because here in Texas, some of our stone fireplace surrounds are looking seriously dated. Instead of ripping out the old tile or stone, painting them up can be done in a weekend (or even shorter)! Here are two easy-to-knock-out painted fireplace surround ideas:
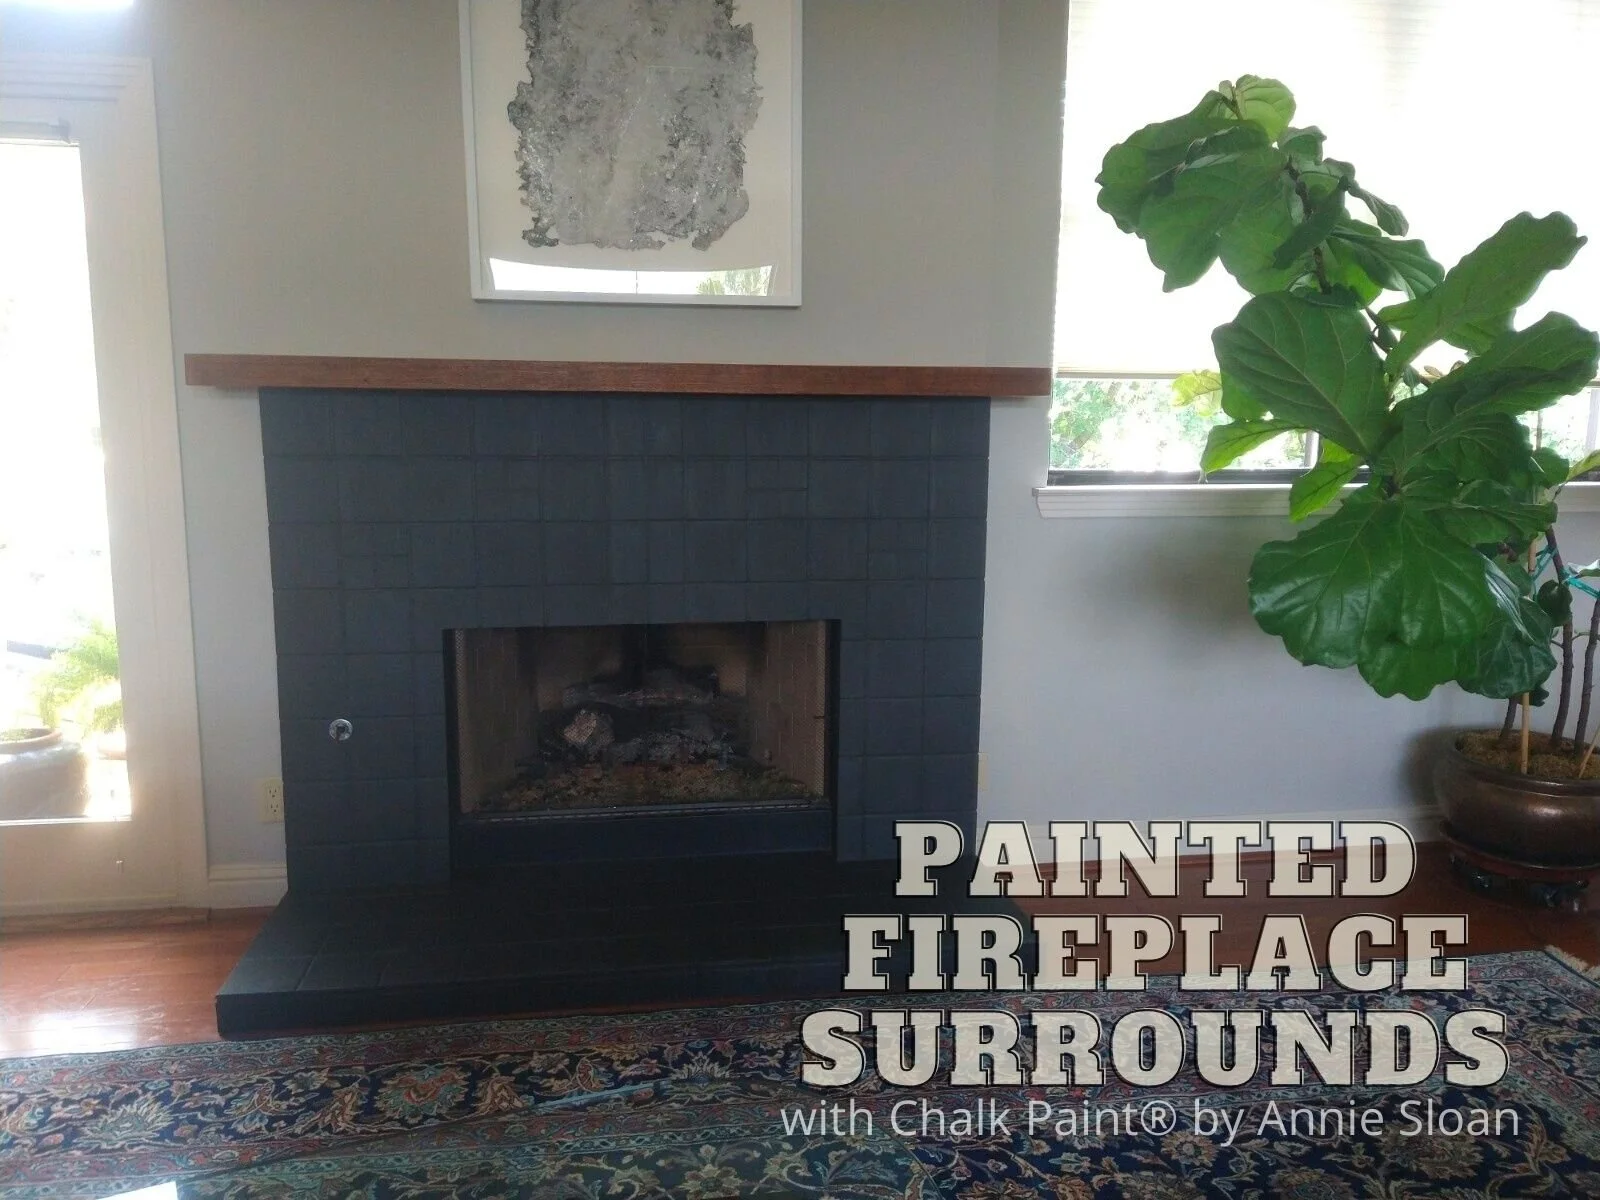
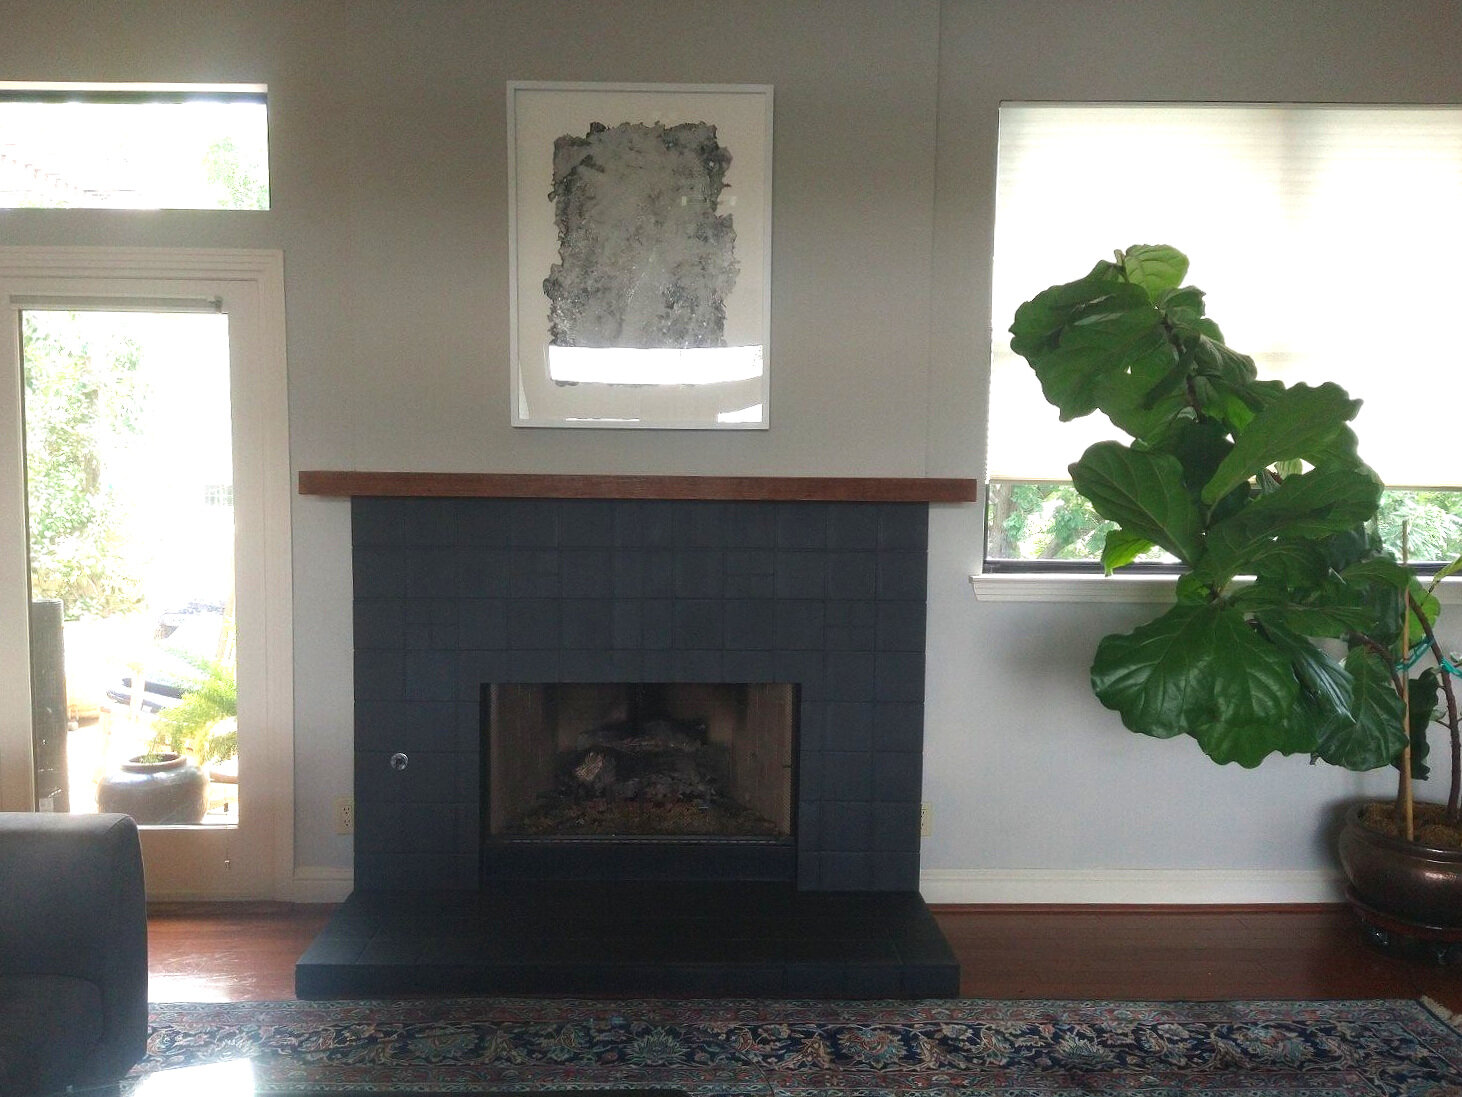
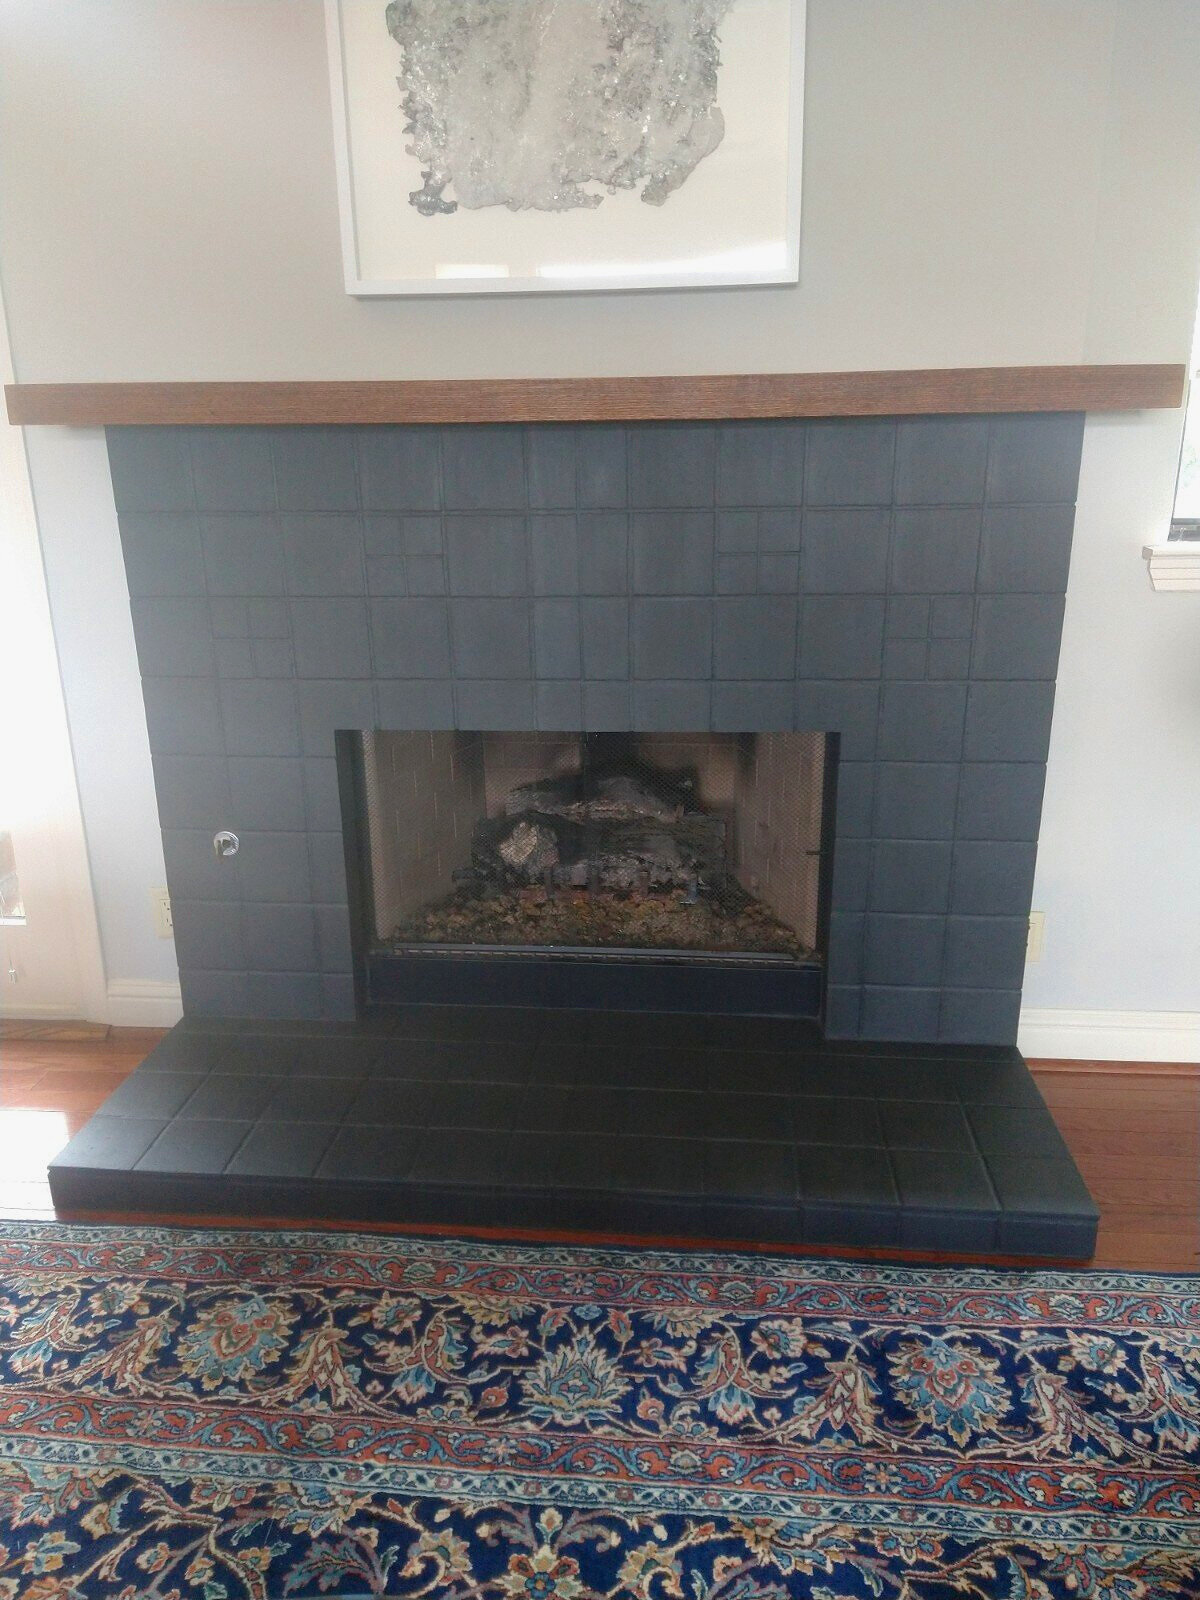
Complete Overpaint (Solid/Opaque Coverage, Over Tile and Possibly Even the Grout; Works Well on All Surfaces)- Chalk Paint® will cover both porous and slick-glazed tile, and certainly the grout as well (if it’s the wrong color, if it’s dirty, if you want complete-coverage and a knocked-back look). To paint, clean the tile first with a gentle eco-friendly degreaser (like Krud Kutter), nothing sudsy, rinse, and let dry; for porous tile, you may want to add 5-10% water to the paint to make it soak in very well, and for slick-glazed tile you may want to wait an extra long drying period between paint coats to prevent ‘double processing’ the paint (instead of a couple hours, wait several hours or even overnight between coats to allow an extra great bond to the tile). Apply as many paint coats as you’d like for desired coverage. You can certainly seal the paint, and Soft Wax often works best, just make sure that the surround doesn’t get too hot if a fire is lit!
Project featured from a Silk and Sage custom-work client, done with Chalk Paint® in Graphite with solid coverage, followed by Clear Wax
Washed Effect (Transparent Paint Coverage/ Showing Some of the Base Material and Color Through the Paint; Works Best on Porous Materials Like Unsealed Tile and Stone, and Dry/Raw/Worn Woods)- To create this effect, choose your Chalk Paint® color (white and grey washes are extremely popular these days due to being so neutral BUT you can do color washes too!) and dilute the paint with water between 50%-80% water (depending on how transparent you want the paint layer to be), and mix paint and water up together very well. Make sure your surface is either degreased or at least make sure none of the stone or tile is crumbling or degrading, brushing off dust and soot. Apply your paint wash with a good natural brush, working in sections. If you want to remove some paint from certain areas and reveal some of the underlying texture and colors, wipe some paint wash away with a lint-free cloth. If wiping away, a great tip is to keep a spray water bottle handy nearby and spritz the washed areas before wiping them, especially if the wash is absorbing and drying into the surface quickly. Add more layers once dried if you like! And again, you may certainly seal the surface when done.
Project shared with Silk and Sage courtesy of customer, J.M., done with Chalk Paint® in French Linen as a more solid base coat followed by a wash with Old White
We love these looks and hope you do too! We are constantly asked about such projects year-round, and always receive lovely status updates on how everything has turned out and lasted over the years. Another way to incorporate this look into other spaces of your home would be on tiled or stone backsplashes too (not inside a shower or constant wet spaces however). If you try this type of project then drop us a line and let us know how it’s turned out! Continue to shop with us using our no to low-contact options to maintain our health during these times.
Happy painting, stay safe and well, xoxo
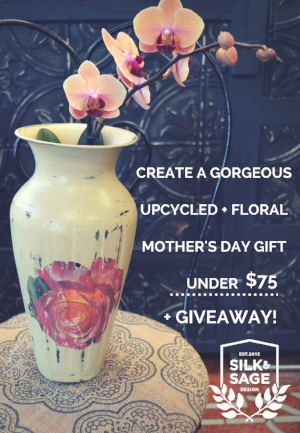
Create An Upcycled + Floral Mother's Day Gift Under $75! + GIVEAWAY!
We have a step-by-step tutorial to create the BEST Mother's Day Gift, which has upcycled and floral elements, for under $75! Enter our Mother's Day Giveaway while you're at it!
With Mother's Day right around the corner, we wanted to share a great idea for a simple gift that looks fabulous, and will make Mom feel special. Being involved in the creation of your gift makes it heartfelt, and with our tutorial you can create something similar for under $75! Of course these are general guidelines, so feel free to expand or simplify as much as you want! We'll also get into our Giveaway down below...
You'll need:
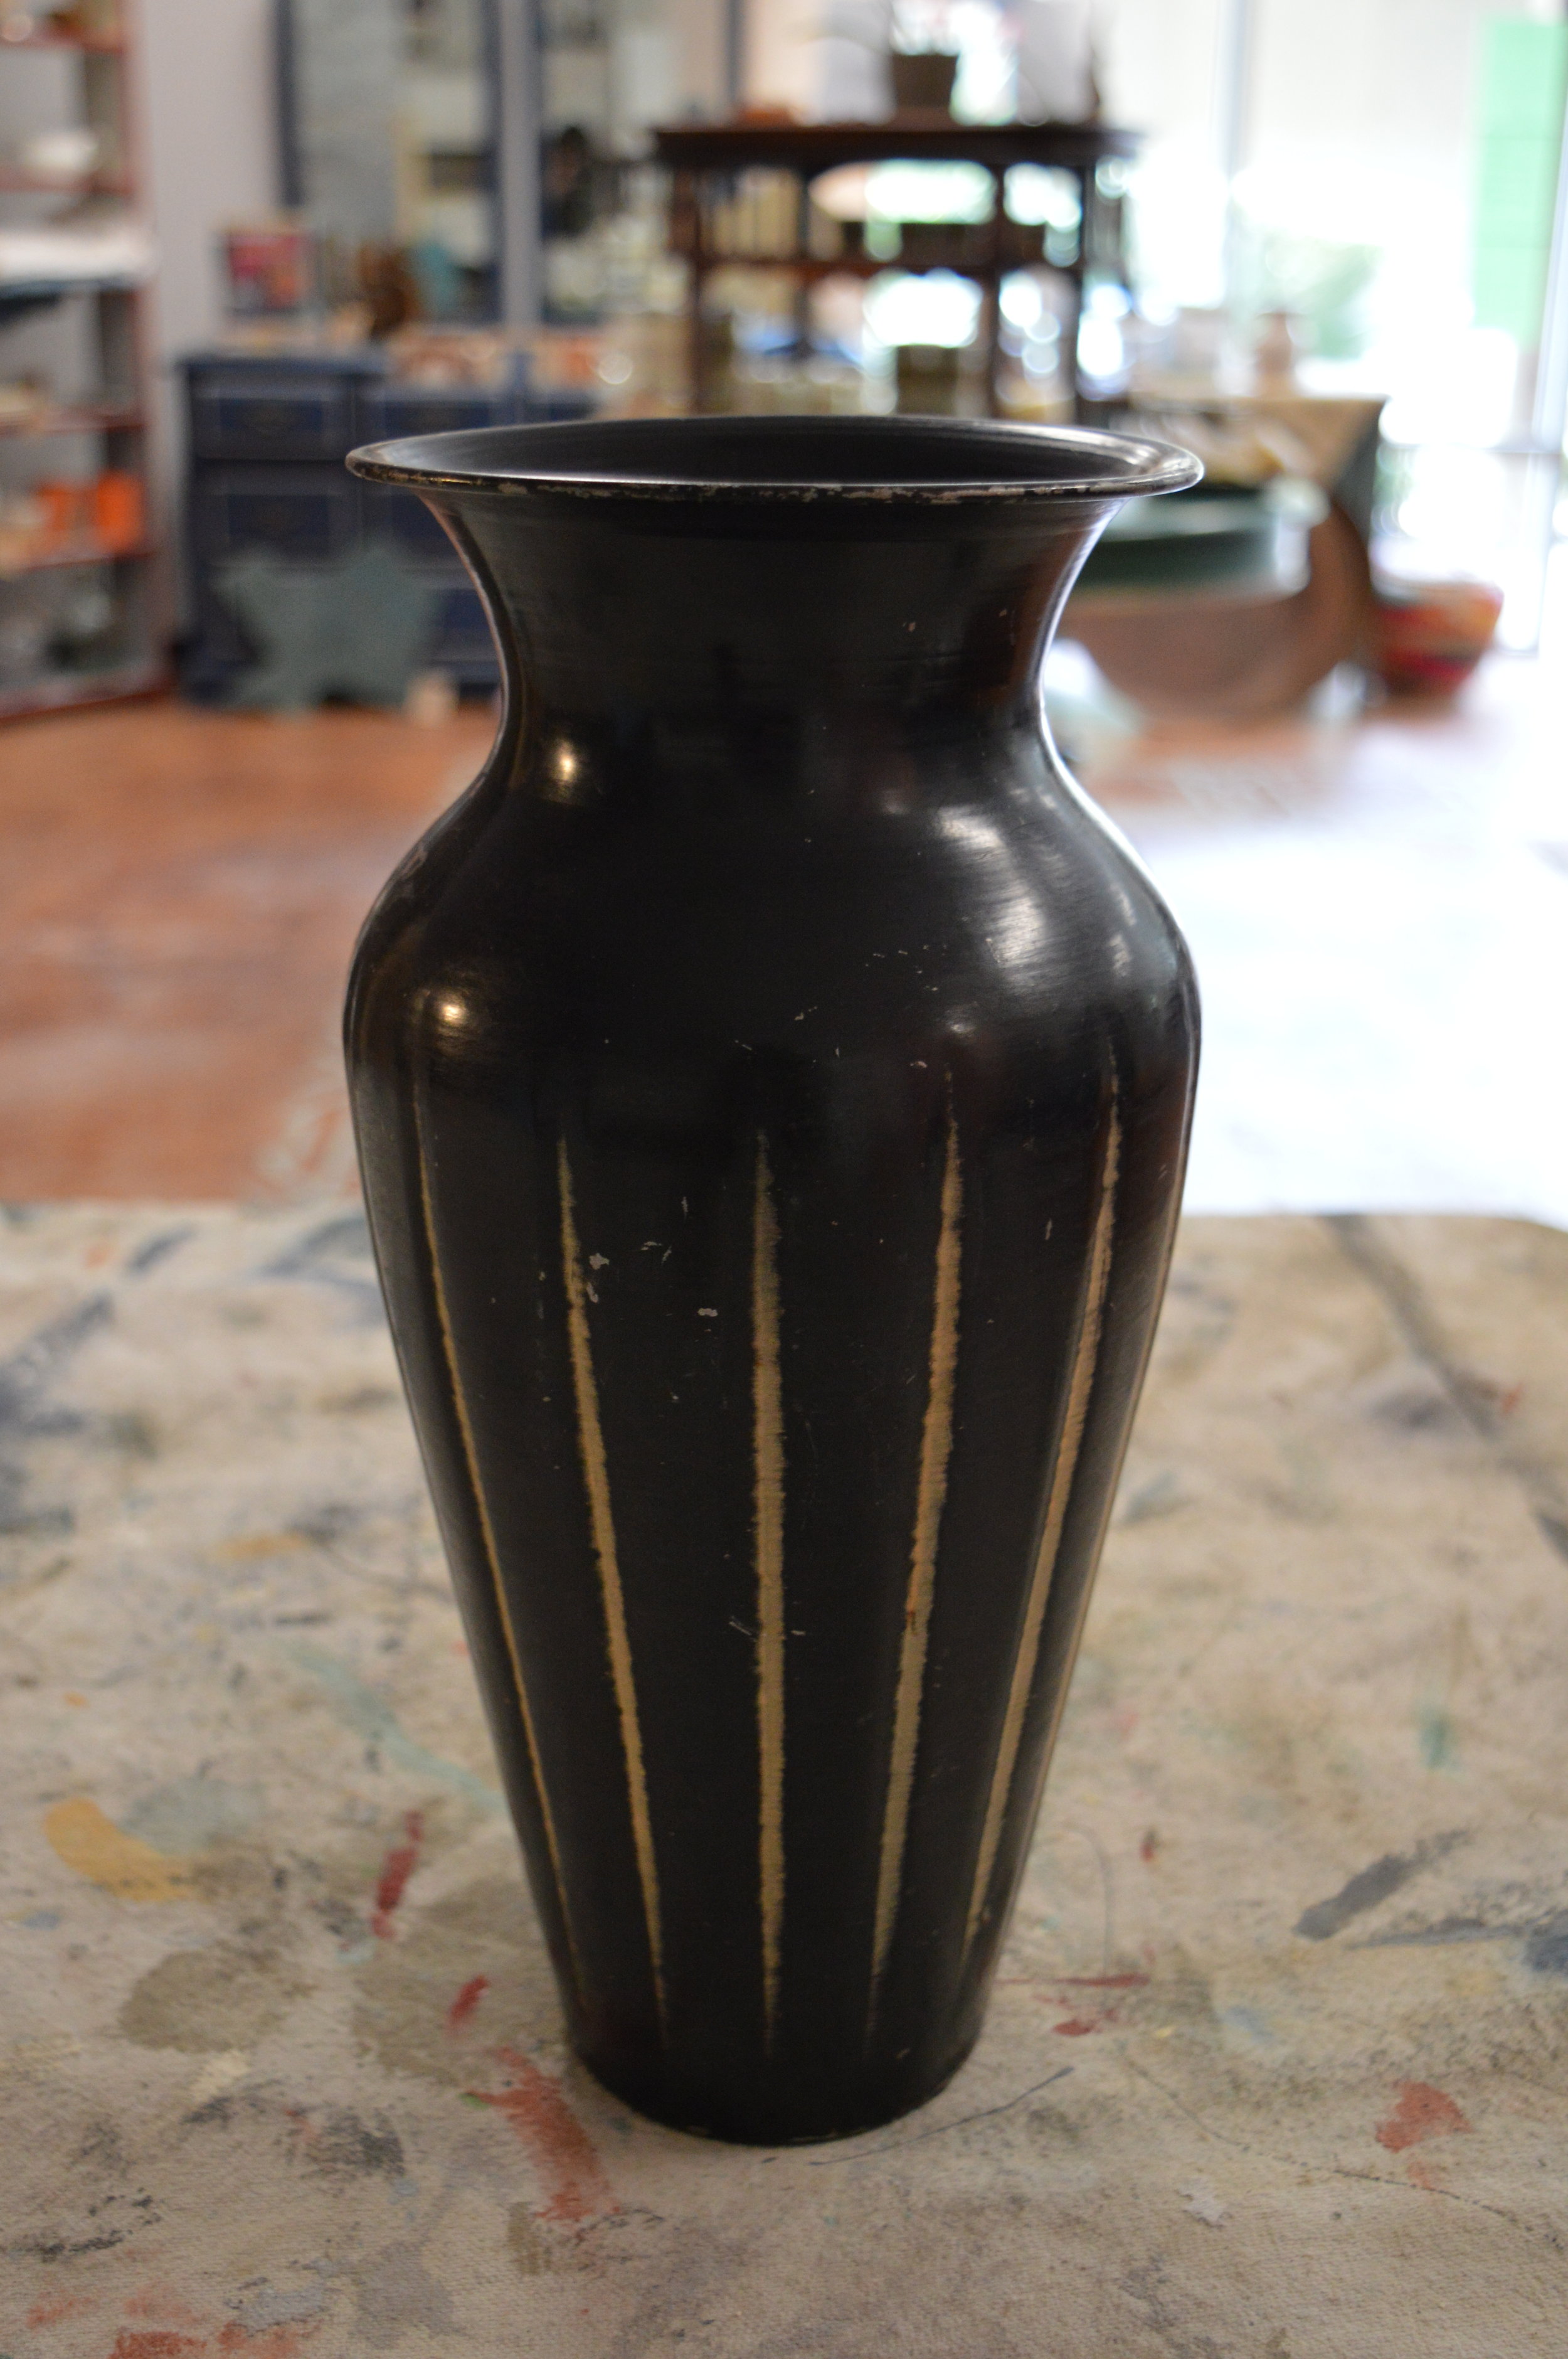
- One vase or container that's metal, glass, ceramic, wood- $0-$5 (We chose a thrifted find for $5, but you may have something at home already that can be upcycled.)
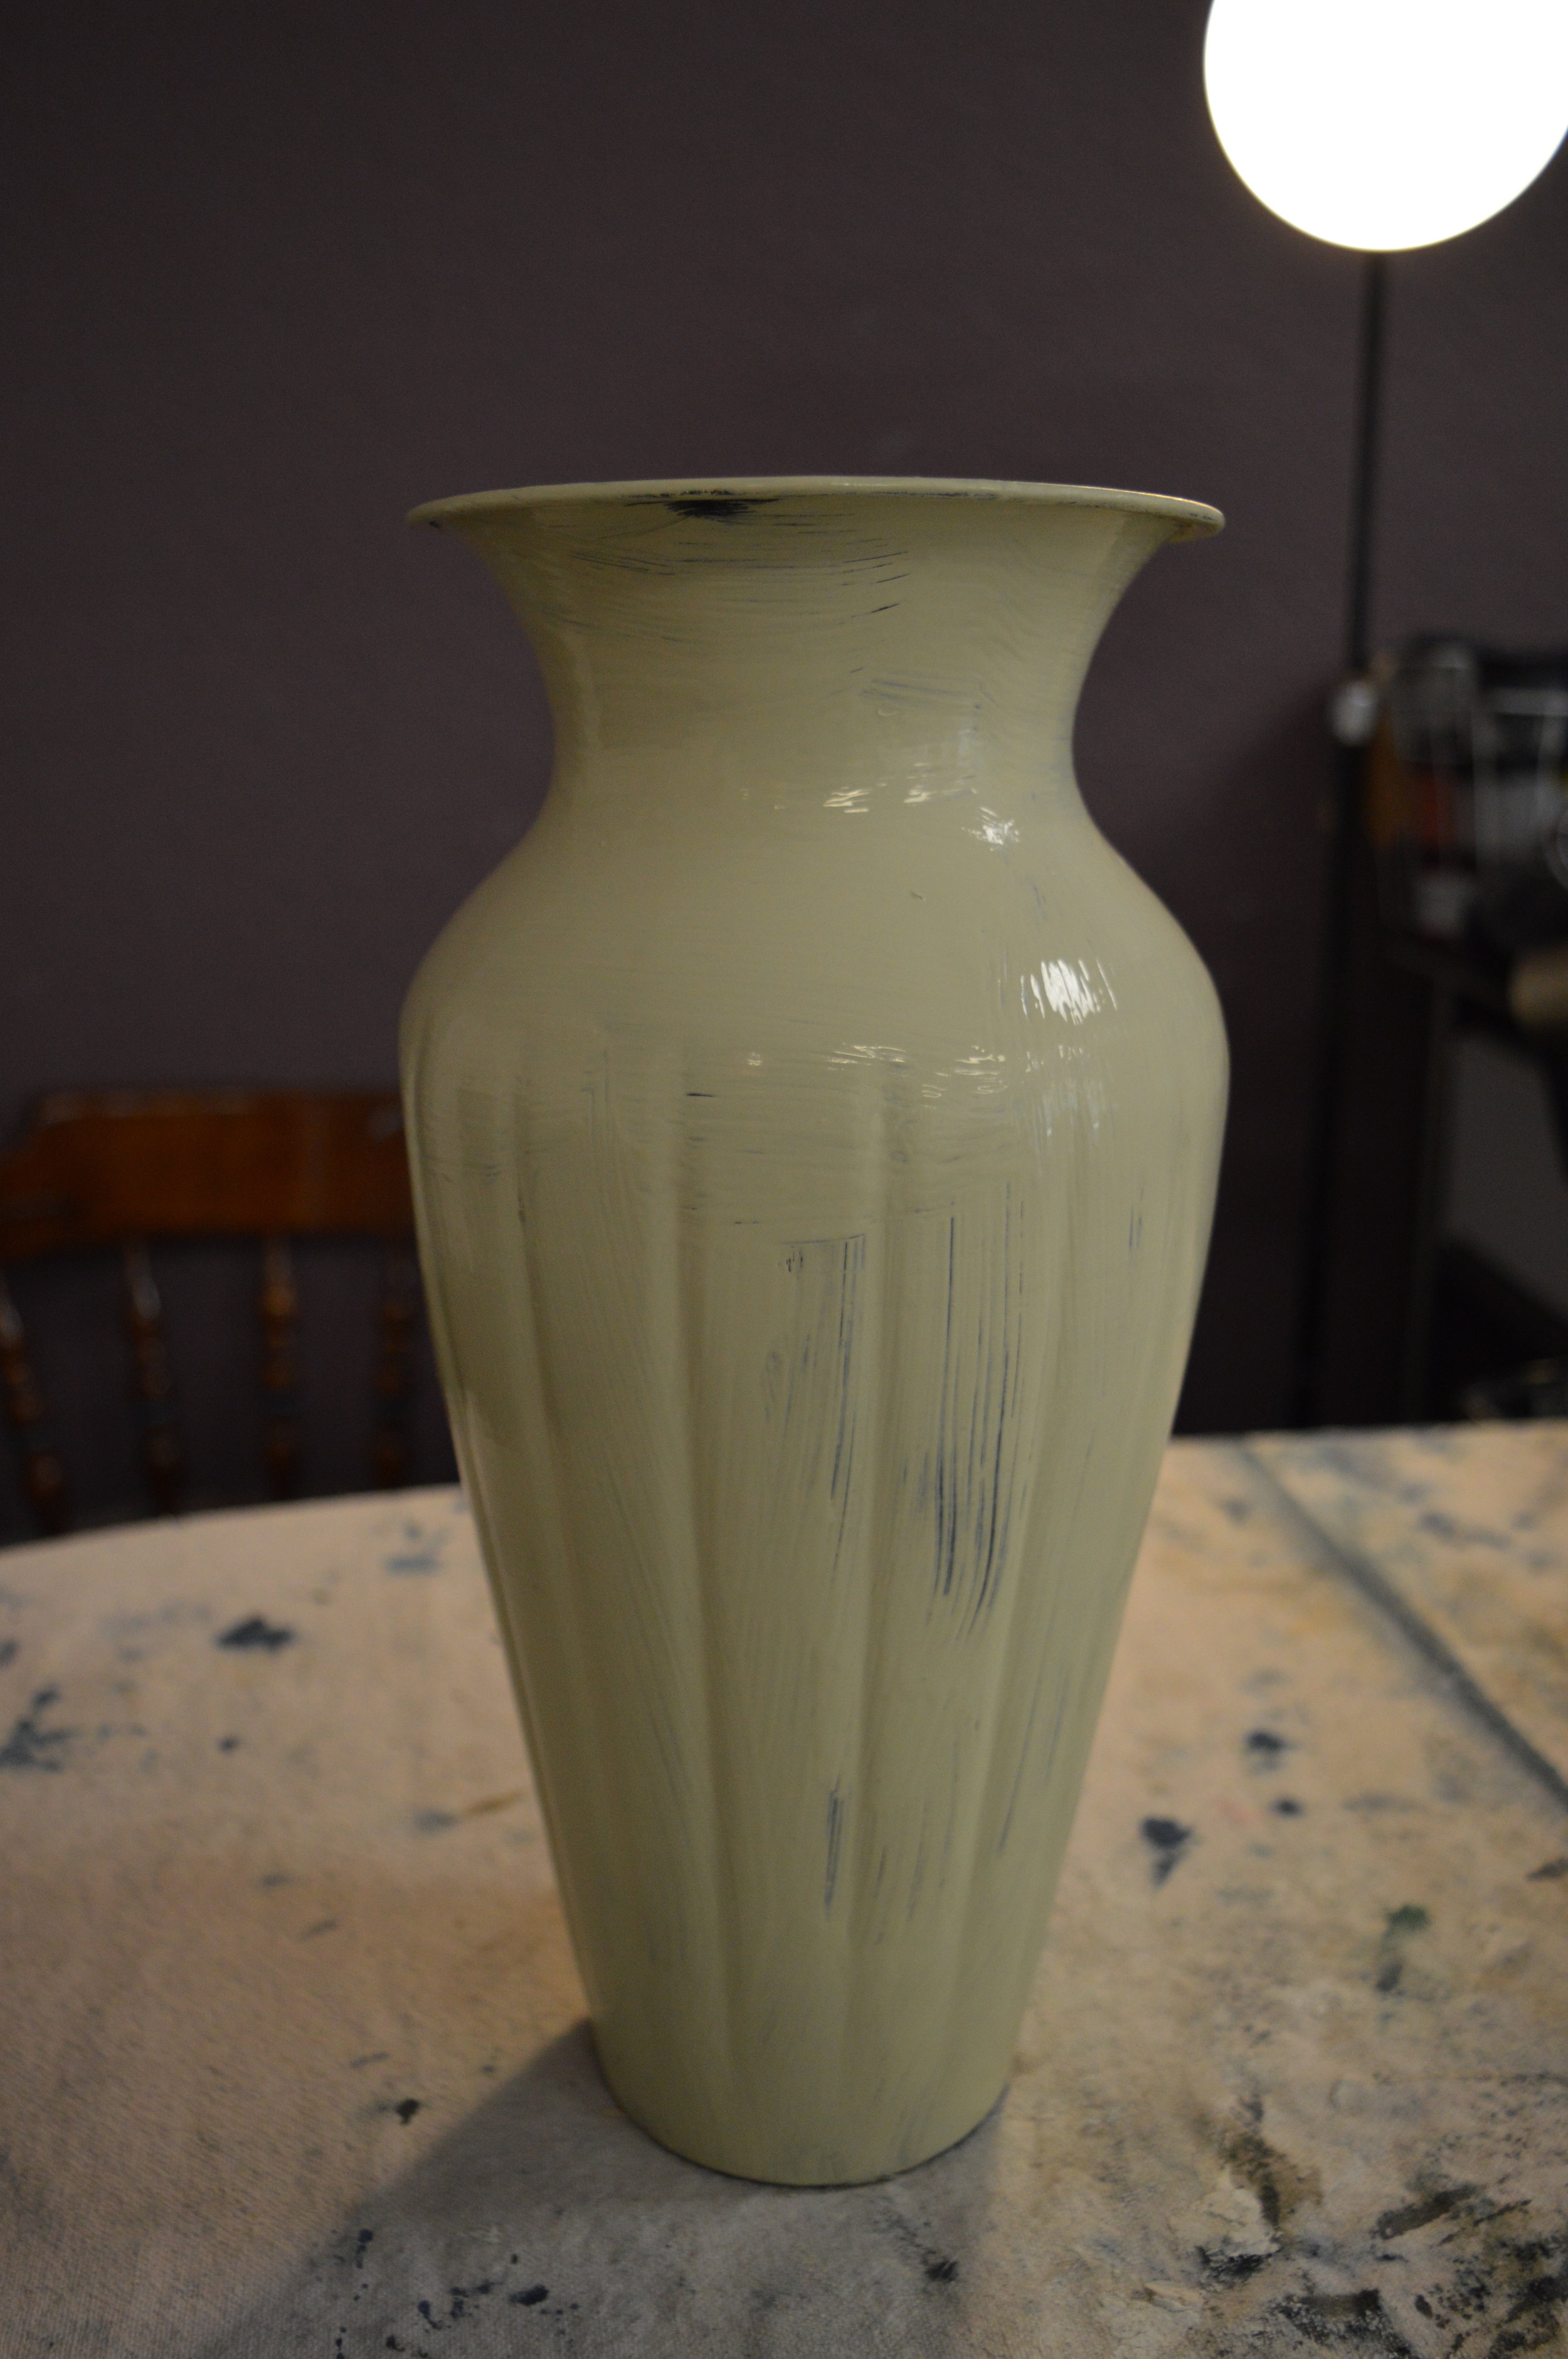
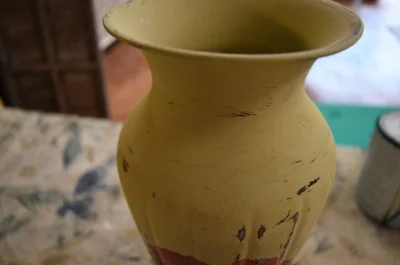
- Chalk Paint® decorative paint Project Pot color of choice- $15 (We chose Versailles for it's sagey-French appeal.)
- Sandpaper sheet or dampened textured scrubby sponge- $0 (Cost depends on whether you have some at home already or need to buy some. Use that dampened sponge to distress to save on cost!)
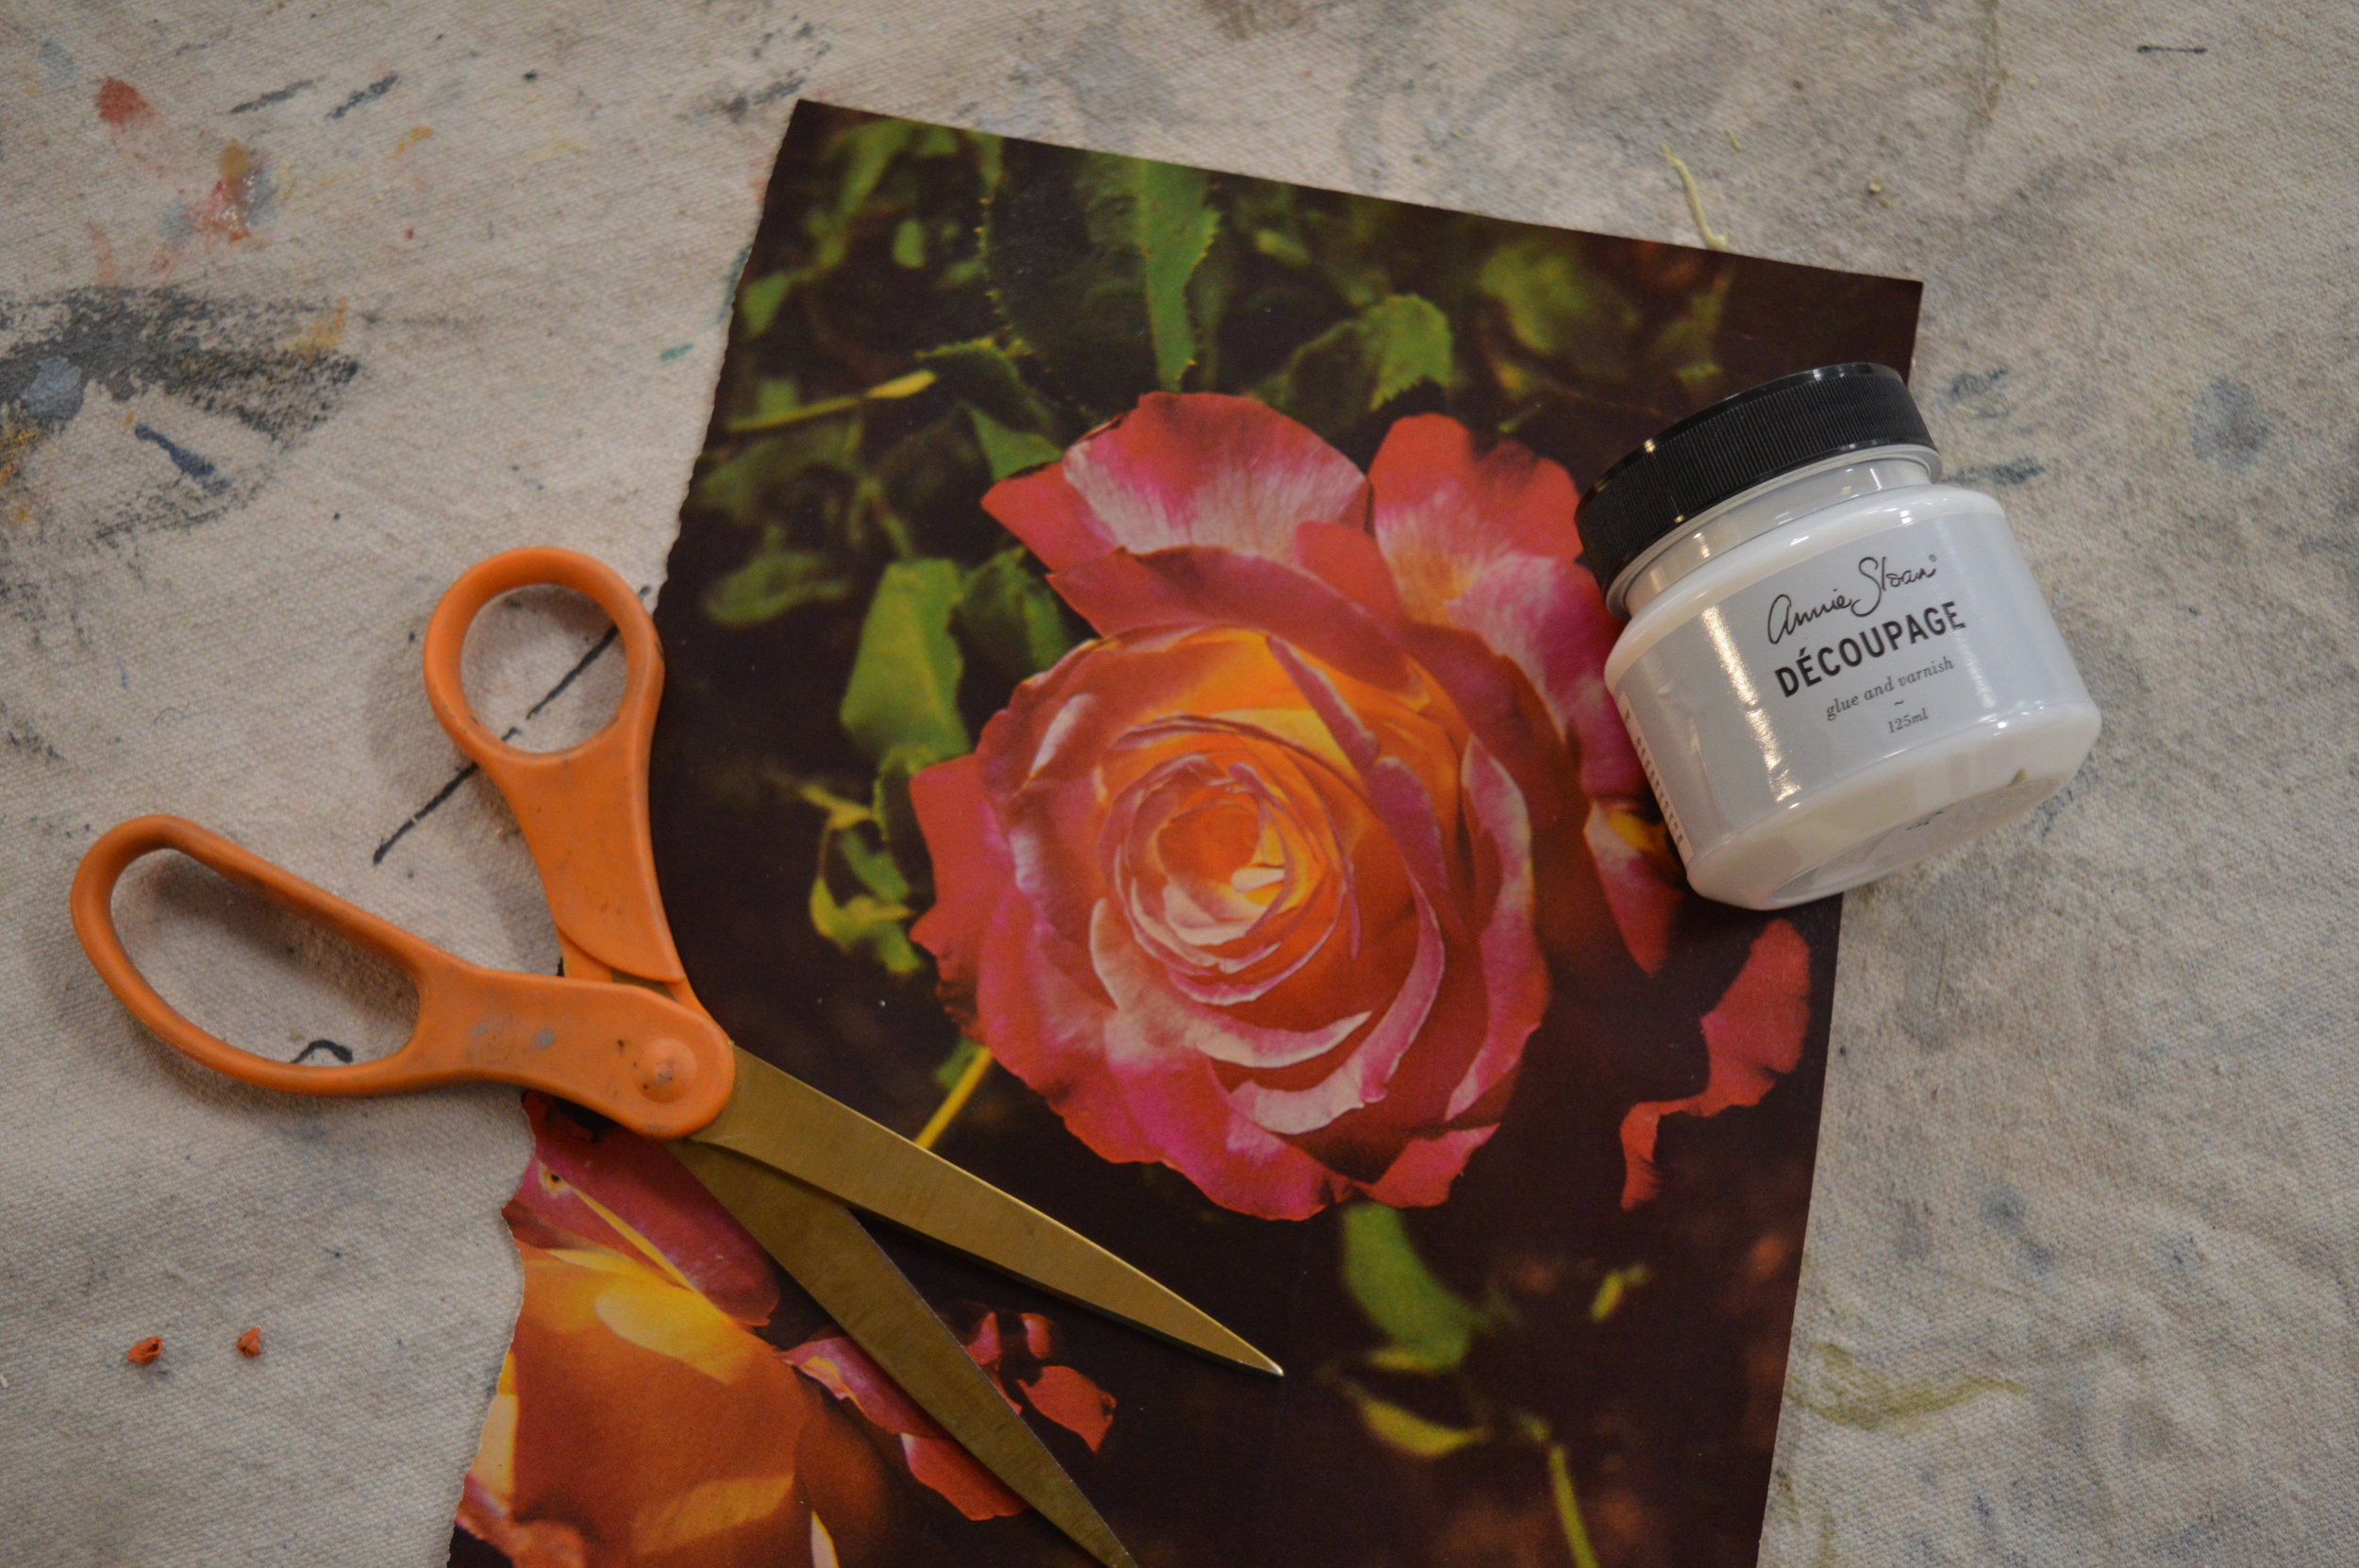
- Magazine, paper, newspaper, thin fabric, or tissue paper cutout- $0 (Almost everyone has something at home already that has a cool image on it that can be cut out!)
- Scissors- $0 (Again, almost everyone has a pair of scissors at home or a pair that can be borrowed from a friend or family member.)
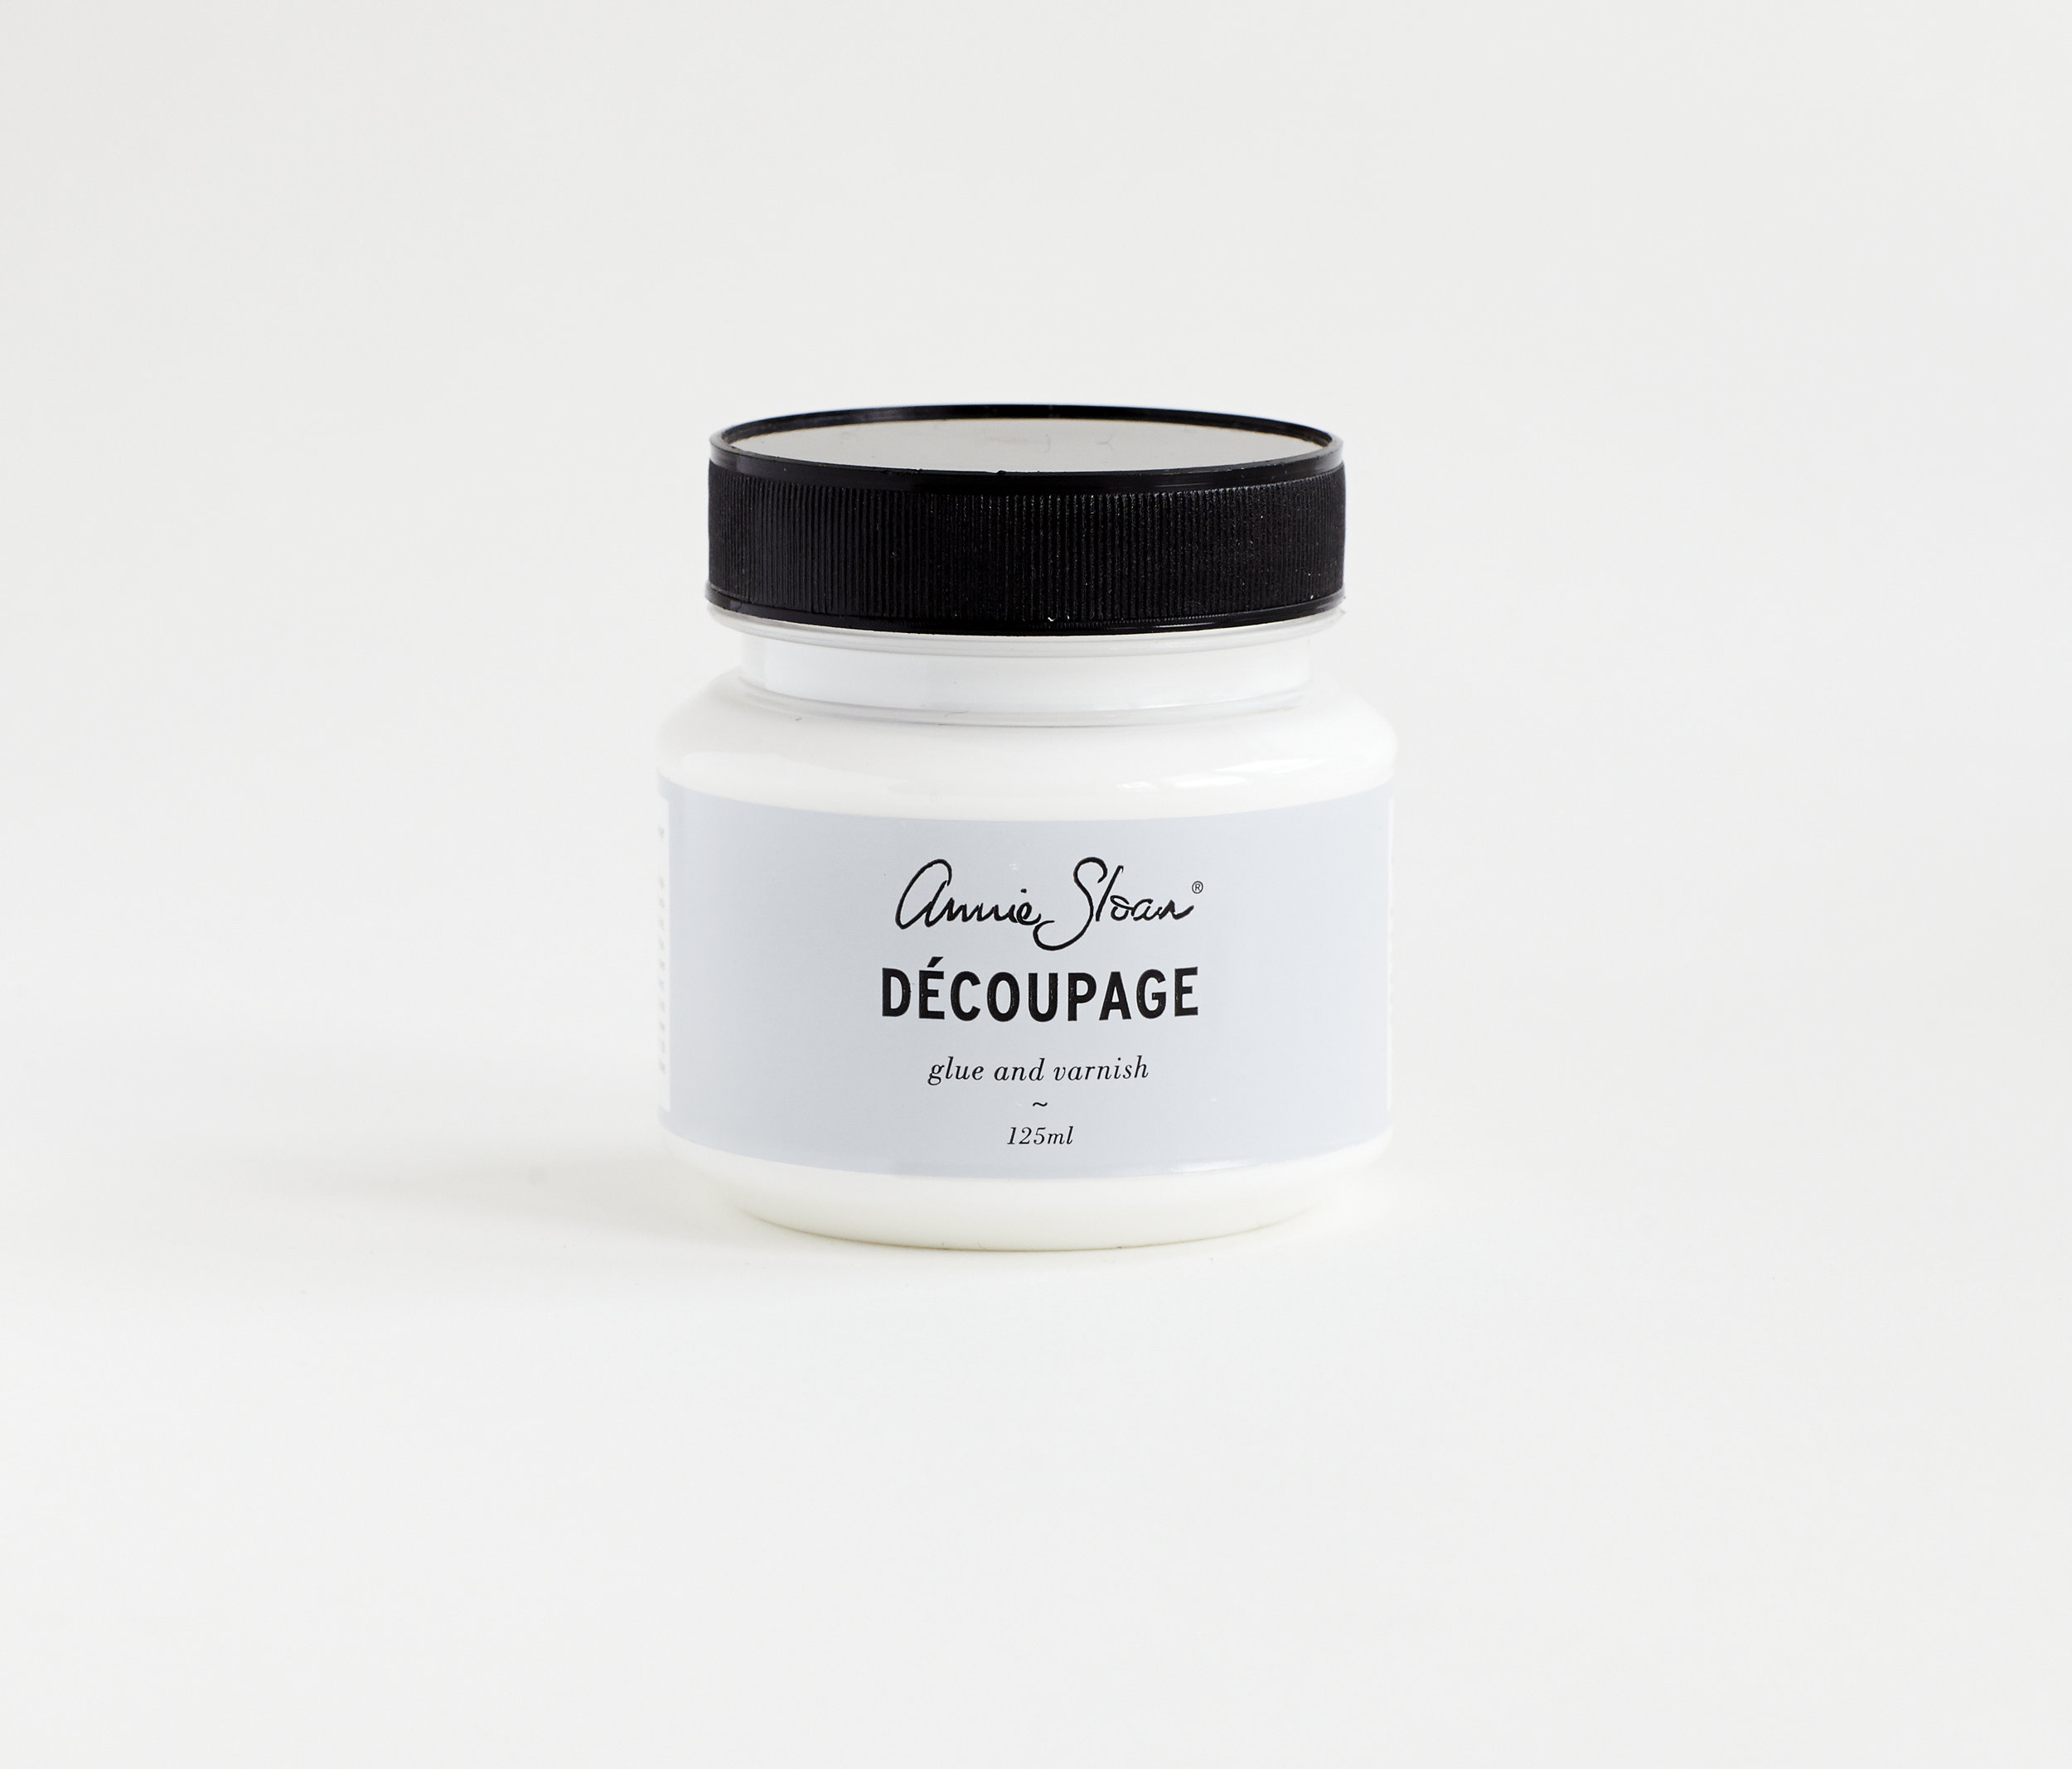
- Chalk Paint® Image Medium / FKA Decoupage Varnish- $20.50 (This item is a bit of a splurge, however it lasts through many uses and does decoupage and image transfer in the best way, without smudging inks from printed images- however if it isn't friendly to your budget, you may forgo this part of the project!)
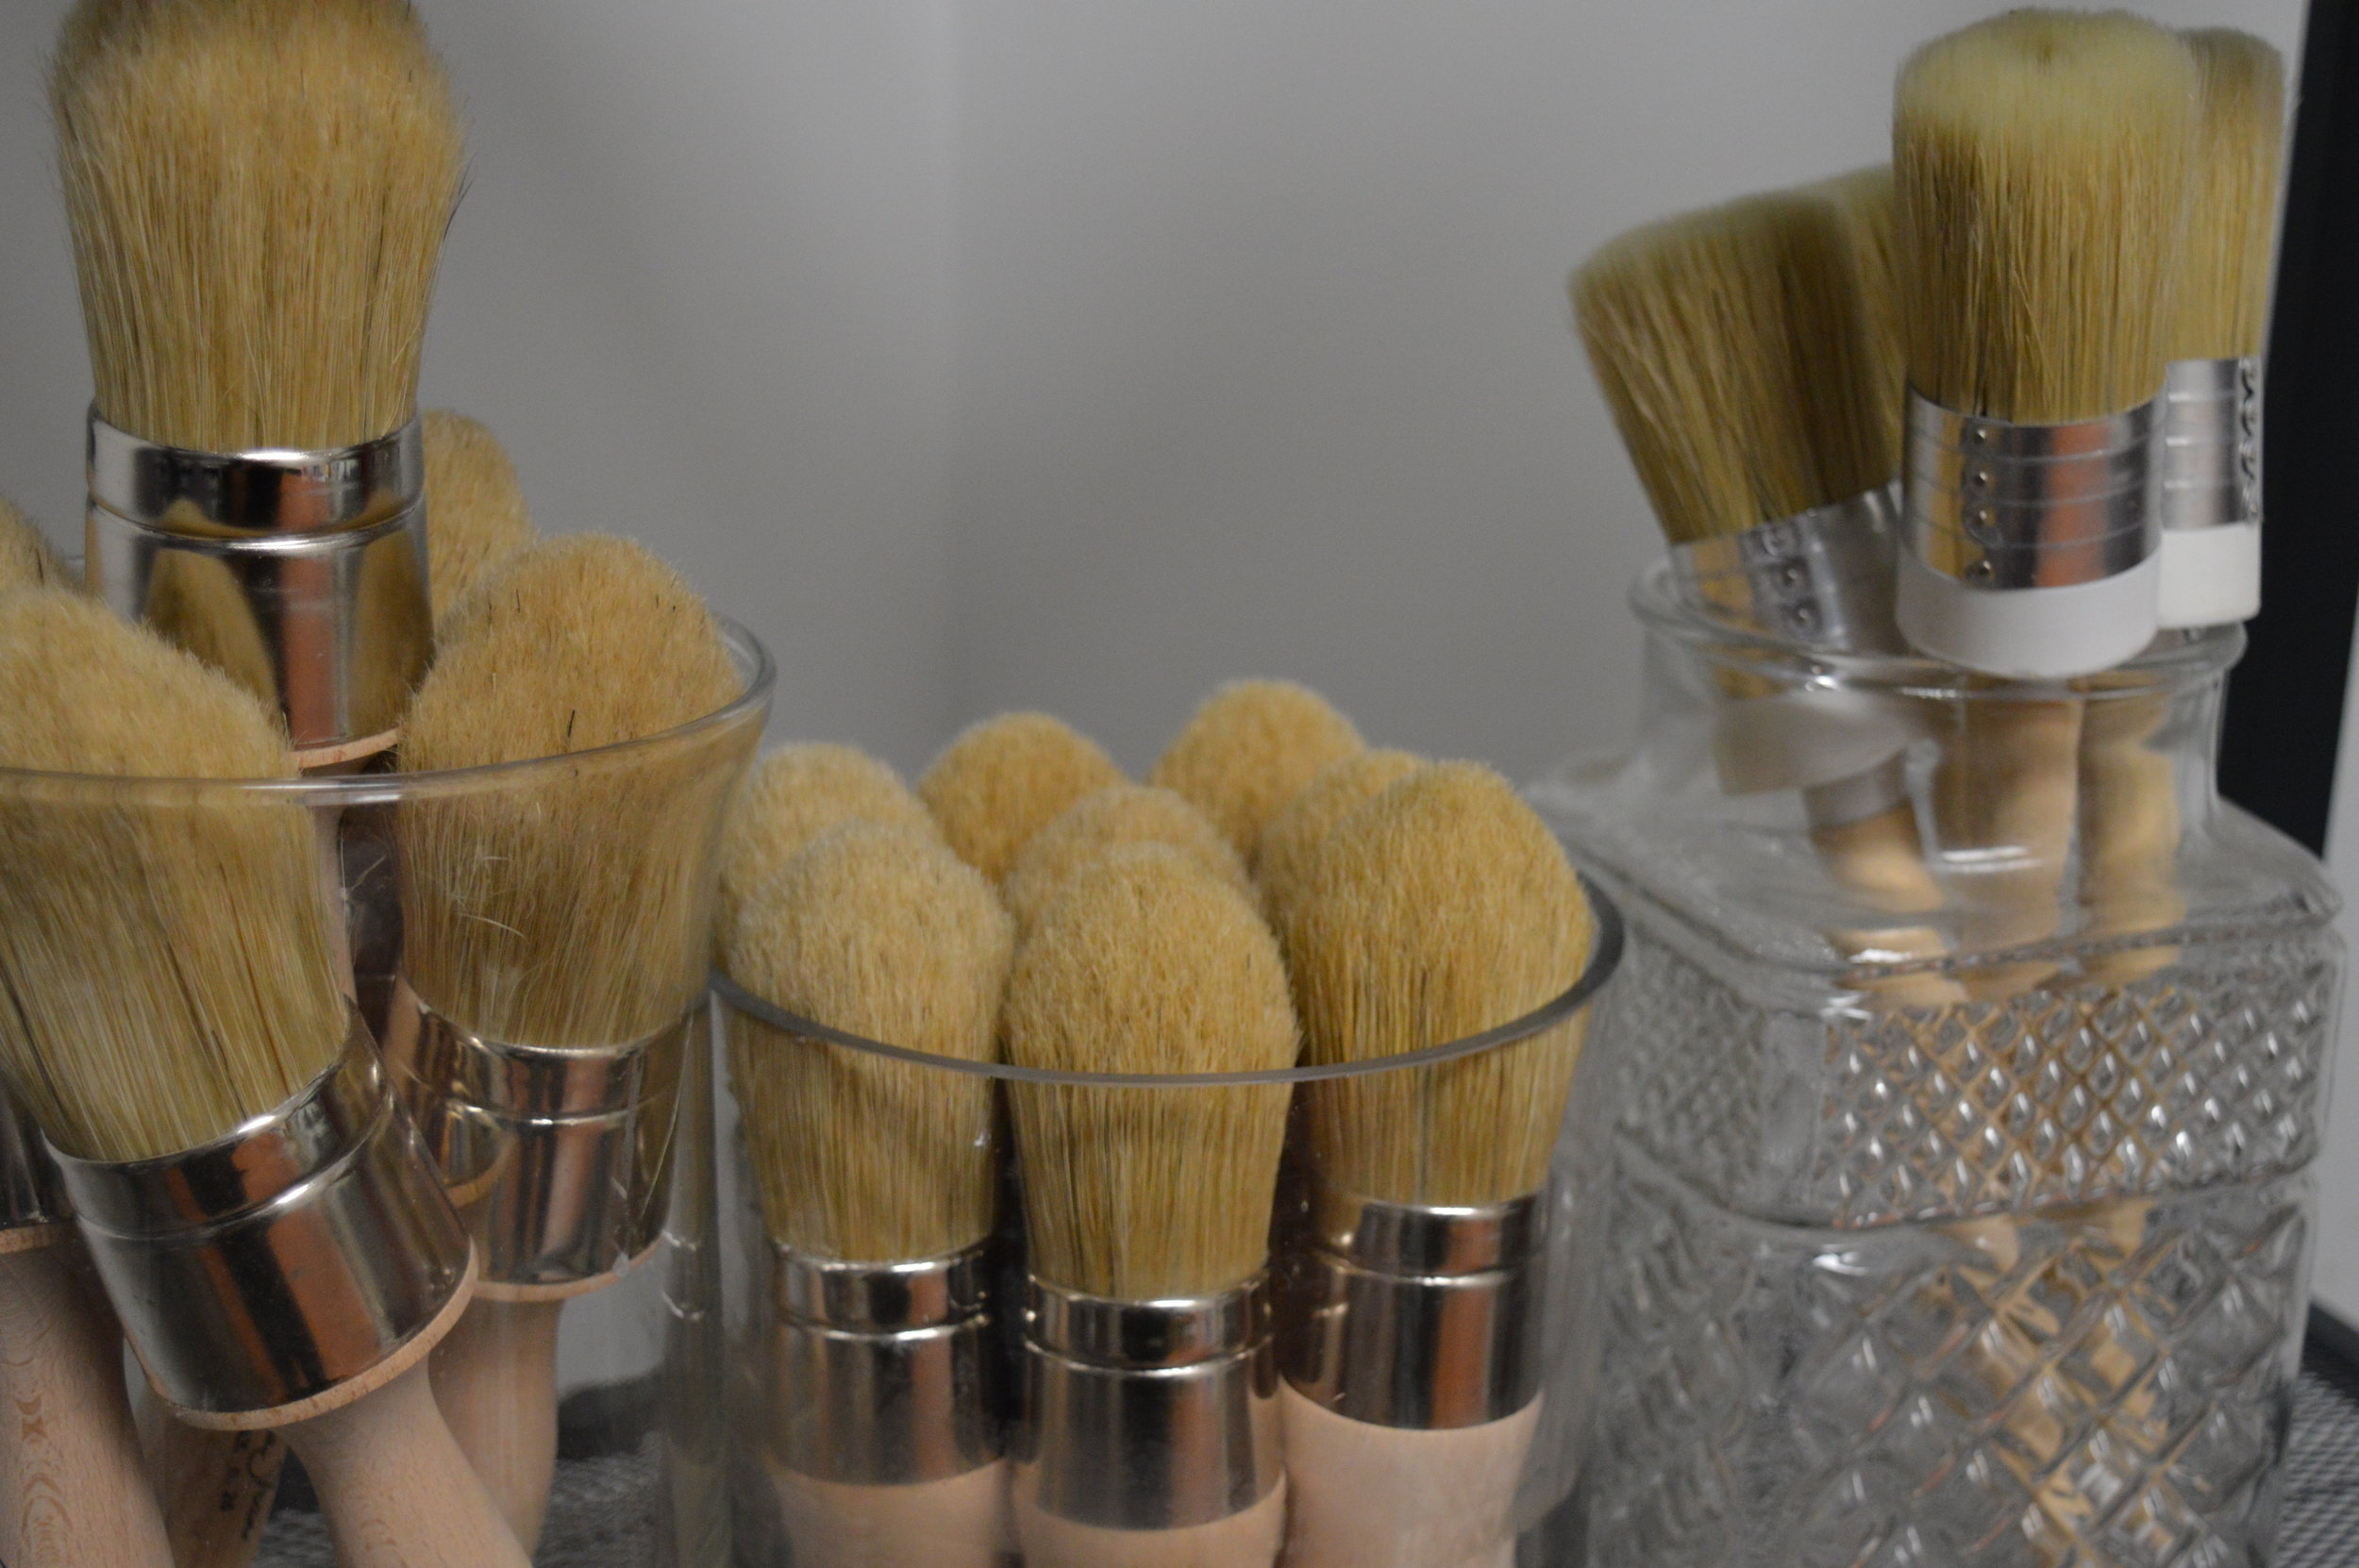
- Small Paintbrush- $0-$15 (Most individuals have a brush at home, however we have a range of brushes from $3 to $15 in the shop that would suit a small project well.) We chose our Annie Sloan Small Flat Brush
- Orchid, plant, or floral arrangement- $16 (We visited our neighbor, Freytag's Florist on West Anderson Ln. in Austin, for a mini Orchid so that Mom can continue to grow her gift! Shop local and sustainable- find your own favorite neighborhood florist!)
Here are the steps:
1. Apply your Chalk Paint® decorative paint color to your vase or planter surface- you may need a second coat if desired. For 'normal' surfaces, give a couple hours dry time between coats, or give 12-24 hours dry time between coats for shiny and slick metal or glass surfaces. The color we chose for our project is Versailles for its sagey-French appeal!
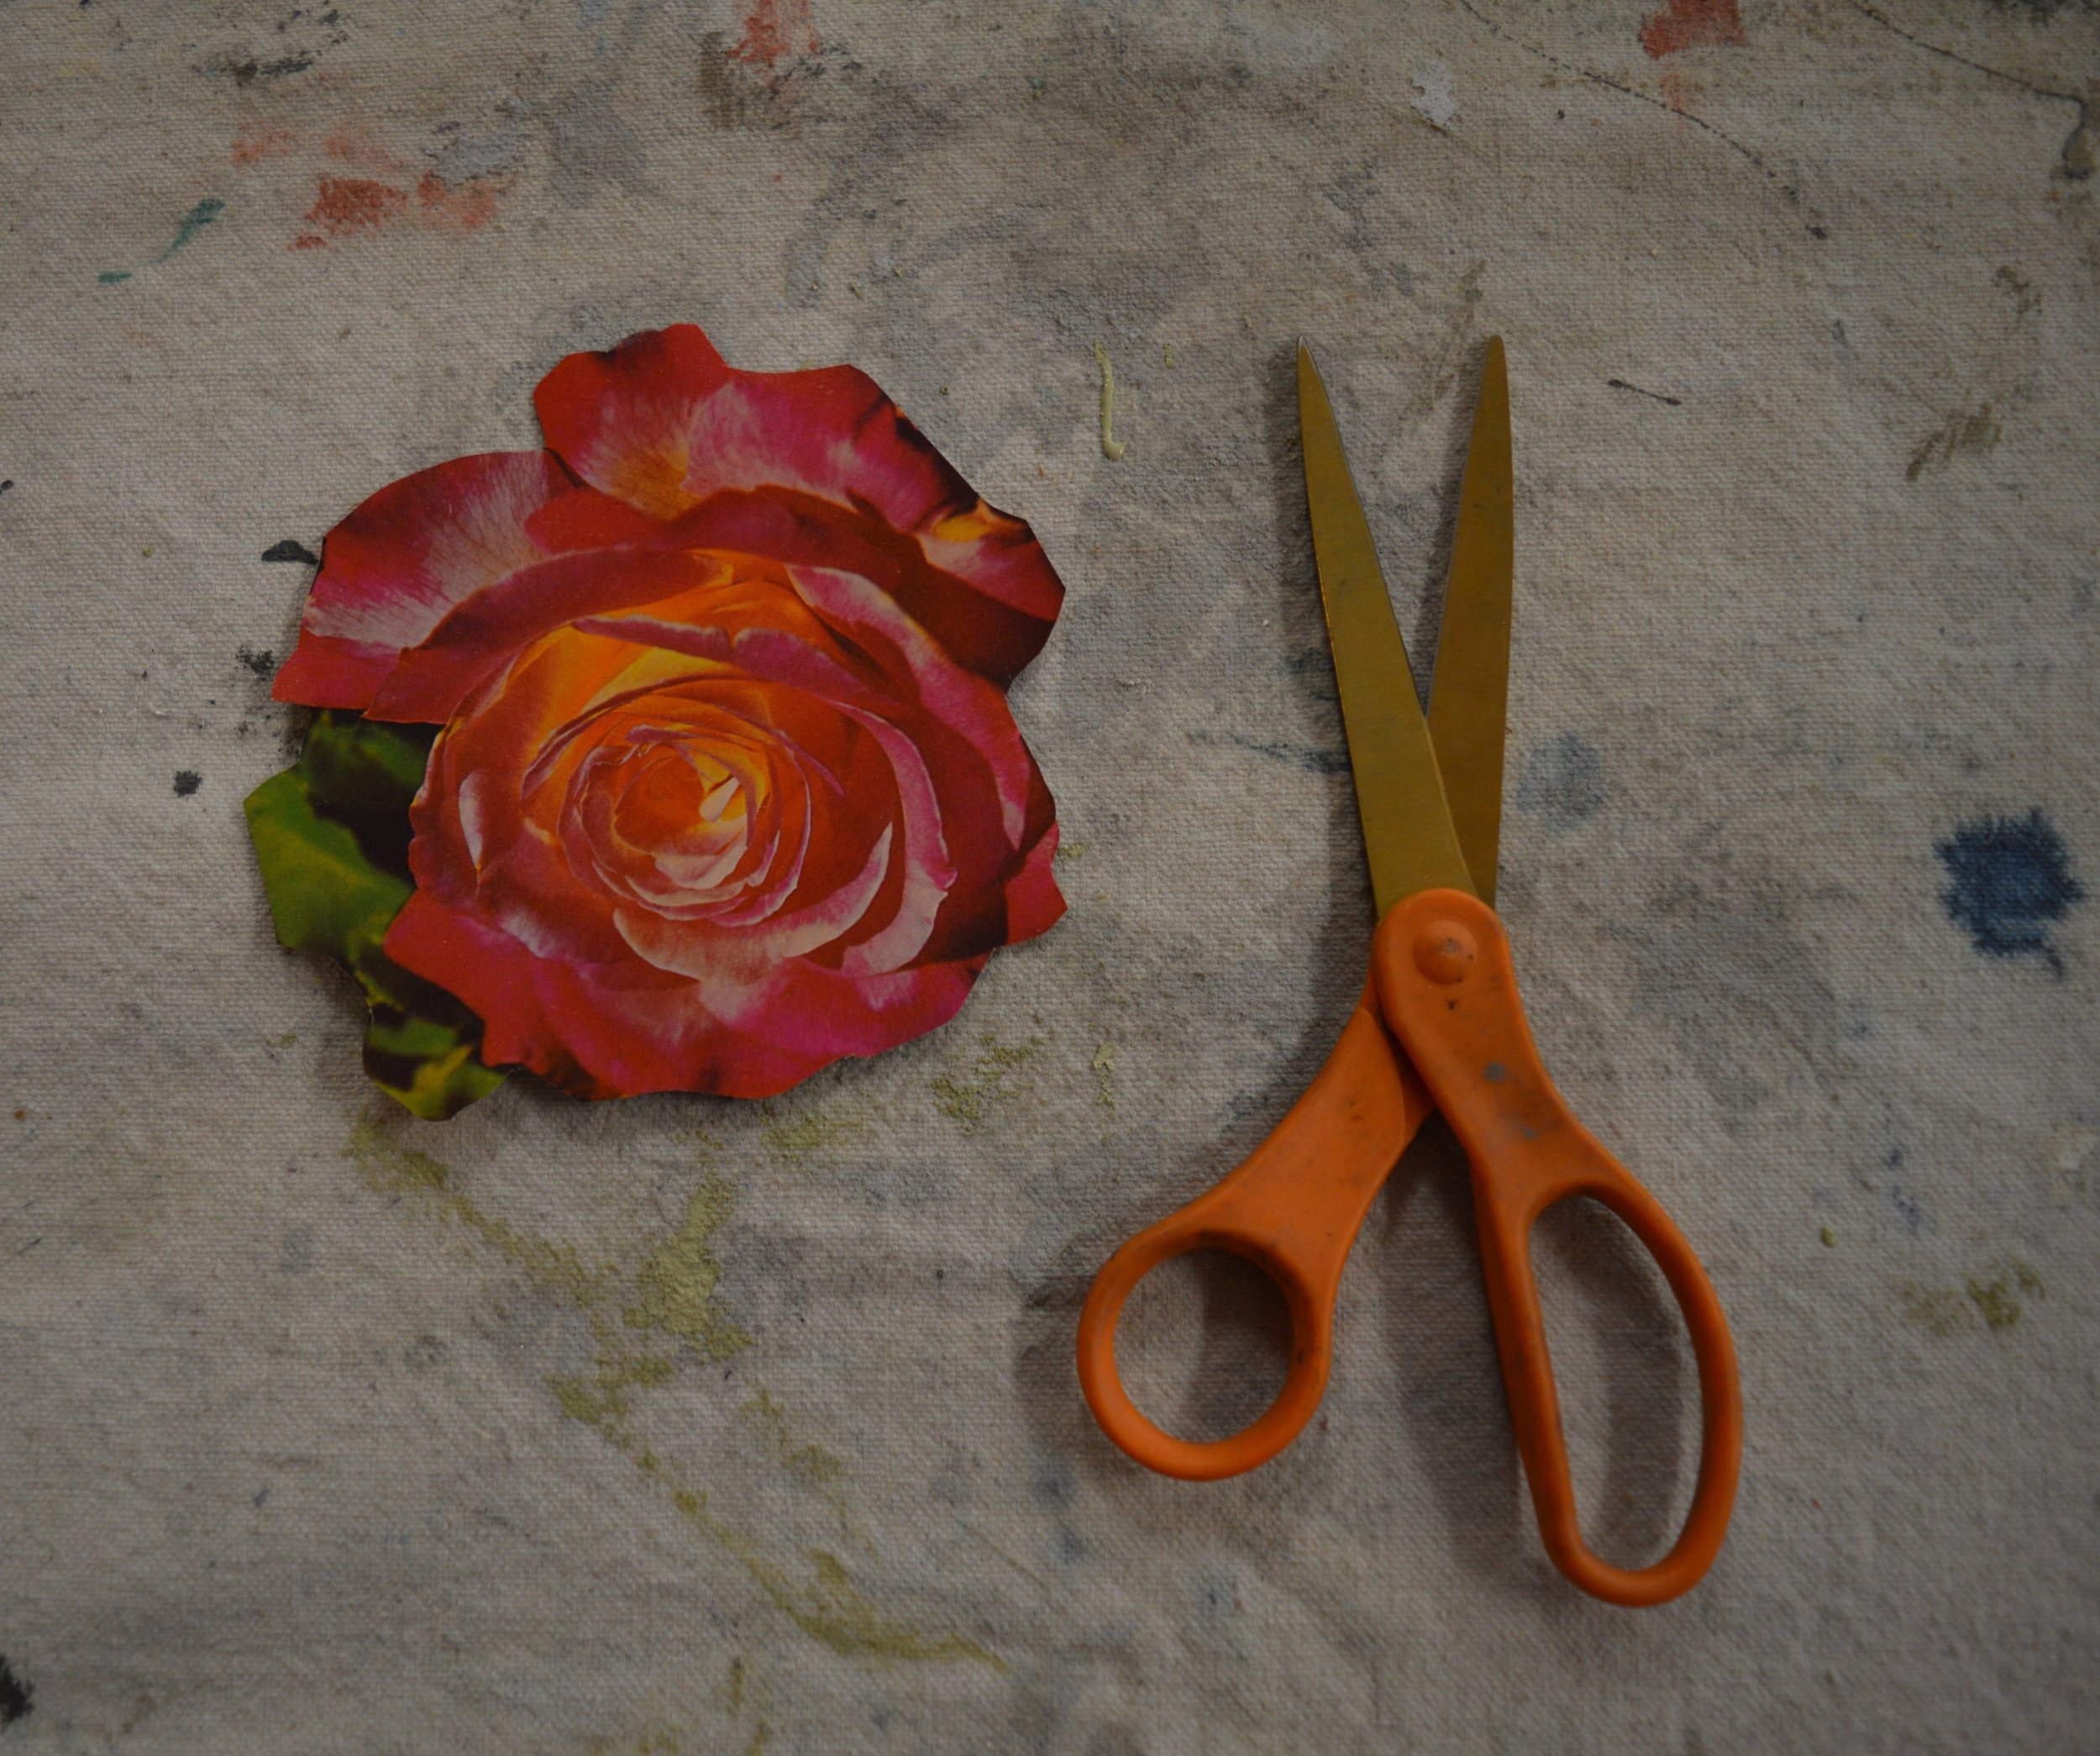
2. While waiting for paint to dry, cut out your image for decoupage. Try to choose something that has a generally defined outline, as opposed to something that will have tons of tiny intricate details to make it easier to cut out. We love using images from old books, magazines, newspapers, giftwrap, and even thin fabrics or tissue paper. Get crafty my friends!
3. Add a second coat of paint as needed, with the applicable dry time for your kind of surface.
4. Once dry, distress through the paint using medium grit sandpaper or a dampened scrubby sponge until you achieve a lightly aged look. Distressing looks natural over edges and raised areas.
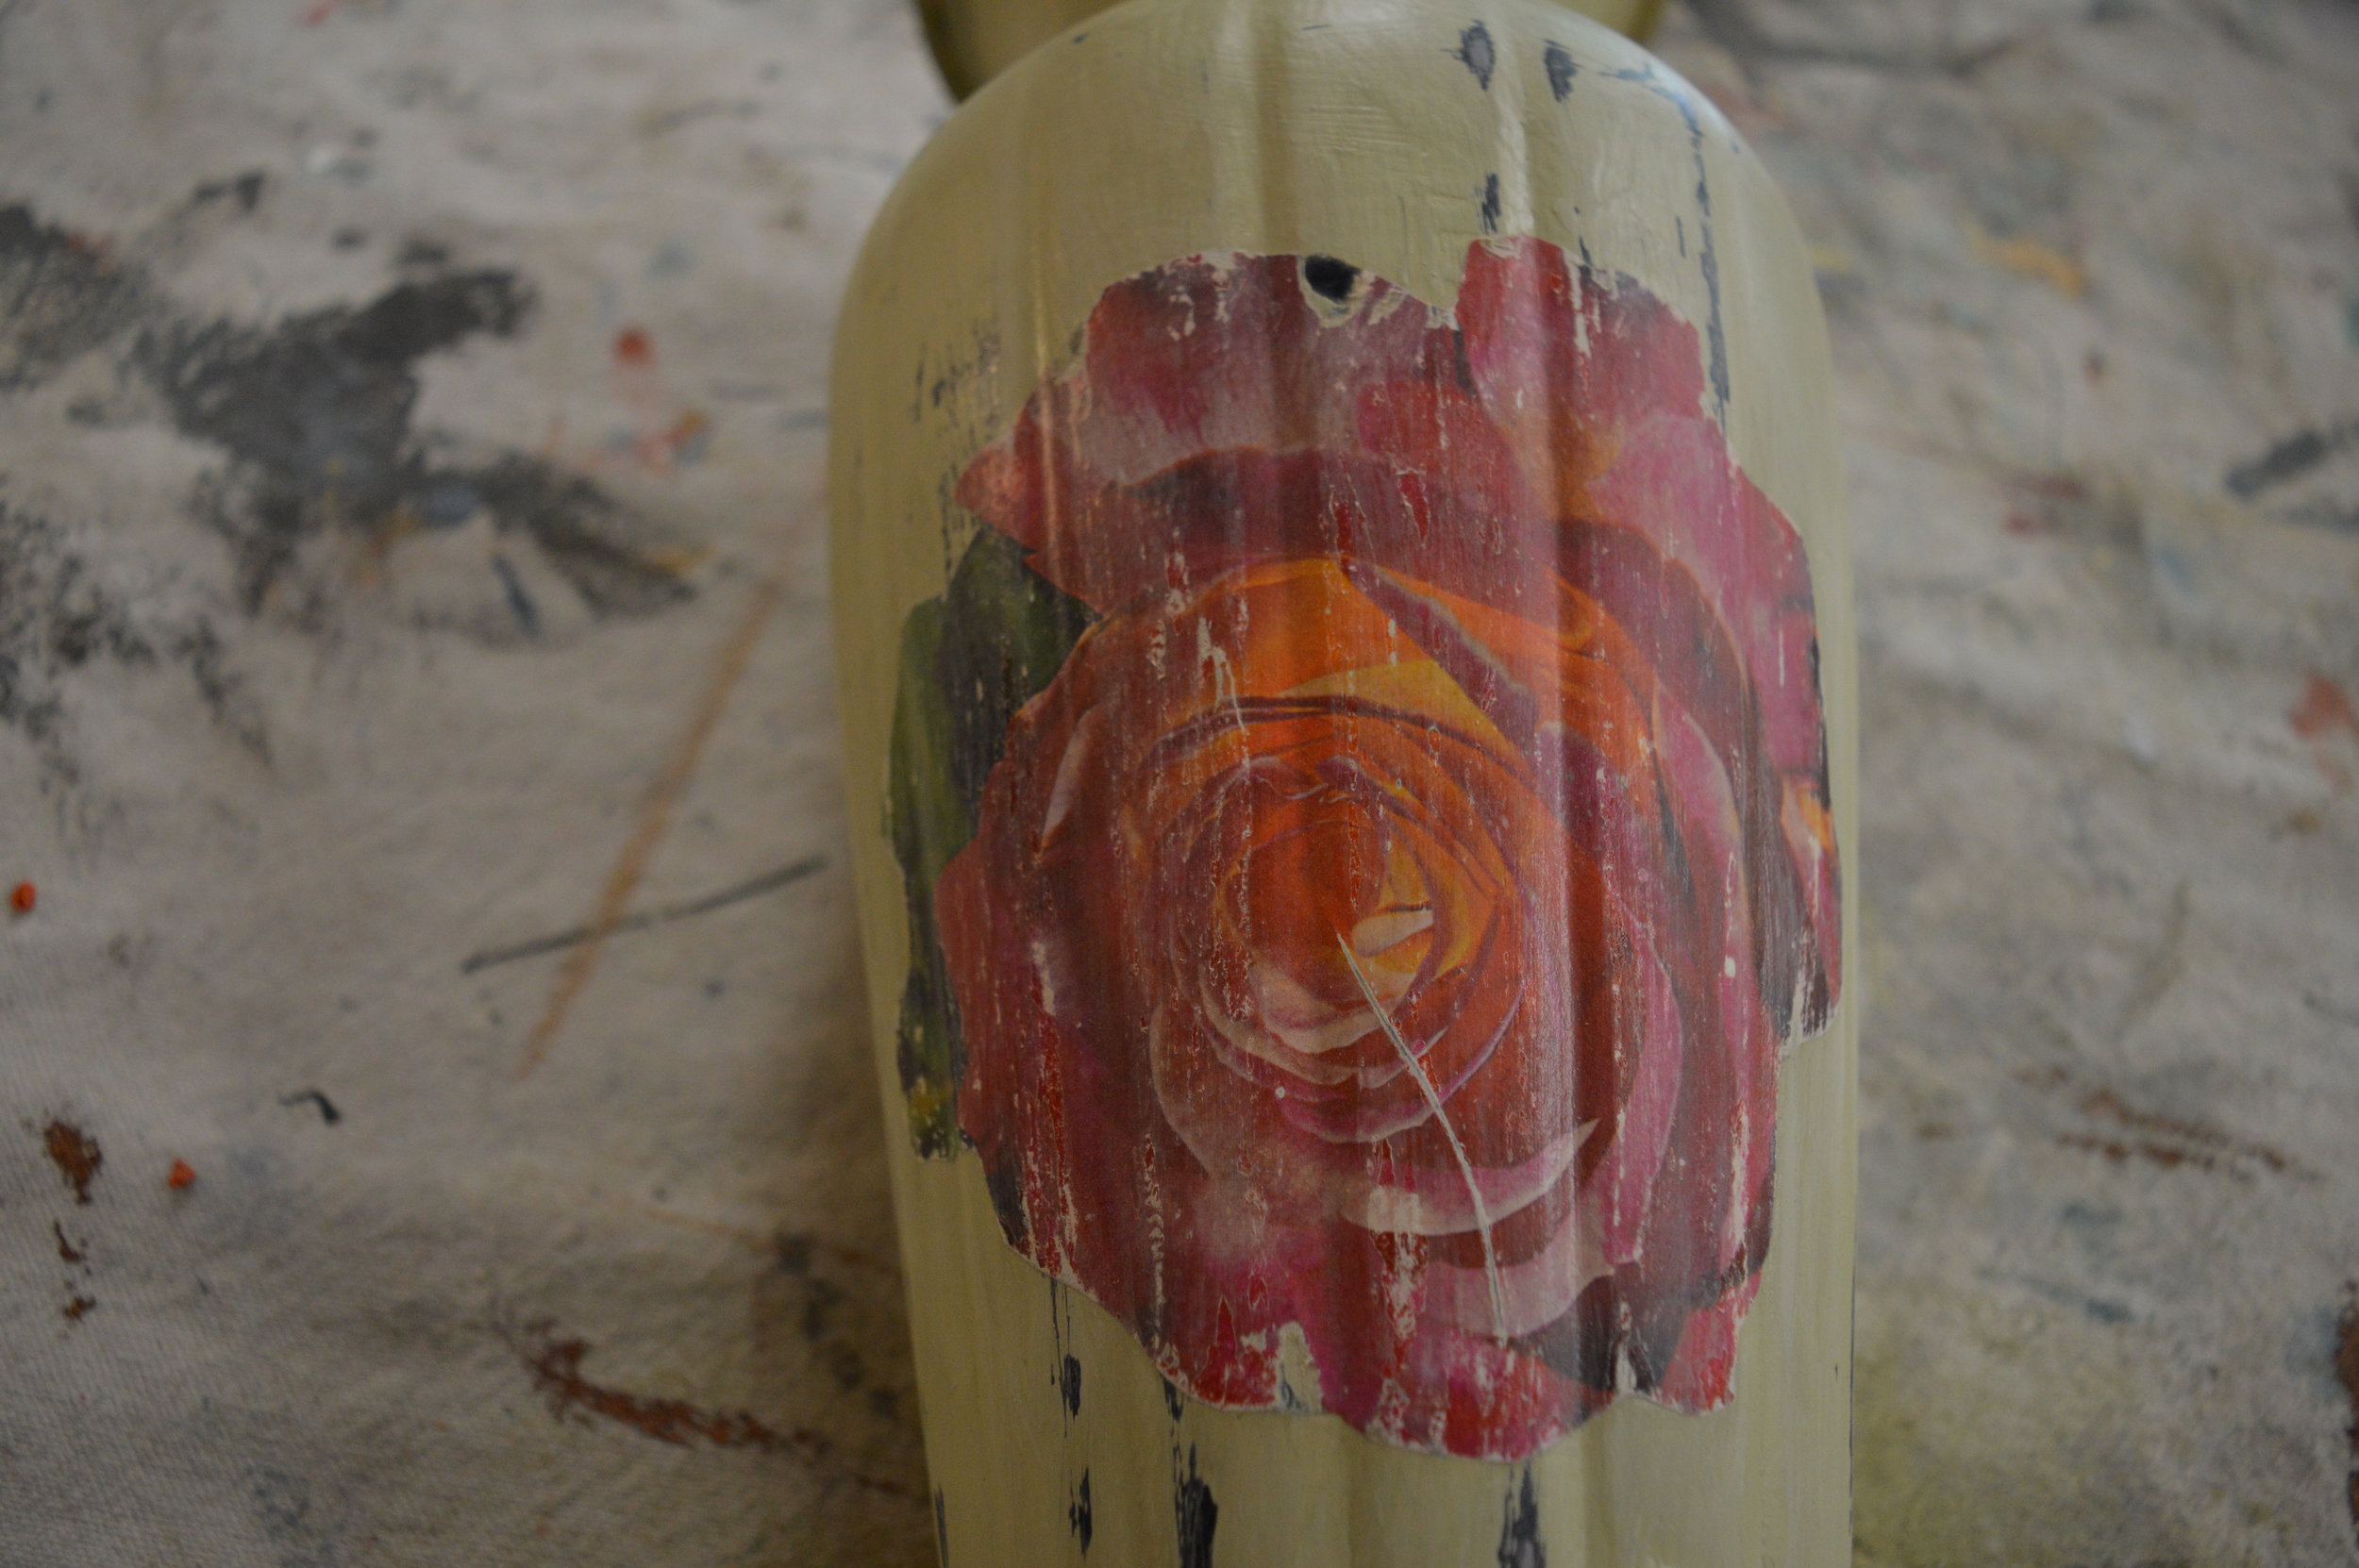
5. Apply the Chalk Paint® Image Medium (formerly known as Decoupage Varnish) to the backside of your image, and gently press the image down onto your vase surface with one corner, and slowly press the entire image down while working out air bubbles. Apply a thin coat of your Image Medium over the cutout and let it dry. Decoupage isn't so difficult, we promise!
6. Apply 2-3 thin coats of the Image Medium total for durability. We used the Medium as a varnish over the whole vase surface as well. You may also sand the image edges down to make it feel less raised and to distress and fade the image.
7. Add your plant or flower arrangement of choice to complete the gift. We chose a lovely mini orchid from Freytag's Florist on West Anderson Ln. in Austin, so that it could be a sustainable gift that keeps growing (we added little rocks below the orchid in the vase for good drainage- always make sure to plant with proper conditions based on what you choose, and to include care instructions!). Mom can also change the planter or vase up as needed as the plant grows, and continue to repurpose the planter or vase. Remember to visit your own local florist!
The result is something truly special. Doesn't it feel great to make a gift? This is absolutely a project that can be completed within a couple of days (even within one day depending on materials used). Share your own results with us, and if you're in or near Austin stop by our Shop & Studio at 2700 W. Anderson Ln, Ste 228 for all Chalk Paint® supplies. Otherwise find your local stockist here.
Watch our tutorial video to visualize the process!
And now for our GIVEAWAY! We are excited to announce that one lucky person can win the very same decoupage vase that we created for the tutorial. To be entered to win, please complete all steps below:
Applying Clear Topcoat Sealer
If you're not familiar with Clear Topcoat Sealer by Artisan Enhancements®, this blog post is for you! If you're familiar with it but need a bit of a tutorial on how to apply it properly, this blog post is also for you.
Clear Topcoat is a soya-based, non-toxic and No VOC penetrating liquid topcoat that is absorbed well by Chalk Paint® by Annie Sloan, Miss Mustard Seed's Milk Paint, and other water-based paints. It's both interior and exterior grade, and is the only sealer that can be applied to Annie Sloan's Chalk Paint® waxes (once they're cured and dried for 24 hours). It's applied over a completely dry painted surface with an ultra-smooth brush or roller, such as Artisan Enhancements®' Topcoat Brush, or a smooth synthetic-bristle brush. These tools are essential to help minimize brush strokes and help your topcoat look flawless.
Here are two videos I compiled, working with the Clear Topcoat Sealer over French Linen Chalk Paint®:
and some more tips about using the Topcoat Brush to apply the Sealer optimally:
To purchase any of these products, visit our online shop or stop by our shop location! We're always happy to provide a free in-person demo on how best to apply any of our topcoats.

