Home Improvement Project Idea: Painted Fireplace Surrounds with Chalk Paint® by Annie Sloan
Hey there, 2020 sure has been a wild ride, and we’re here with our first blog post of the year. Good gosh. Like many of you, we have been spending increasing amounts of time at home and assessing every nook and cranny for ‘improvements’ to pass time and stay in our own space. Sometimes these improvements are purely based off changing style preferences, and sometimes are crucial to the overall state of certain rooms and structures.
One such project is changing up fireplace surrounds and mantles! Whether wood, tiled, or stone, they can be painted to varying degrees and styles. That’s great news because here in Texas, some of our stone fireplace surrounds are looking seriously dated. Instead of ripping out the old tile or stone, painting them up can be done in a weekend (or even shorter)! Here are two easy-to-knock-out painted fireplace surround ideas:
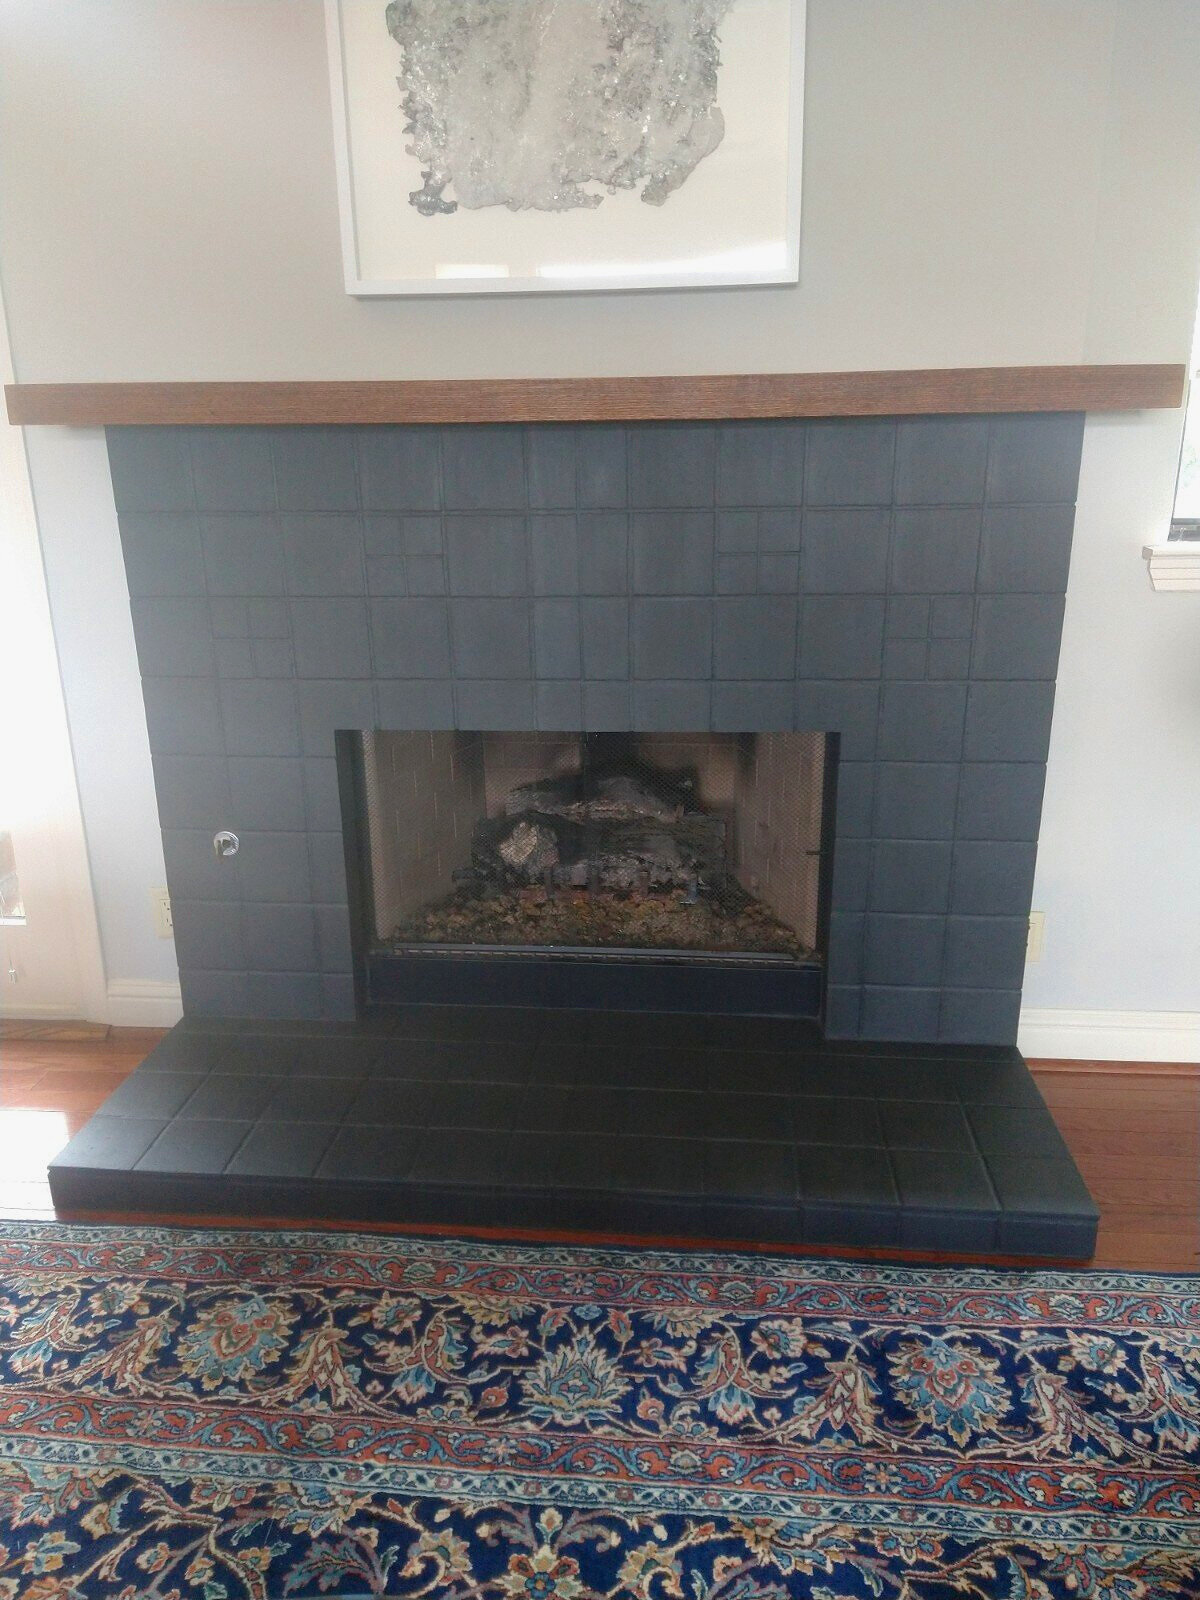
Complete Overpaint (Solid/Opaque Coverage, Over Tile and Possibly Even the Grout; Works Well on All Surfaces)- Chalk Paint® will cover both porous and slick-glazed tile, and certainly the grout as well (if it’s the wrong color, if it’s dirty, if you want complete-coverage and a knocked-back look). To paint, clean the tile first with a gentle eco-friendly degreaser (like Krud Kutter), nothing sudsy, rinse, and let dry; for porous tile, you may want to add 5-10% water to the paint to make it soak in very well, and for slick-glazed tile you may want to wait an extra long drying period between paint coats to prevent ‘double processing’ the paint (instead of a couple hours, wait several hours or even overnight between coats to allow an extra great bond to the tile). Apply as many paint coats as you’d like for desired coverage. You can certainly seal the paint, and Soft Wax often works best, just make sure that the surround doesn’t get too hot if a fire is lit!
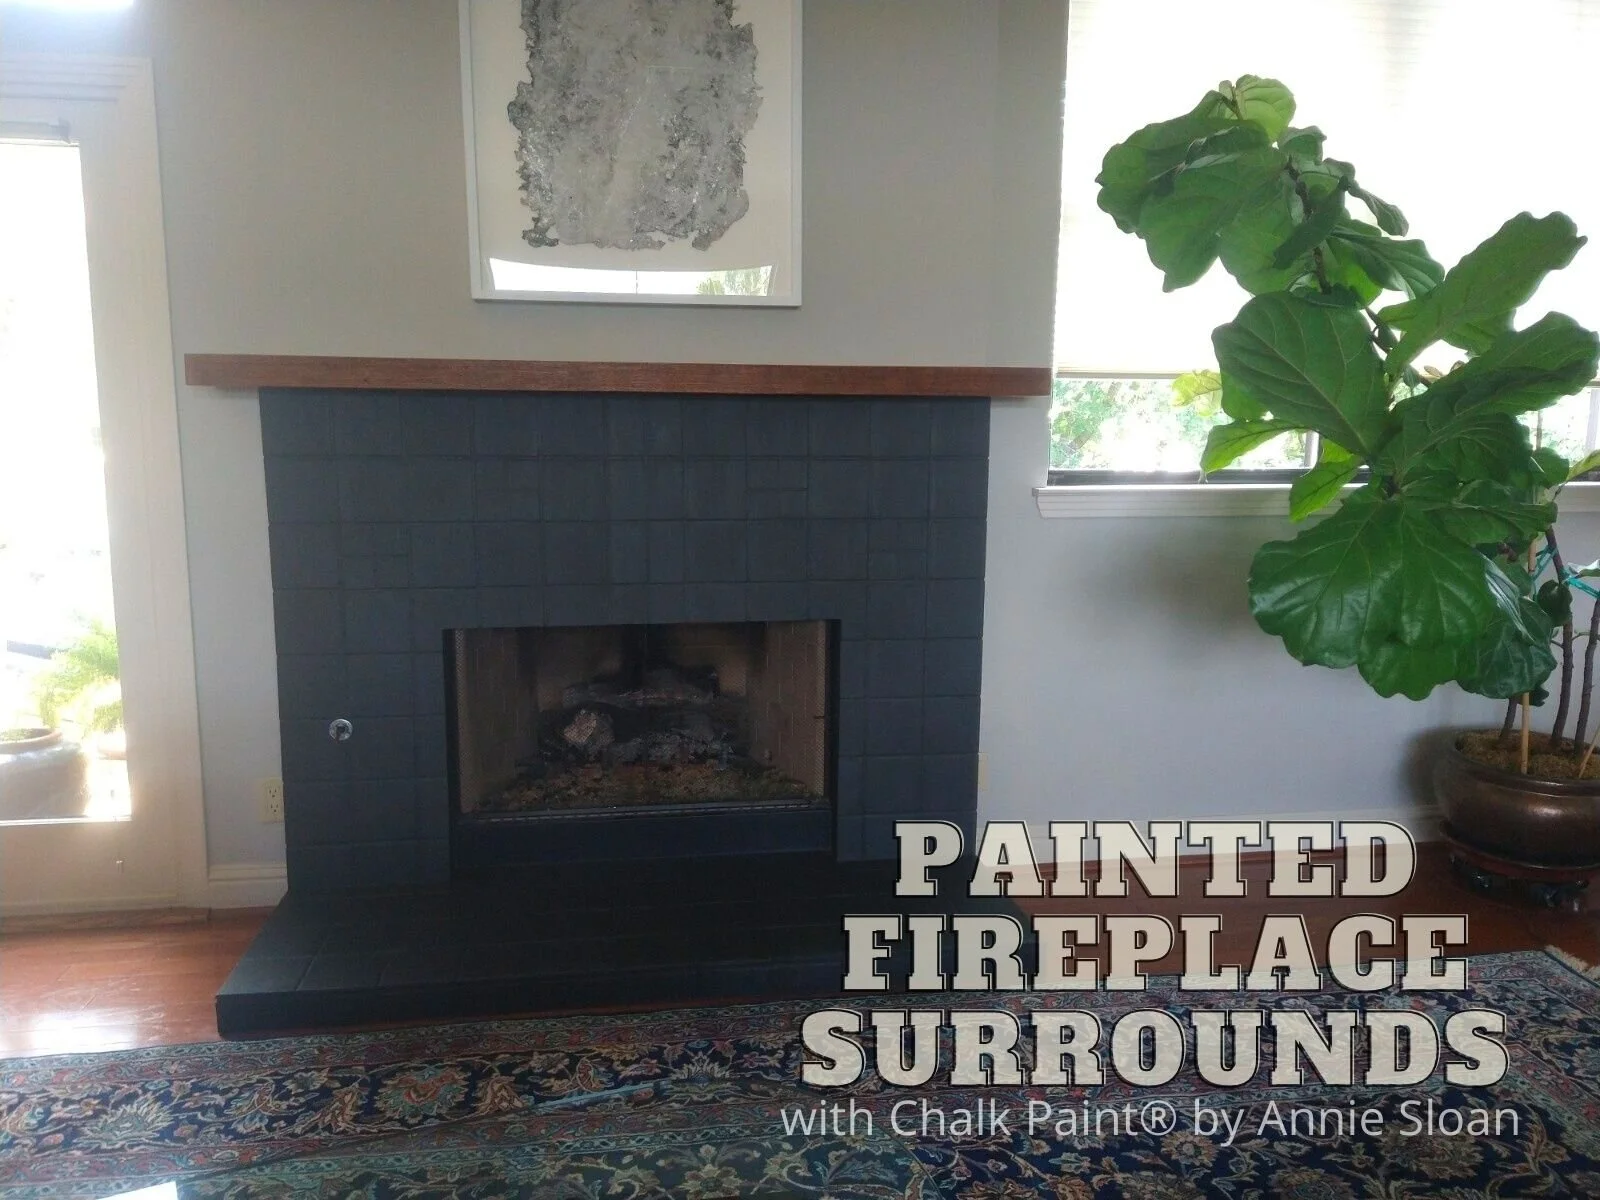
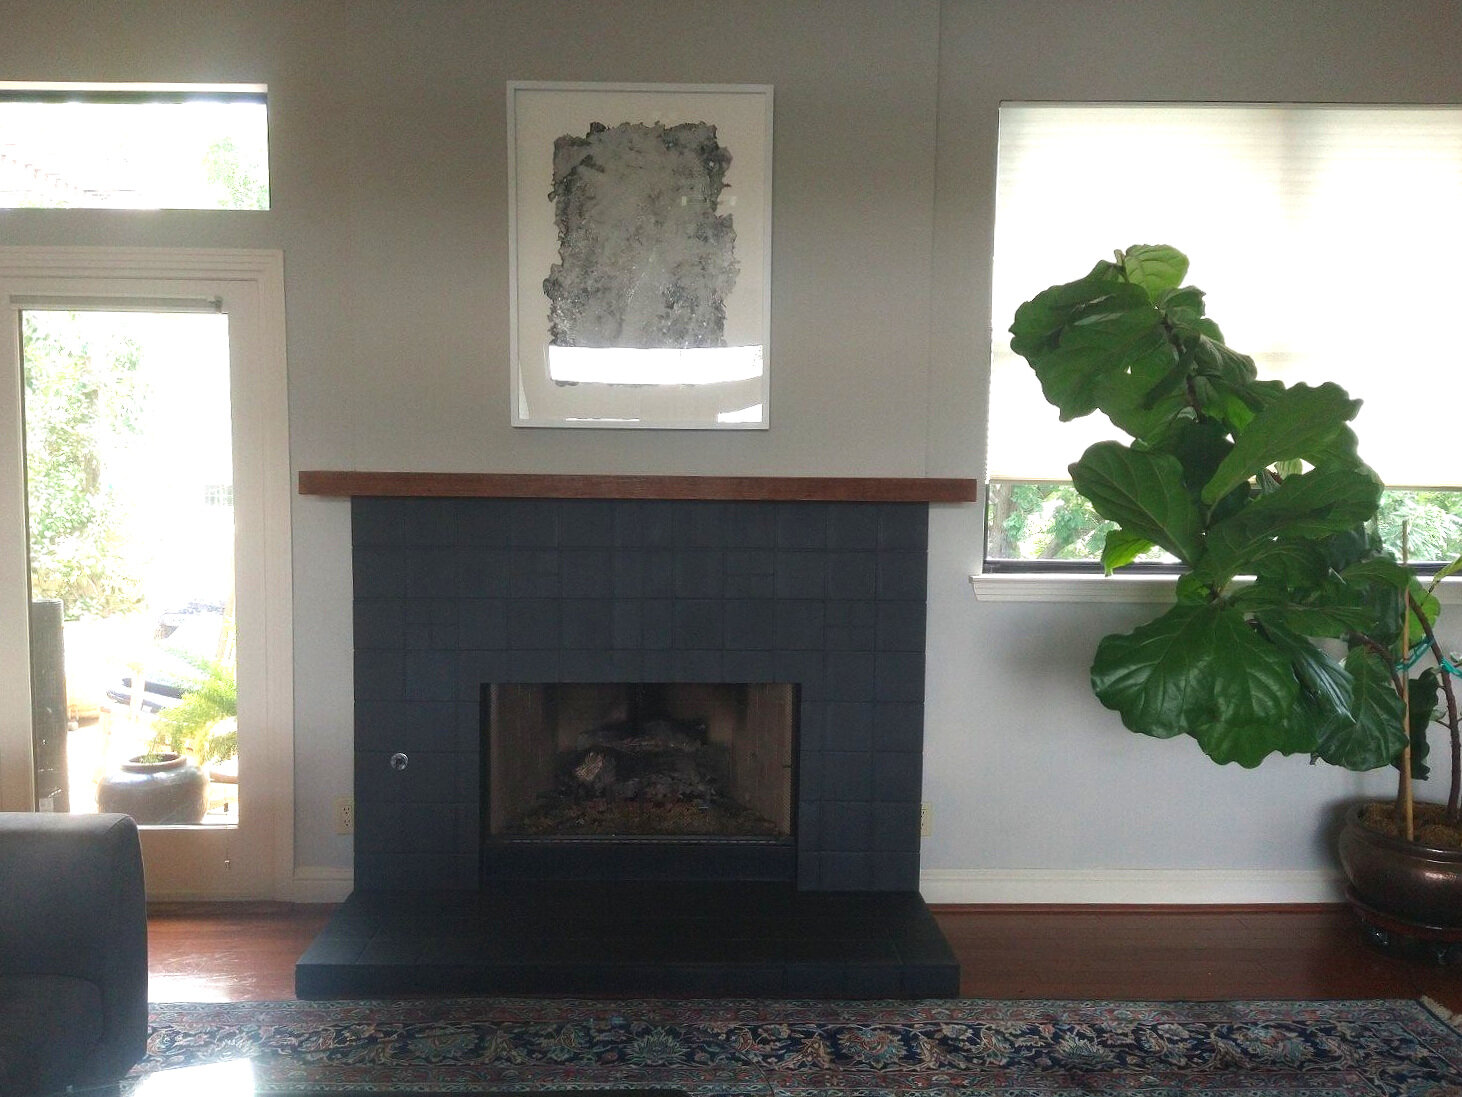
Project featured from a Silk and Sage custom-work client, done with Chalk Paint® in Graphite with solid coverage, followed by Clear Wax
Washed Effect (Transparent Paint Coverage/ Showing Some of the Base Material and Color Through the Paint; Works Best on Porous Materials Like Unsealed Tile and Stone, and Dry/Raw/Worn Woods)- To create this effect, choose your Chalk Paint® color (white and grey washes are extremely popular these days due to being so neutral BUT you can do color washes too!) and dilute the paint with water between 50%-80% water (depending on how transparent you want the paint layer to be), and mix paint and water up together very well. Make sure your surface is either degreased or at least make sure none of the stone or tile is crumbling or degrading, brushing off dust and soot. Apply your paint wash with a good natural brush, working in sections. If you want to remove some paint from certain areas and reveal some of the underlying texture and colors, wipe some paint wash away with a lint-free cloth. If wiping away, a great tip is to keep a spray water bottle handy nearby and spritz the washed areas before wiping them, especially if the wash is absorbing and drying into the surface quickly. Add more layers once dried if you like! And again, you may certainly seal the surface when done.
Project shared with Silk and Sage courtesy of customer, J.M., done with Chalk Paint® in French Linen as a more solid base coat followed by a wash with Old White
We love these looks and hope you do too! We are constantly asked about such projects year-round, and always receive lovely status updates on how everything has turned out and lasted over the years. Another way to incorporate this look into other spaces of your home would be on tiled or stone backsplashes too (not inside a shower or constant wet spaces however). If you try this type of project then drop us a line and let us know how it’s turned out! Continue to shop with us using our no to low-contact options to maintain our health during these times.
Happy painting, stay safe and well, xoxo


