Create An Upcycled + Floral Mother's Day Gift Under $75! + GIVEAWAY!
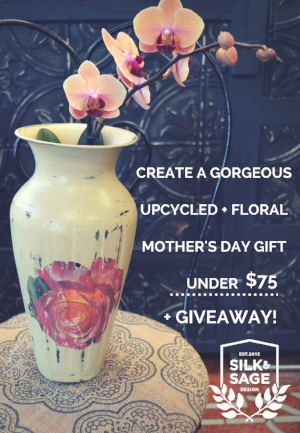
With Mother's Day right around the corner, we wanted to share a great idea for a simple gift that looks fabulous, and will make Mom feel special. Being involved in the creation of your gift makes it heartfelt, and with our tutorial you can create something similar for under $75! Of course these are general guidelines, so feel free to expand or simplify as much as you want! We'll also get into our Giveaway down below...
You'll need:
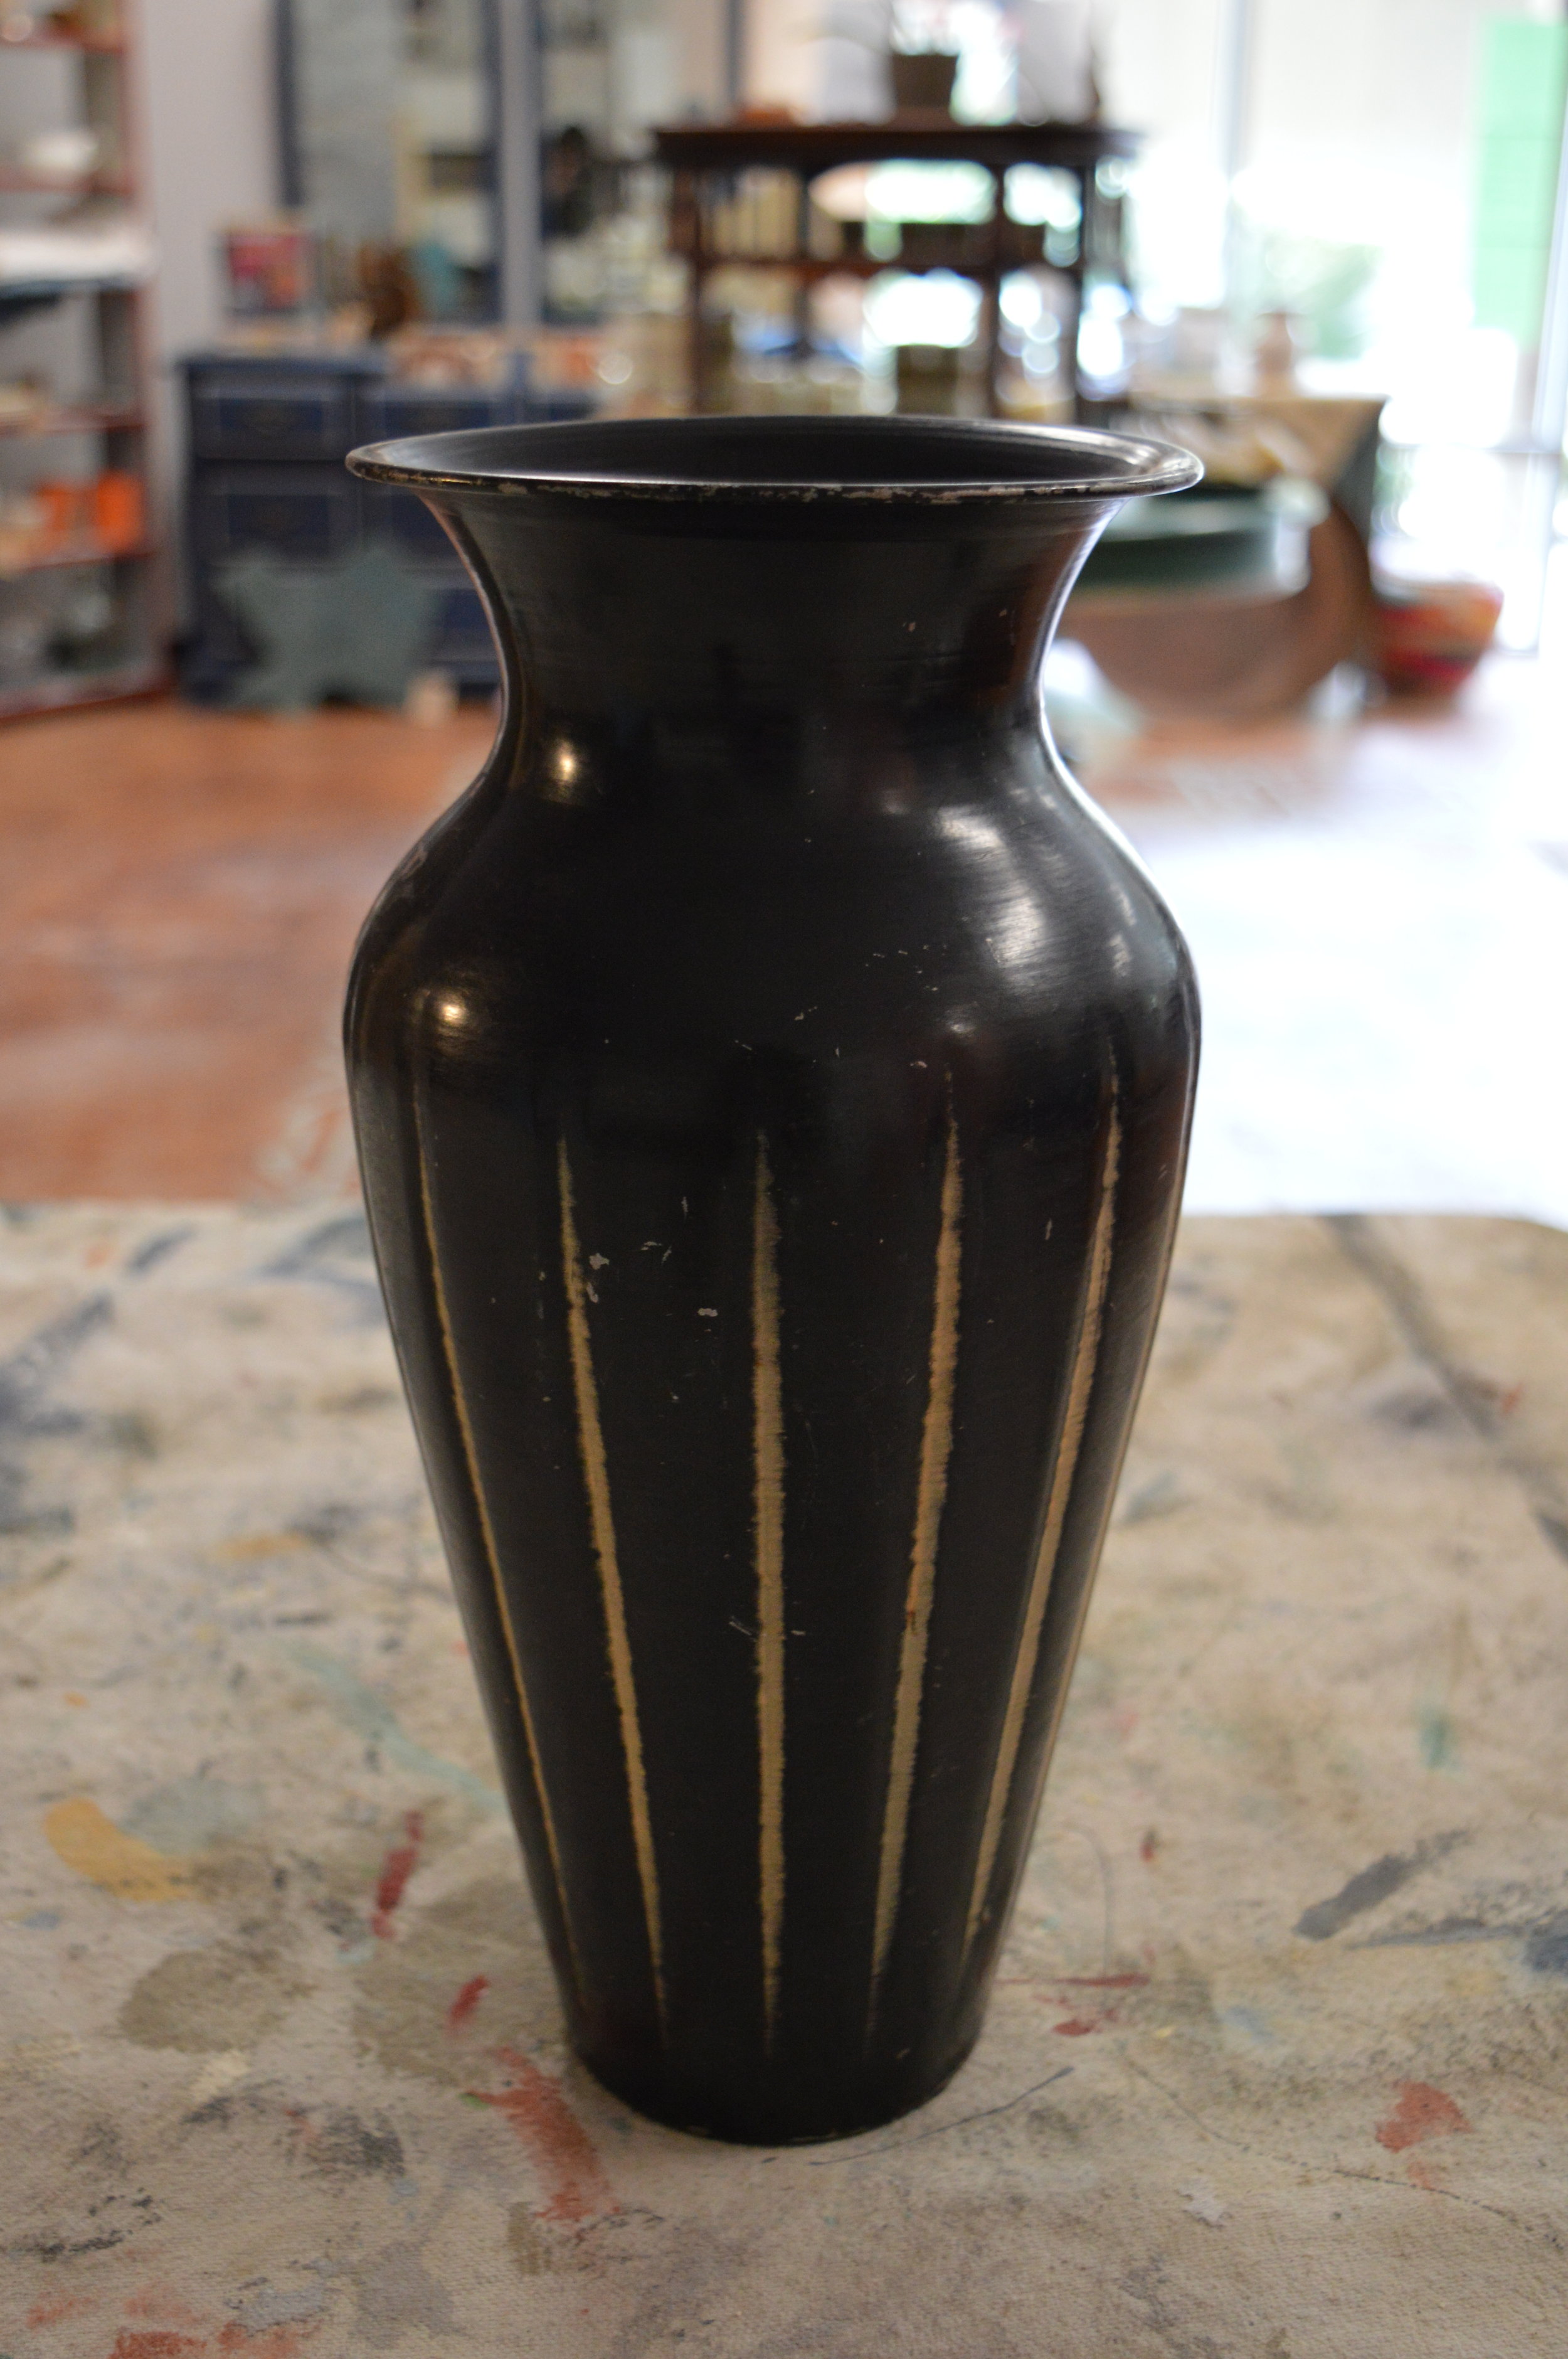
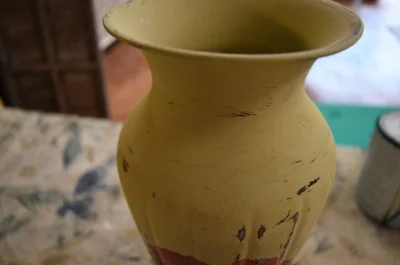
- One vase or container that's metal, glass, ceramic, wood- $0-$5 (We chose a thrifted find for $5, but you may have something at home already that can be upcycled.)
- Chalk Paint® decorative paint Project Pot color of choice- $15 (We chose Versailles for it's sagey-French appeal.)
- Sandpaper sheet or dampened textured scrubby sponge- $0 (Cost depends on whether you have some at home already or need to buy some. Use that dampened sponge to distress to save on cost!)
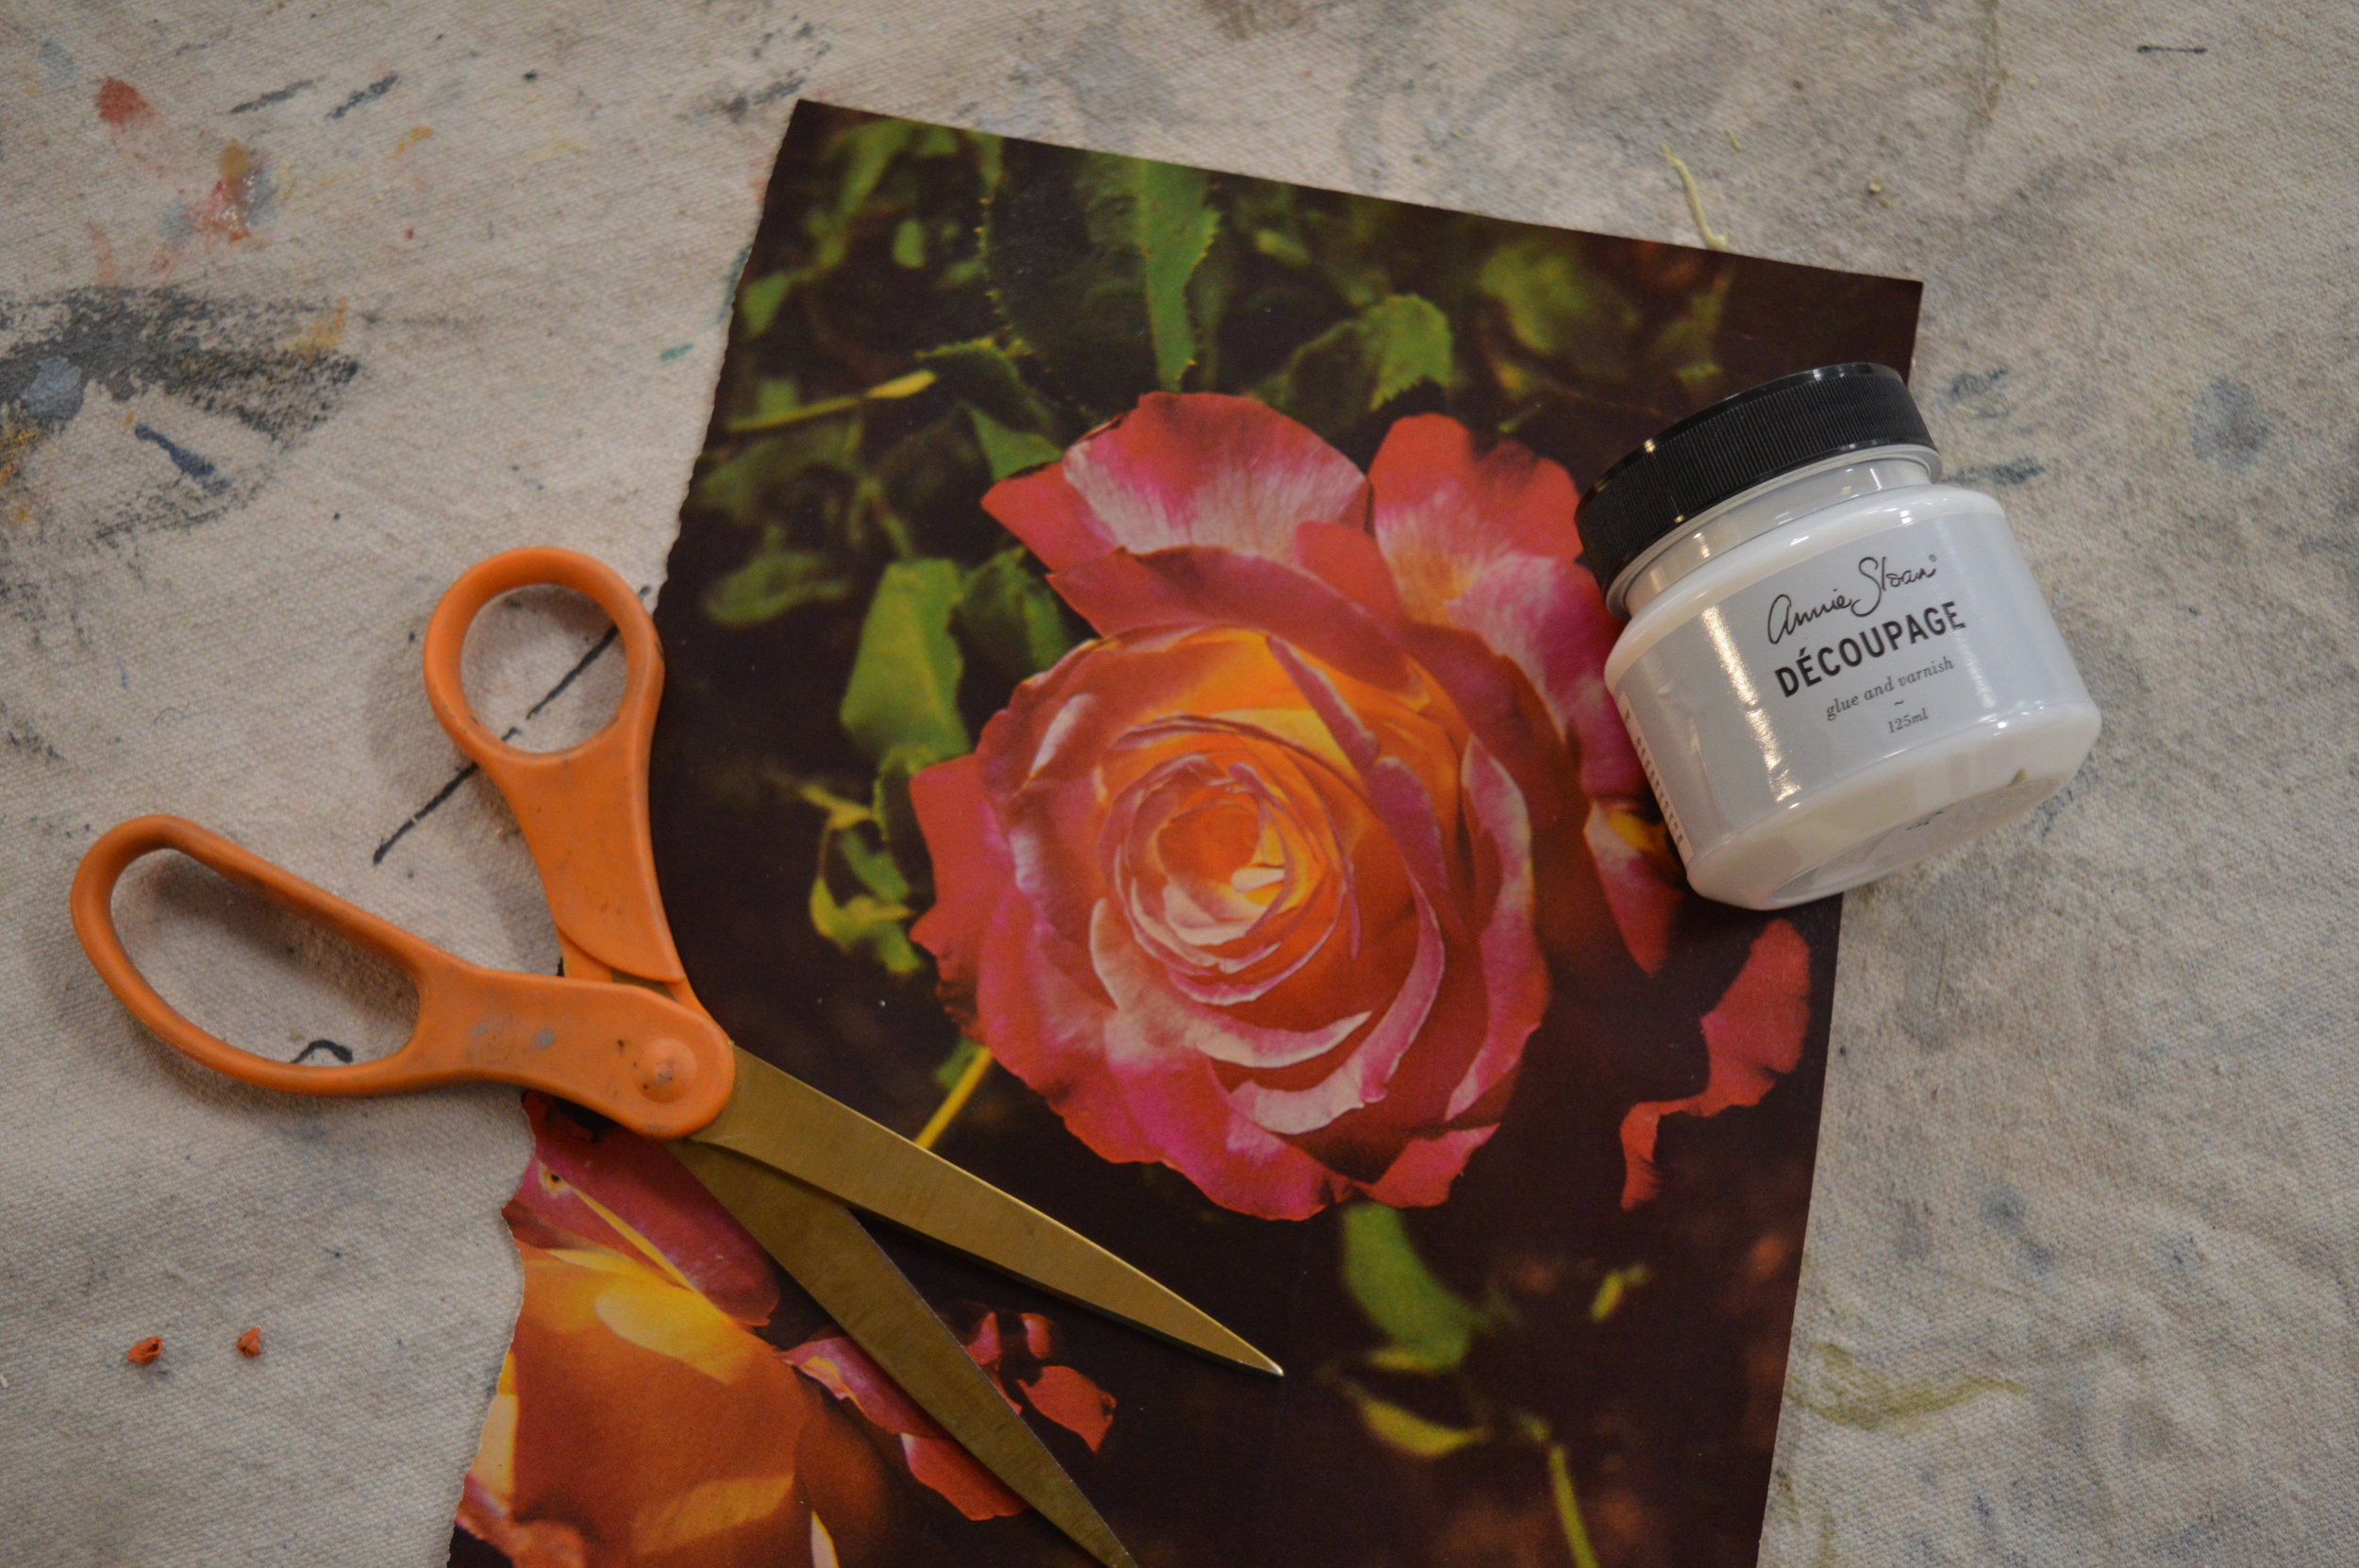
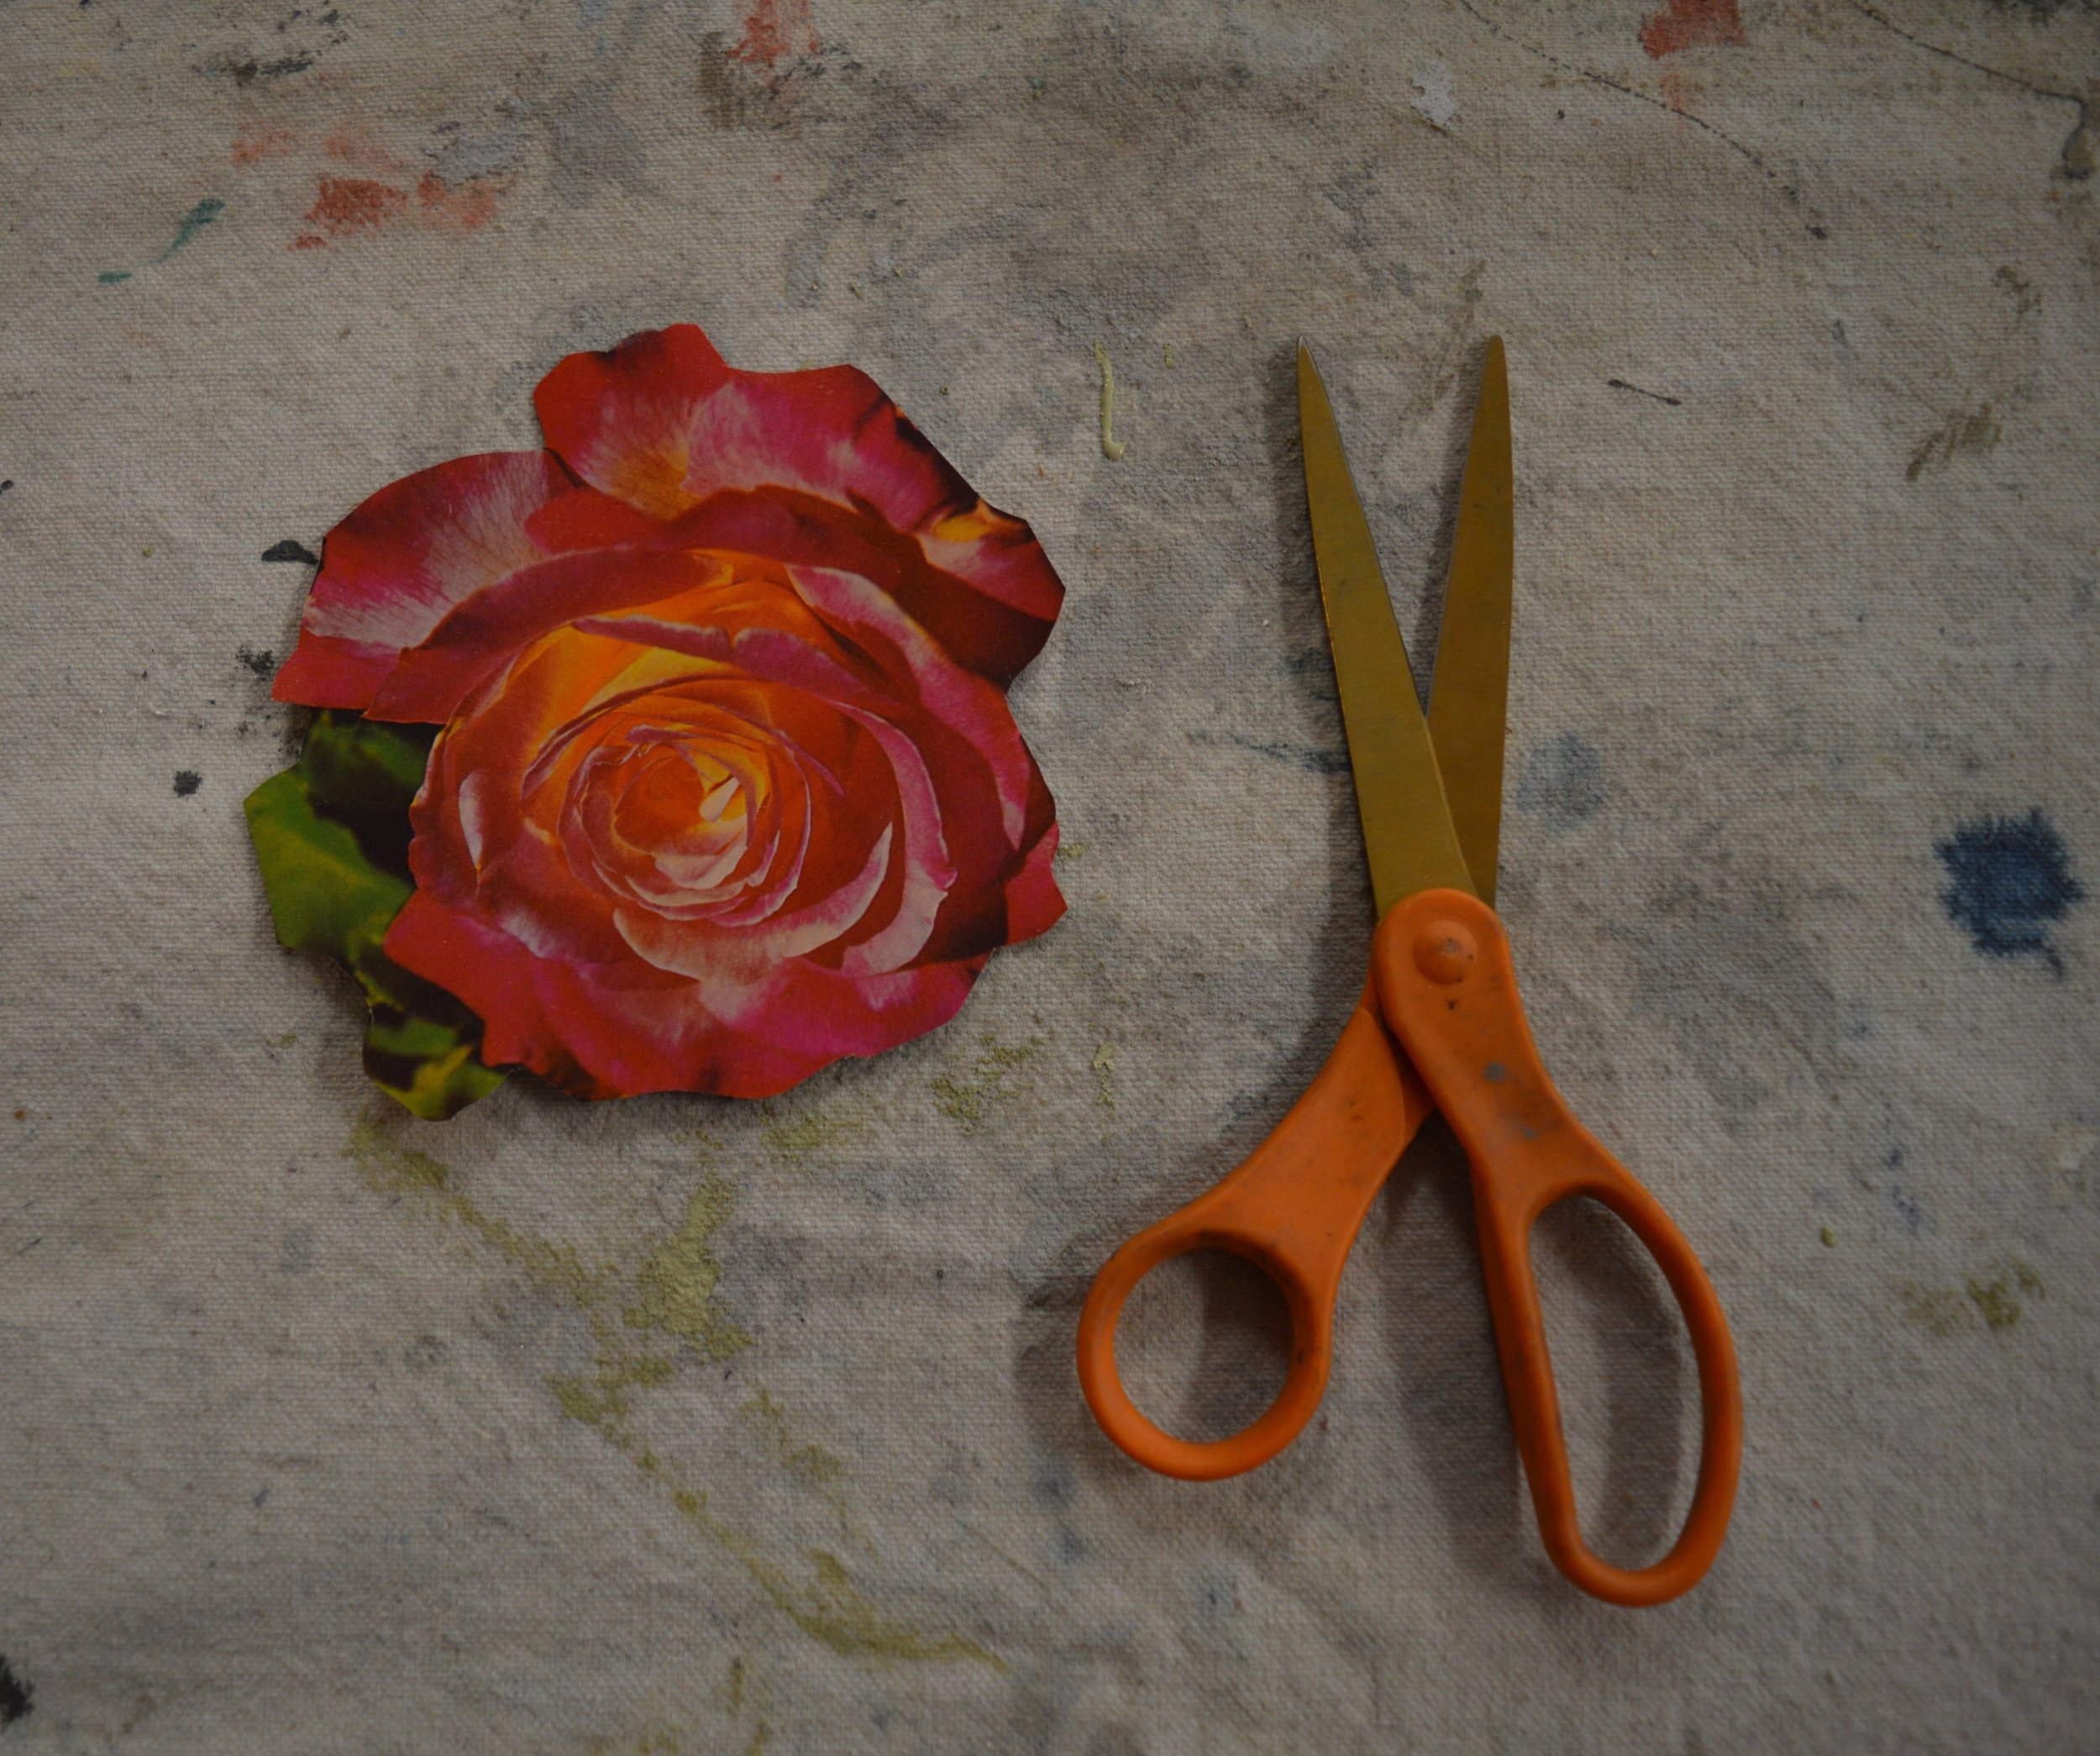
- Magazine, paper, newspaper, thin fabric, or tissue paper cutout- $0 (Almost everyone has something at home already that has a cool image on it that can be cut out!)
- Scissors- $0 (Again, almost everyone has a pair of scissors at home or a pair that can be borrowed from a friend or family member.)
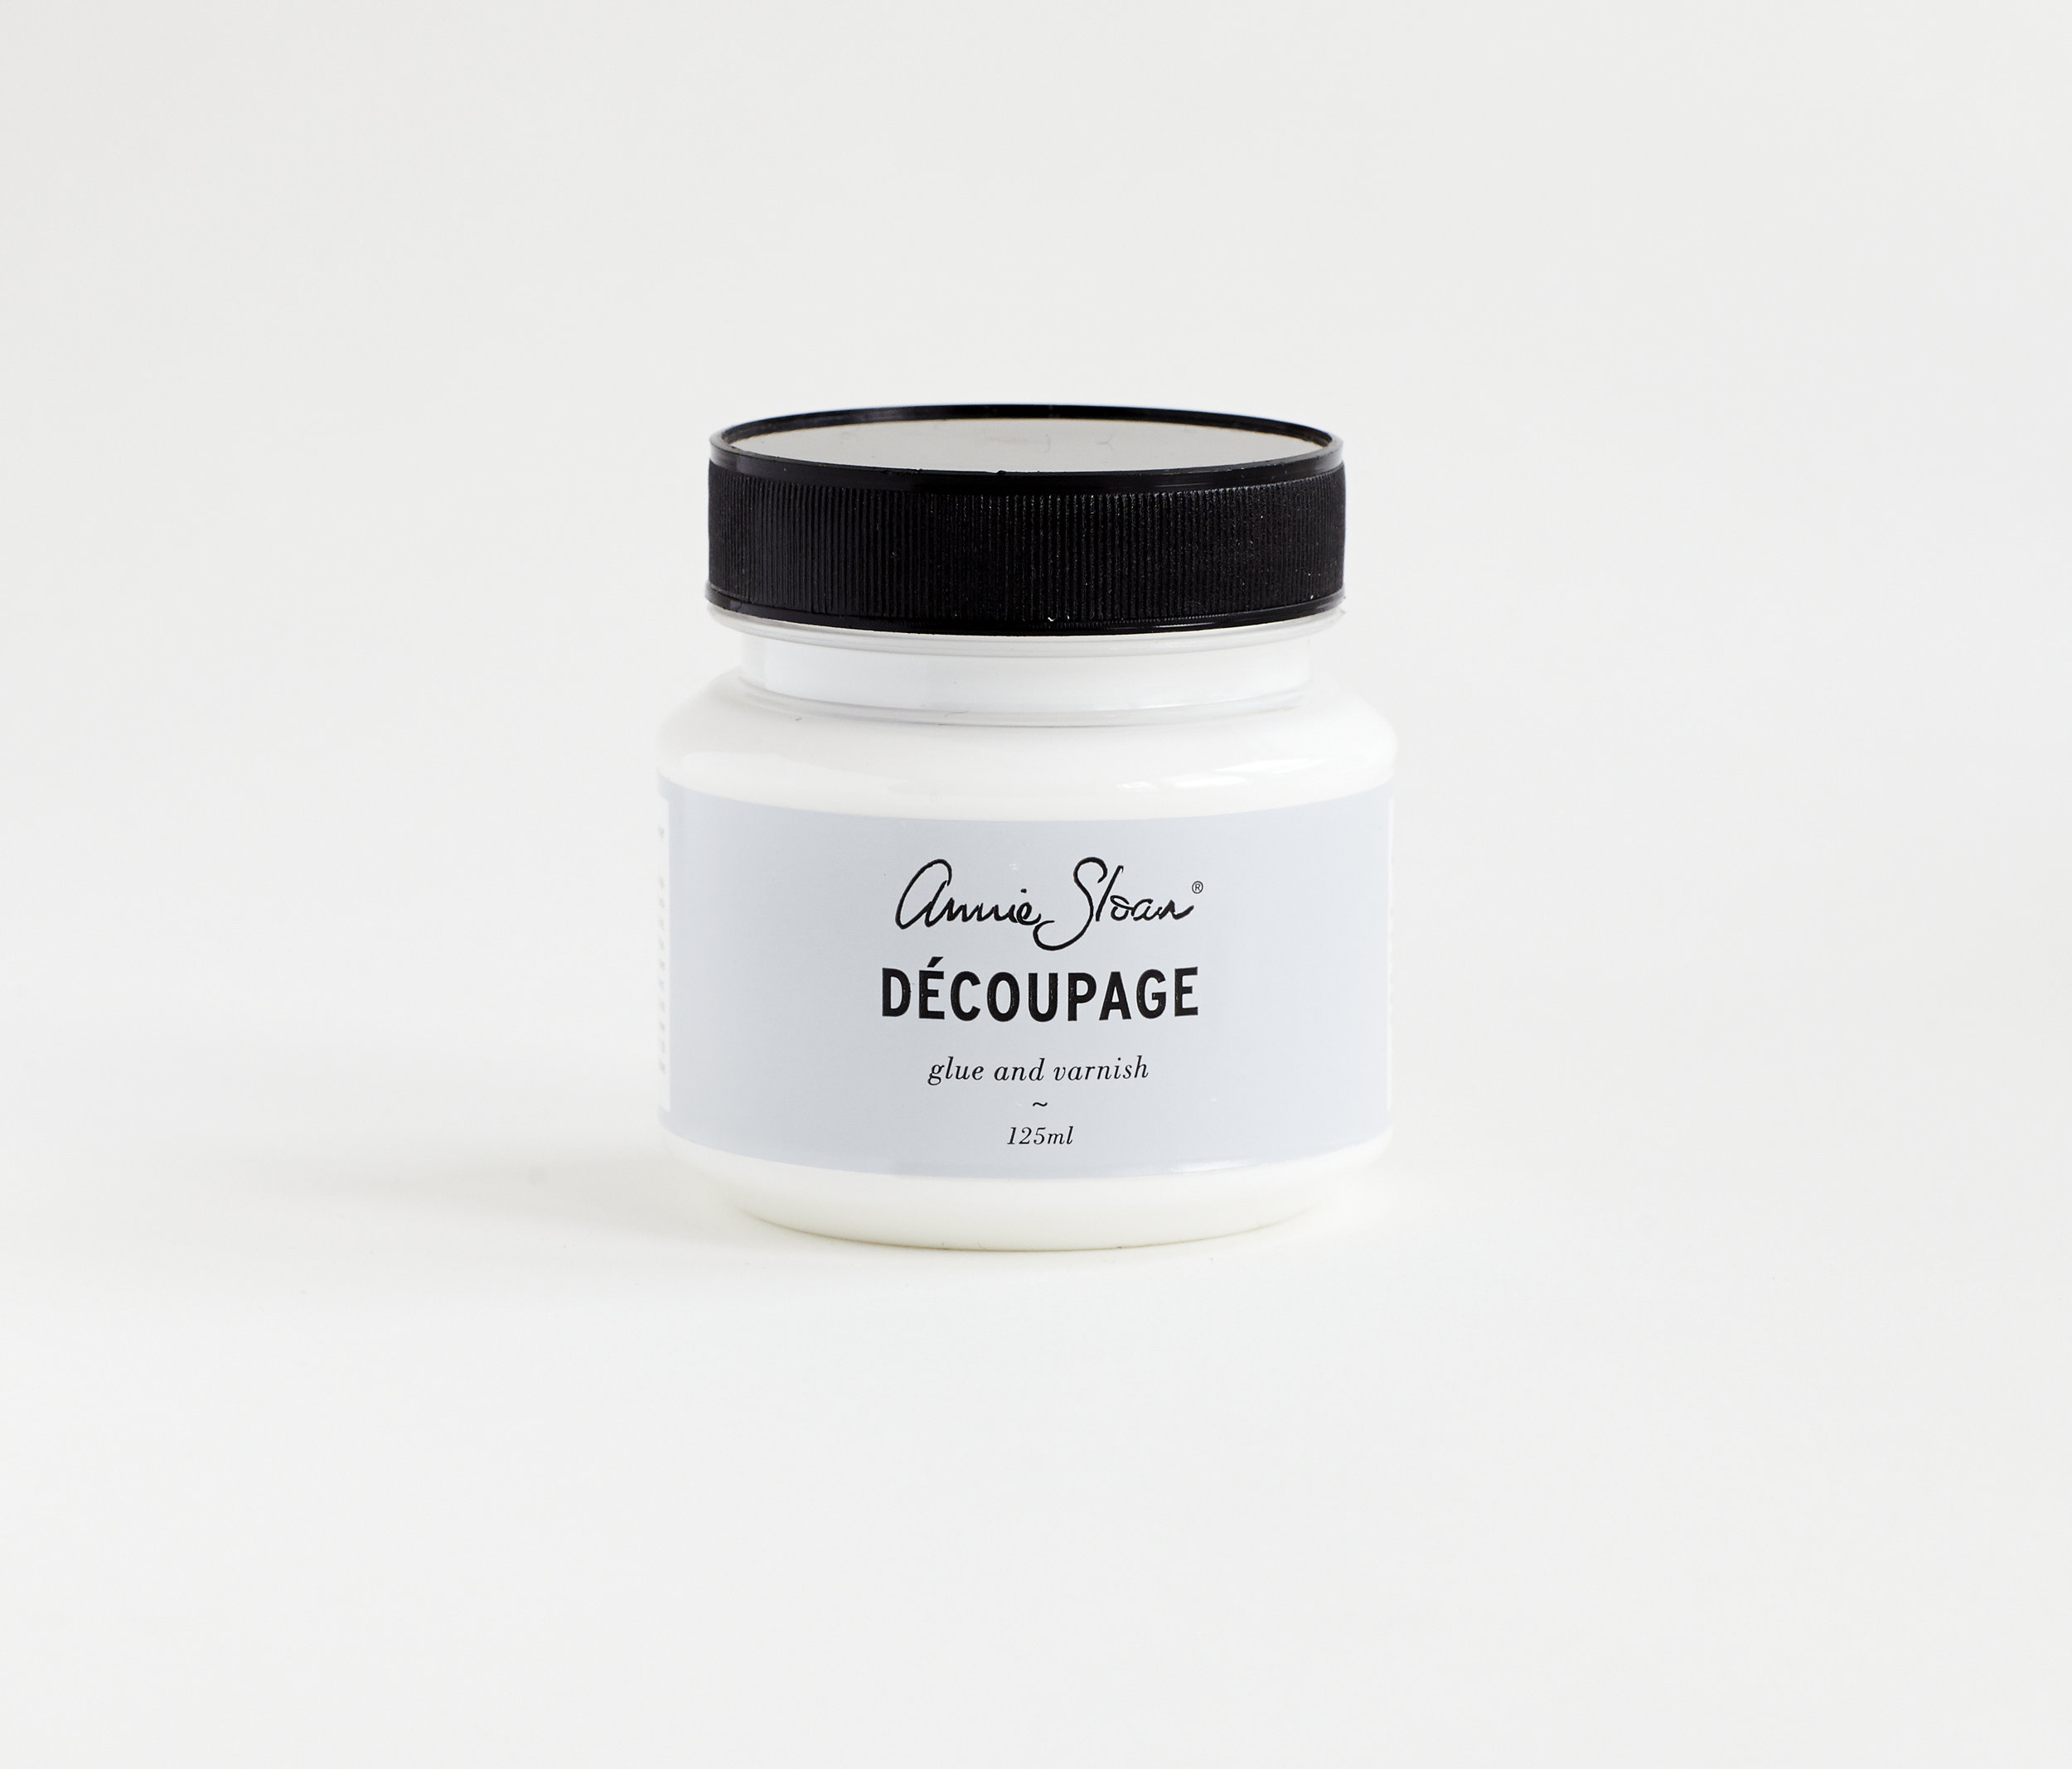
- Chalk Paint® Image Medium / FKA Decoupage Varnish- $20.50 (This item is a bit of a splurge, however it lasts through many uses and does decoupage and image transfer in the best way, without smudging inks from printed images- however if it isn't friendly to your budget, you may forgo this part of the project!)
- Small Paintbrush- $0-$15 (Most individuals have a brush at home, however we have a range of brushes from $3 to $15 in the shop that would suit a small project well.) We chose our Annie Sloan Small Flat Brush
- Orchid, plant, or floral arrangement- $16 (We visited our neighbor, Freytag's Florist on West Anderson Ln. in Austin, for a mini Orchid so that Mom can continue to grow her gift! Shop local and sustainable- find your own favorite neighborhood florist!)
Here are the steps:
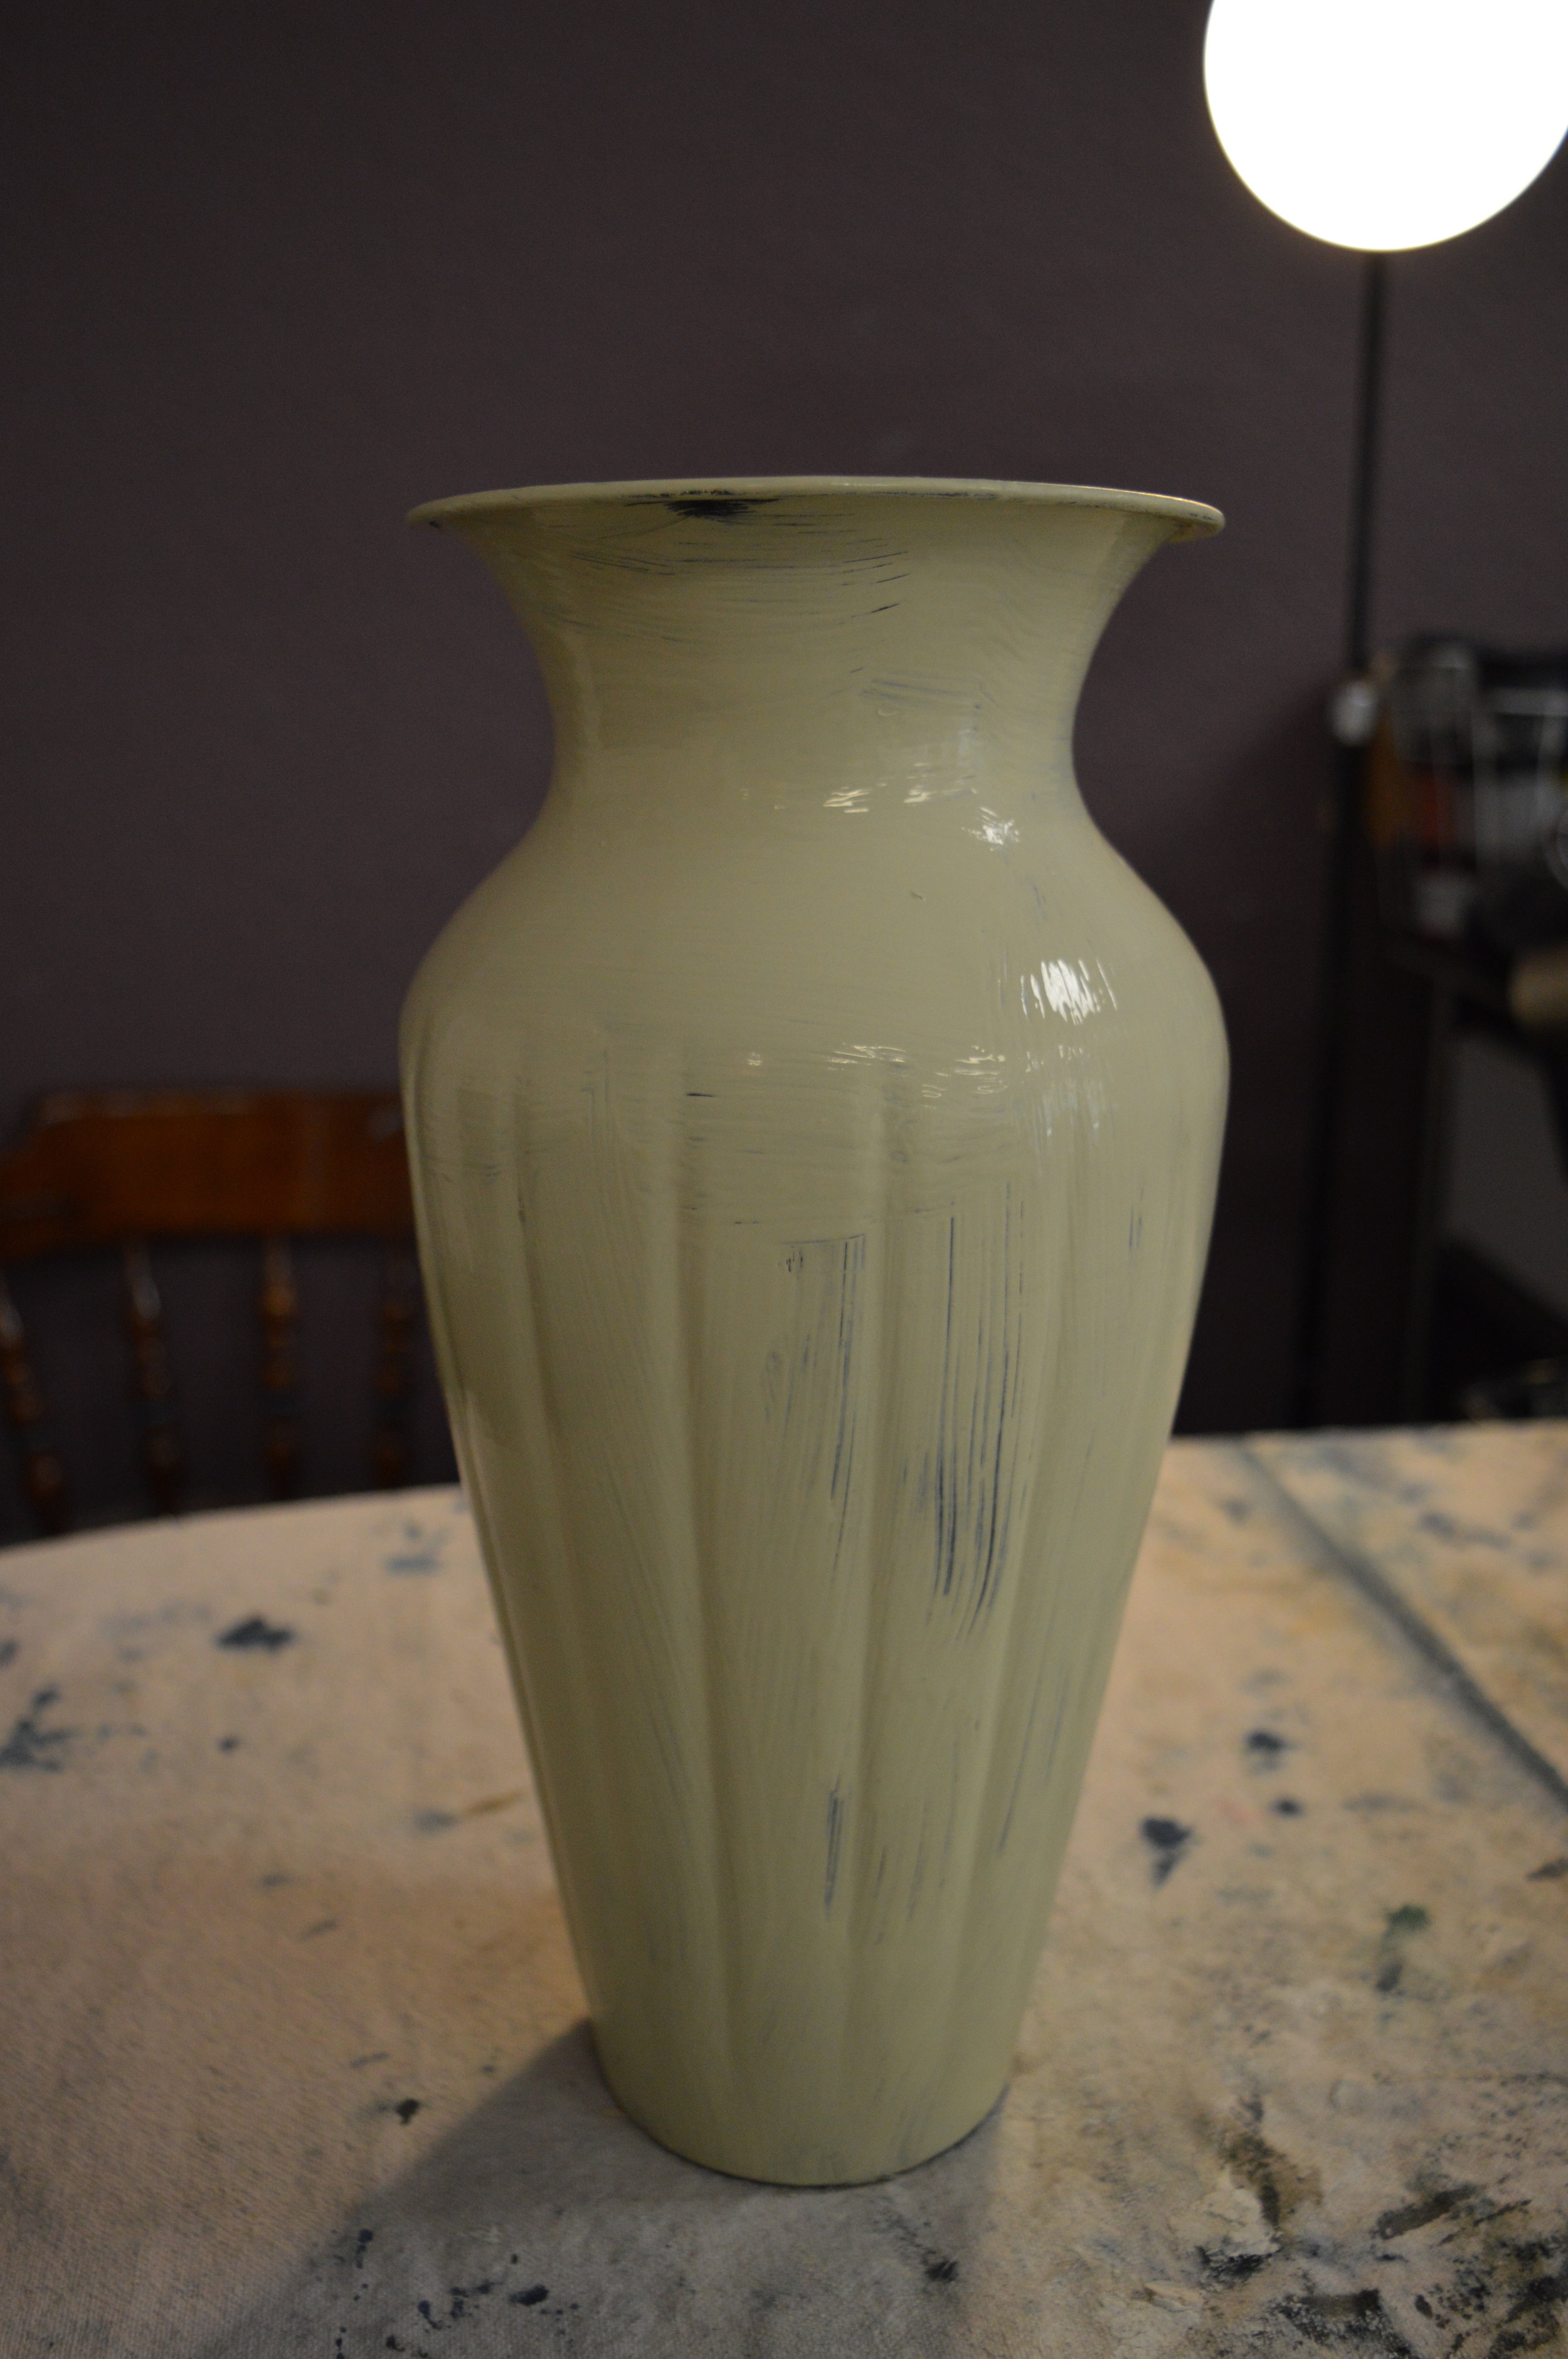
1. Apply your Chalk Paint® decorative paint color to your vase or planter surface- you may need a second coat if desired. For 'normal' surfaces, give a couple hours dry time between coats, or give 12-24 hours dry time between coats for shiny and slick metal or glass surfaces. The color we chose for our project is Versailles for its sagey-French appeal!
2. While waiting for paint to dry, cut out your image for decoupage. Try to choose something that has a generally defined outline, as opposed to something that will have tons of tiny intricate details to make it easier to cut out. We love using images from old books, magazines, newspapers, giftwrap, and even thin fabrics or tissue paper. Get crafty my friends!
3. Add a second coat of paint as needed, with the applicable dry time for your kind of surface.
4. Once dry, distress through the paint using medium grit sandpaper or a dampened scrubby sponge until you achieve a lightly aged look. Distressing looks natural over edges and raised areas.
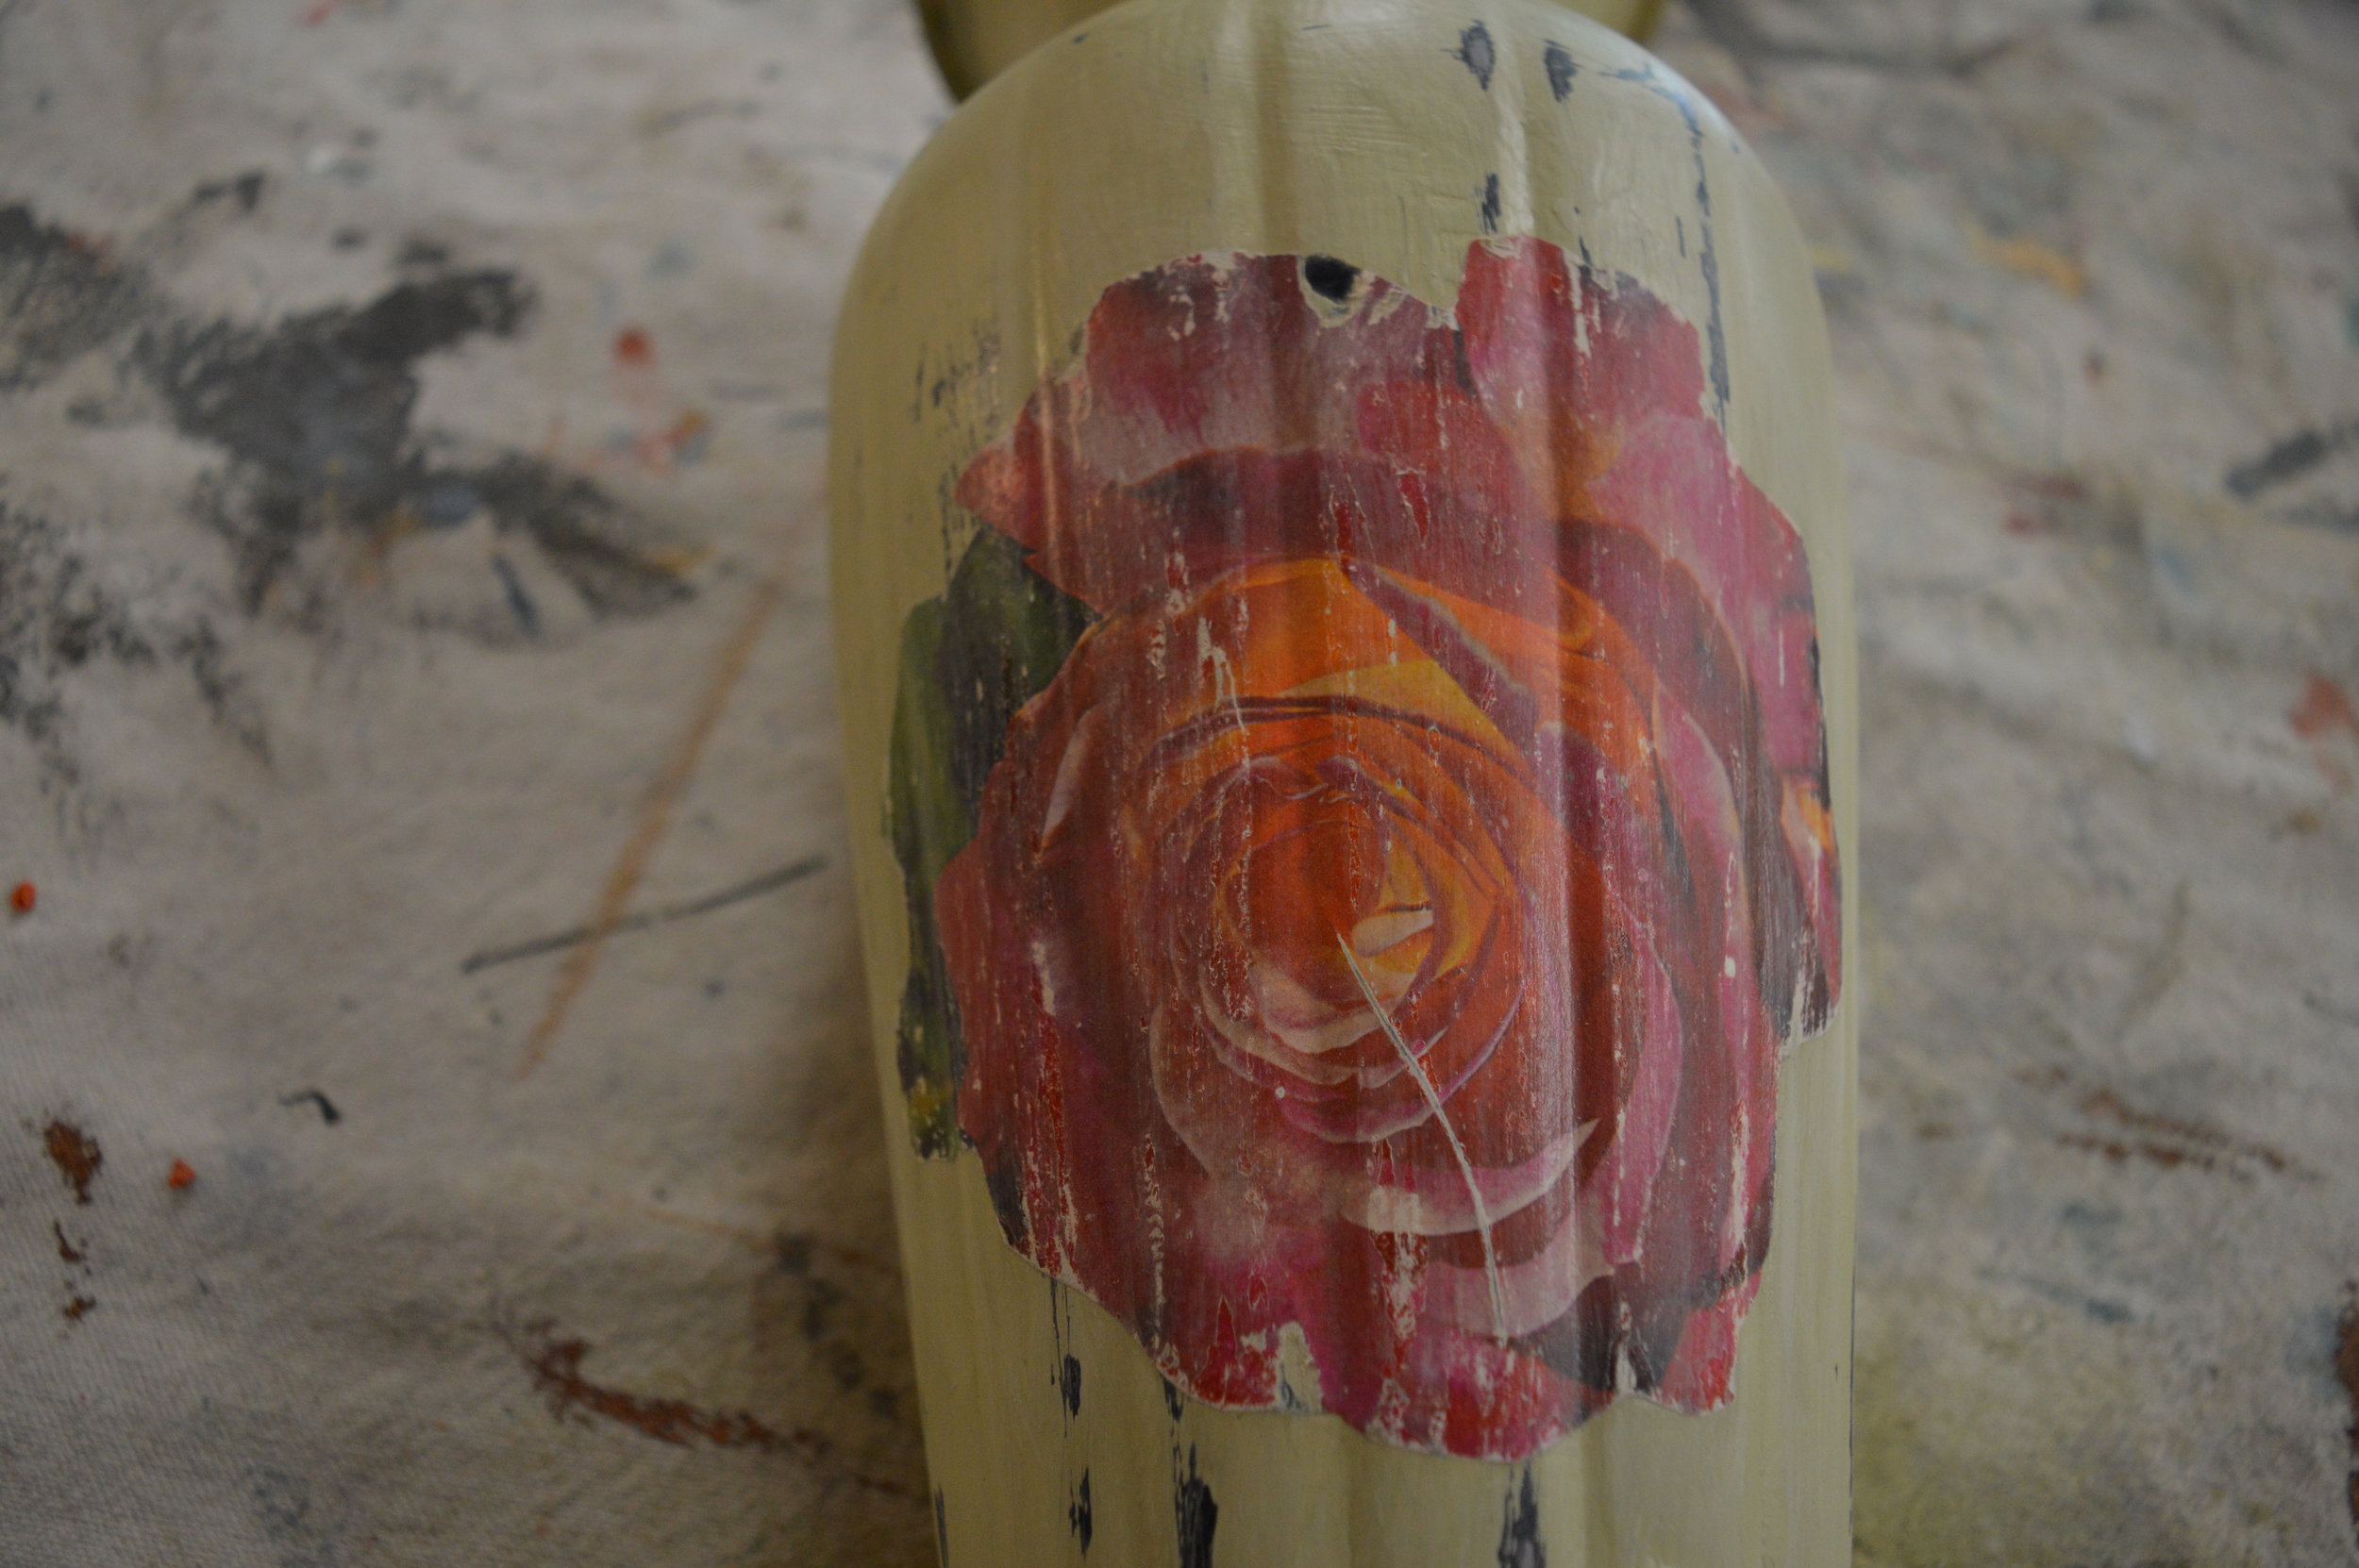
5. Apply the Chalk Paint® Image Medium (formerly known as Decoupage Varnish) to the backside of your image, and gently press the image down onto your vase surface with one corner, and slowly press the entire image down while working out air bubbles. Apply a thin coat of your Image Medium over the cutout and let it dry. Decoupage isn't so difficult, we promise!
6. Apply 2-3 thin coats of the Image Medium total for durability. We used the Medium as a varnish over the whole vase surface as well. You may also sand the image edges down to make it feel less raised and to distress and fade the image.
7. Add your plant or flower arrangement of choice to complete the gift. We chose a lovely mini orchid from Freytag's Florist on West Anderson Ln. in Austin, so that it could be a sustainable gift that keeps growing (we added little rocks below the orchid in the vase for good drainage- always make sure to plant with proper conditions based on what you choose, and to include care instructions!). Mom can also change the planter or vase up as needed as the plant grows, and continue to repurpose the planter or vase. Remember to visit your own local florist!
The result is something truly special. Doesn't it feel great to make a gift? This is absolutely a project that can be completed within a couple of days (even within one day depending on materials used). Share your own results with us, and if you're in or near Austin stop by our Shop & Studio at 2700 W. Anderson Ln, Ste 228 for all Chalk Paint® supplies. Otherwise find your local stockist here.
Watch our tutorial video to visualize the process!
And now for our GIVEAWAY! We are excited to announce that one lucky person can win the very same decoupage vase that we created for the tutorial. To be entered to win, please complete all steps below:
