
What to Choose for Your Next Project- Annie Sloan Paints

Today we’re sharing a short but informative compilation of how to choose the best Annie Sloan paint for your next project! If you haven’t heard yet, Annie Sloan’s new Satin Paint and Wall Paint have finally reached us in the US, and we are fully stocked. We absolutely love these new additions as they create a full ‘story’ for your spaces when combined together with Chalk Paint®.
Now, how are they different from the original Chalk Paint® and how do you know which is best to use for your projects? Firstly, while there are some colors repeated throughout all three paint lines, there are some only featured in the new collections or are even exclusive to the new collections (yes there are some gorgeous new colors NOT seen with Chalk Paint® before!). But as for choosing based on what your surface type is, where it’s located, and what your final look wants to be, see our lovely simplified chart below:

For square footage coverage:
Chalk Paint® covers 150 SF per tin per coat
Satin Paint covers 118.4 SF per tin per coat
Wall Paint covers 387 SF per gallon per coat
Aaaannd, that’s it! Stay tuned for more projects and blog posts featuring these great new paint additions. In the meantime visit us at our Shop & Studio to see samples in-person and to shop all things paint (you can shop online with us too of course, but it’s more fun to see your faces).


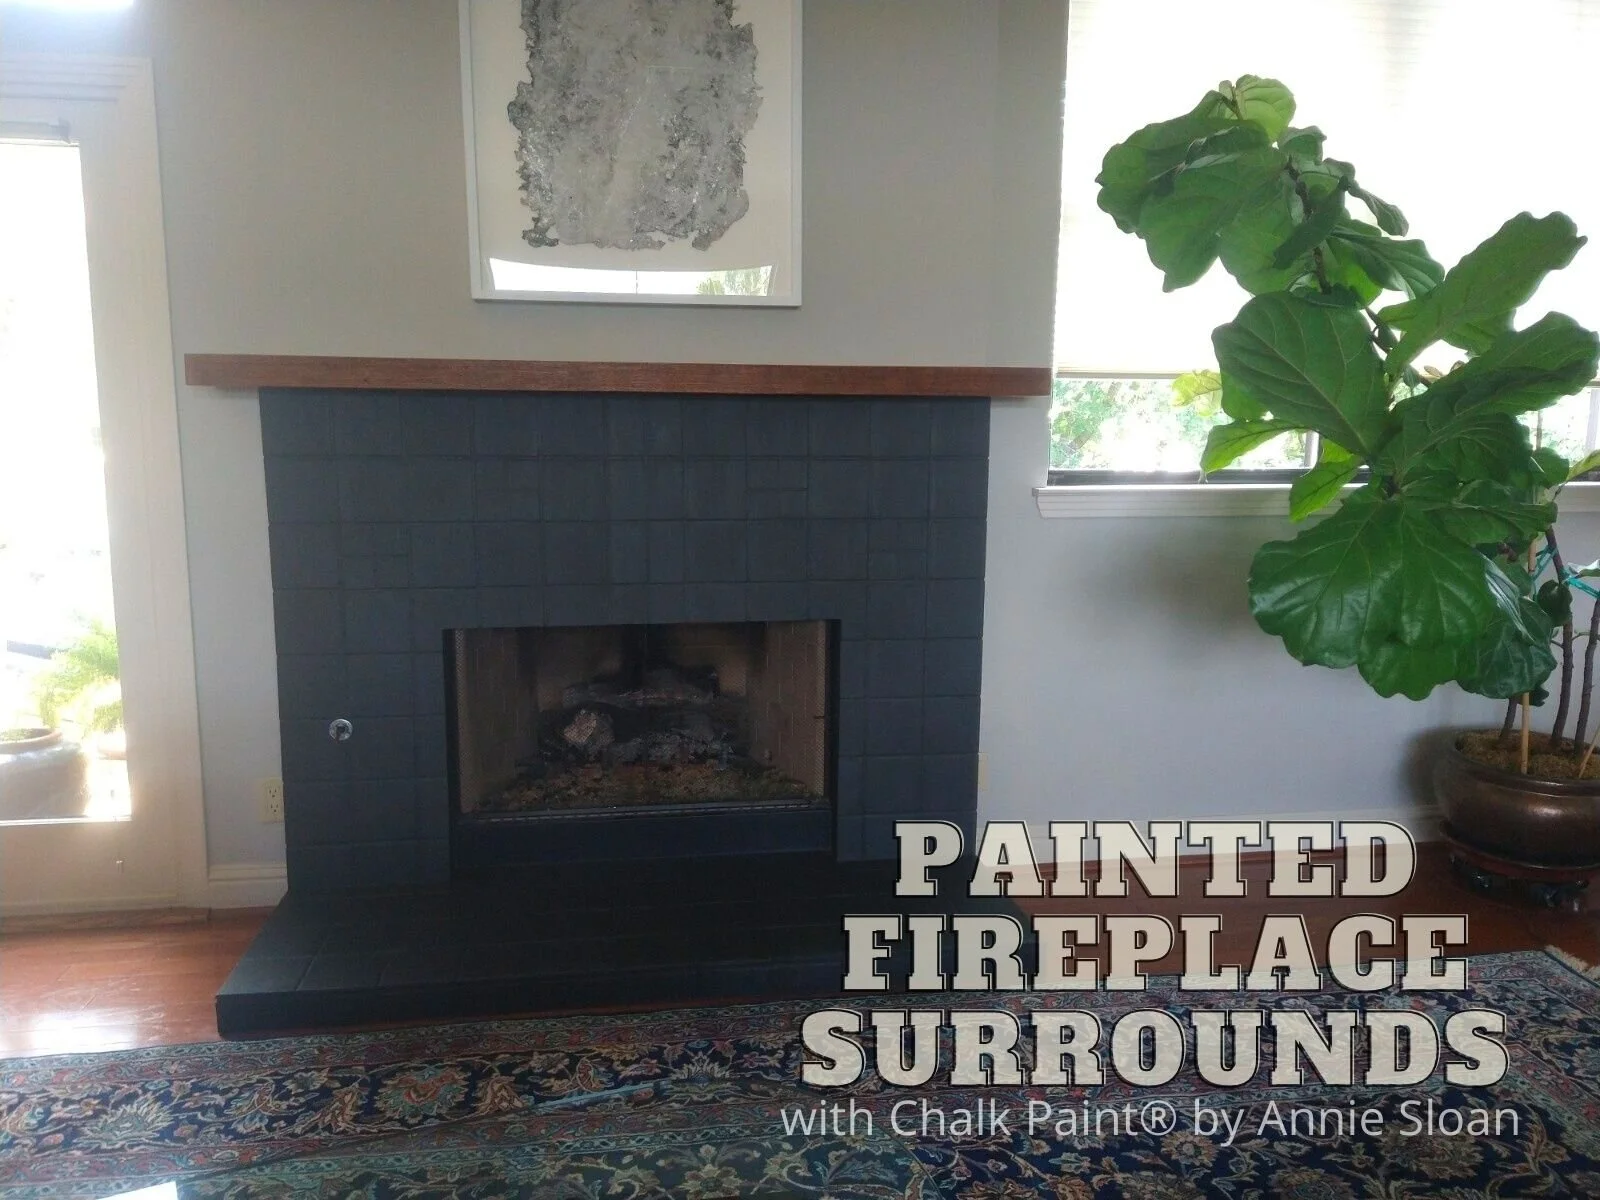
Home Improvement Project Idea: Painted Fireplace Surrounds with Chalk Paint® by Annie Sloan
Stuck at home like all of us? Painted fireplace surrounds can immensely change a room’s look and be knocked out in a weekend or less…
Hey there, 2020 sure has been a wild ride, and we’re here with our first blog post of the year. Good gosh. Like many of you, we have been spending increasing amounts of time at home and assessing every nook and cranny for ‘improvements’ to pass time and stay in our own space. Sometimes these improvements are purely based off changing style preferences, and sometimes are crucial to the overall state of certain rooms and structures.
One such project is changing up fireplace surrounds and mantles! Whether wood, tiled, or stone, they can be painted to varying degrees and styles. That’s great news because here in Texas, some of our stone fireplace surrounds are looking seriously dated. Instead of ripping out the old tile or stone, painting them up can be done in a weekend (or even shorter)! Here are two easy-to-knock-out painted fireplace surround ideas:
Complete Overpaint (Solid/Opaque Coverage, Over Tile and Possibly Even the Grout; Works Well on All Surfaces)- Chalk Paint® will cover both porous and slick-glazed tile, and certainly the grout as well (if it’s the wrong color, if it’s dirty, if you want complete-coverage and a knocked-back look). To paint, clean the tile first with a gentle eco-friendly degreaser (like Krud Kutter), nothing sudsy, rinse, and let dry; for porous tile, you may want to add 5-10% water to the paint to make it soak in very well, and for slick-glazed tile you may want to wait an extra long drying period between paint coats to prevent ‘double processing’ the paint (instead of a couple hours, wait several hours or even overnight between coats to allow an extra great bond to the tile). Apply as many paint coats as you’d like for desired coverage. You can certainly seal the paint, and Soft Wax often works best, just make sure that the surround doesn’t get too hot if a fire is lit!
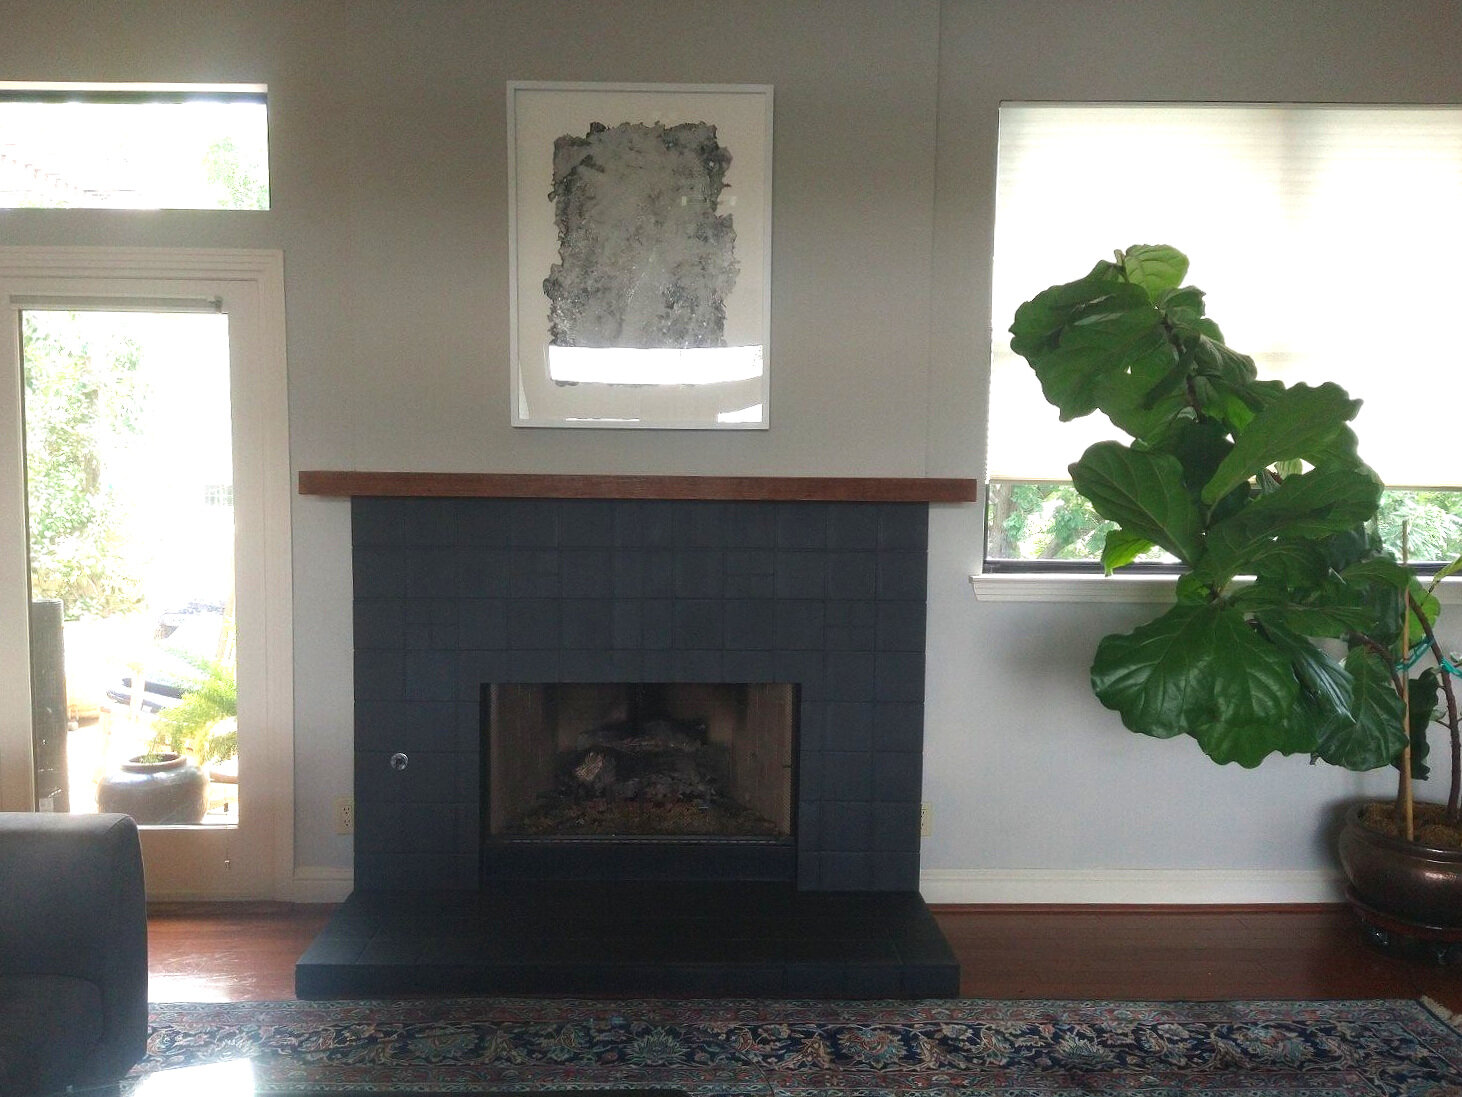
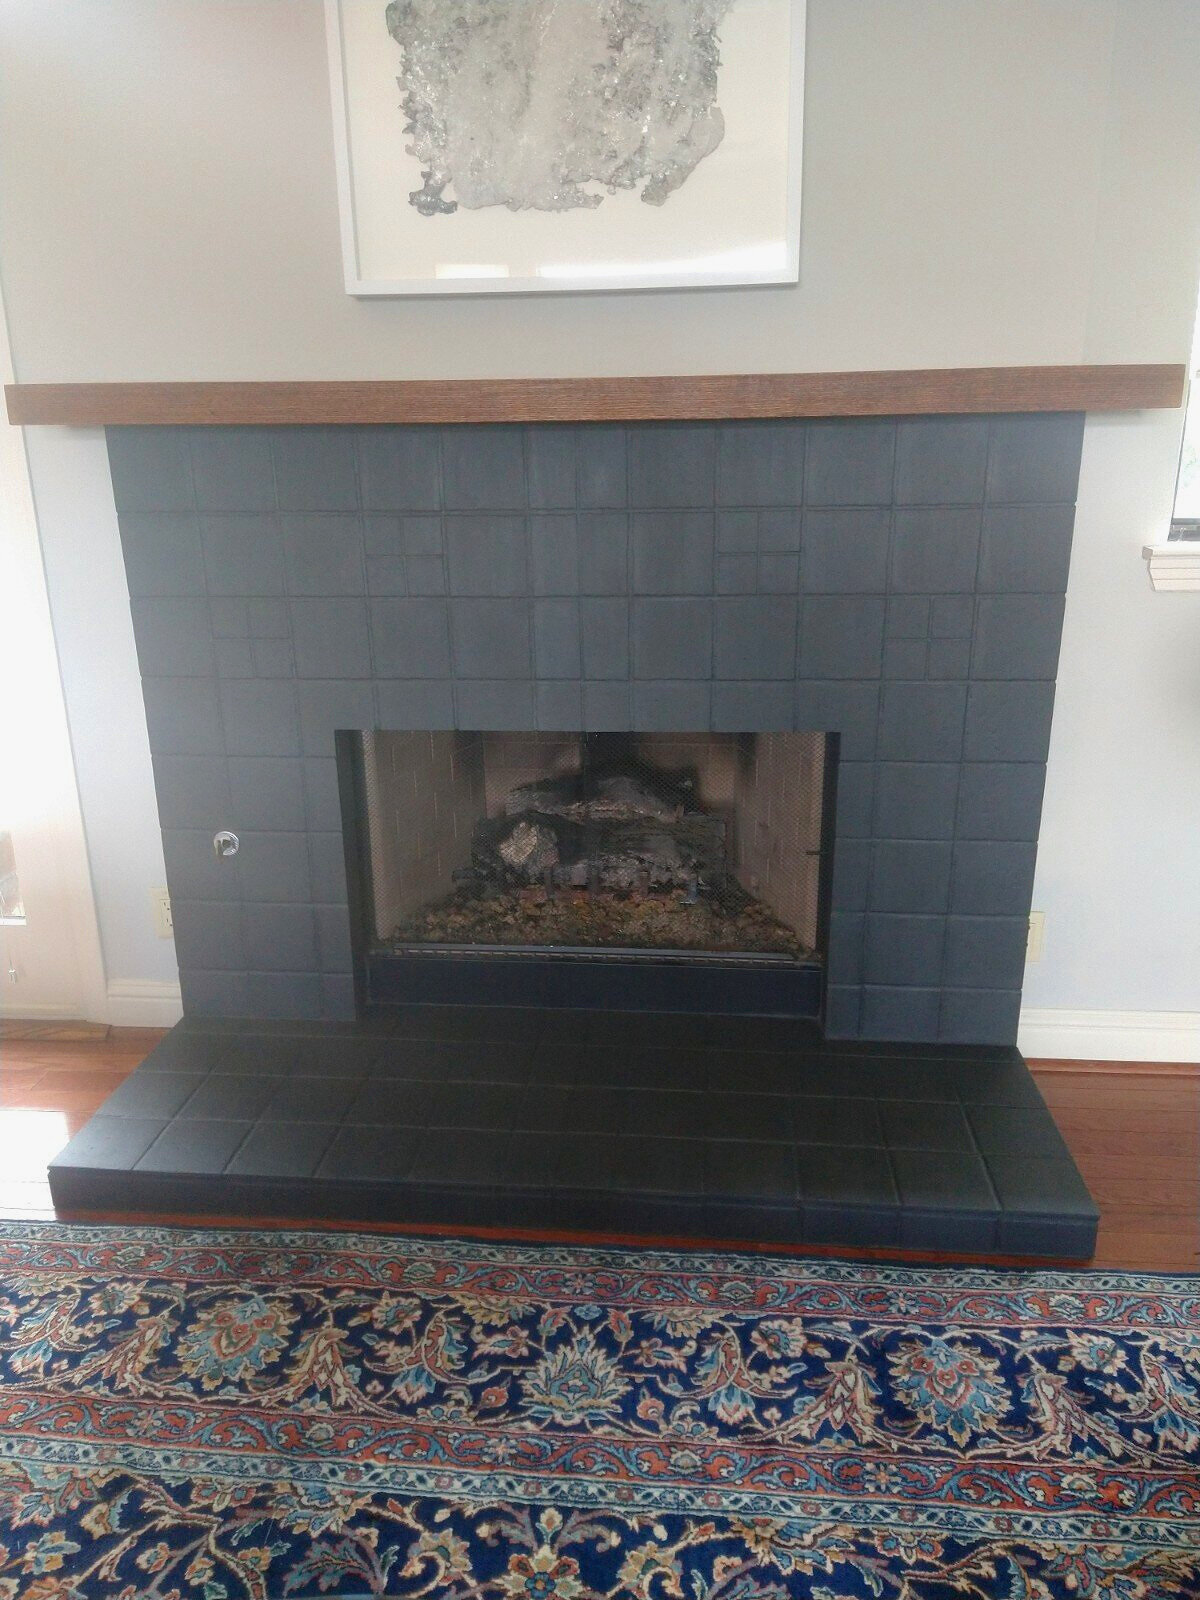
Project featured from a Silk and Sage custom-work client, done with Chalk Paint® in Graphite with solid coverage, followed by Clear Wax
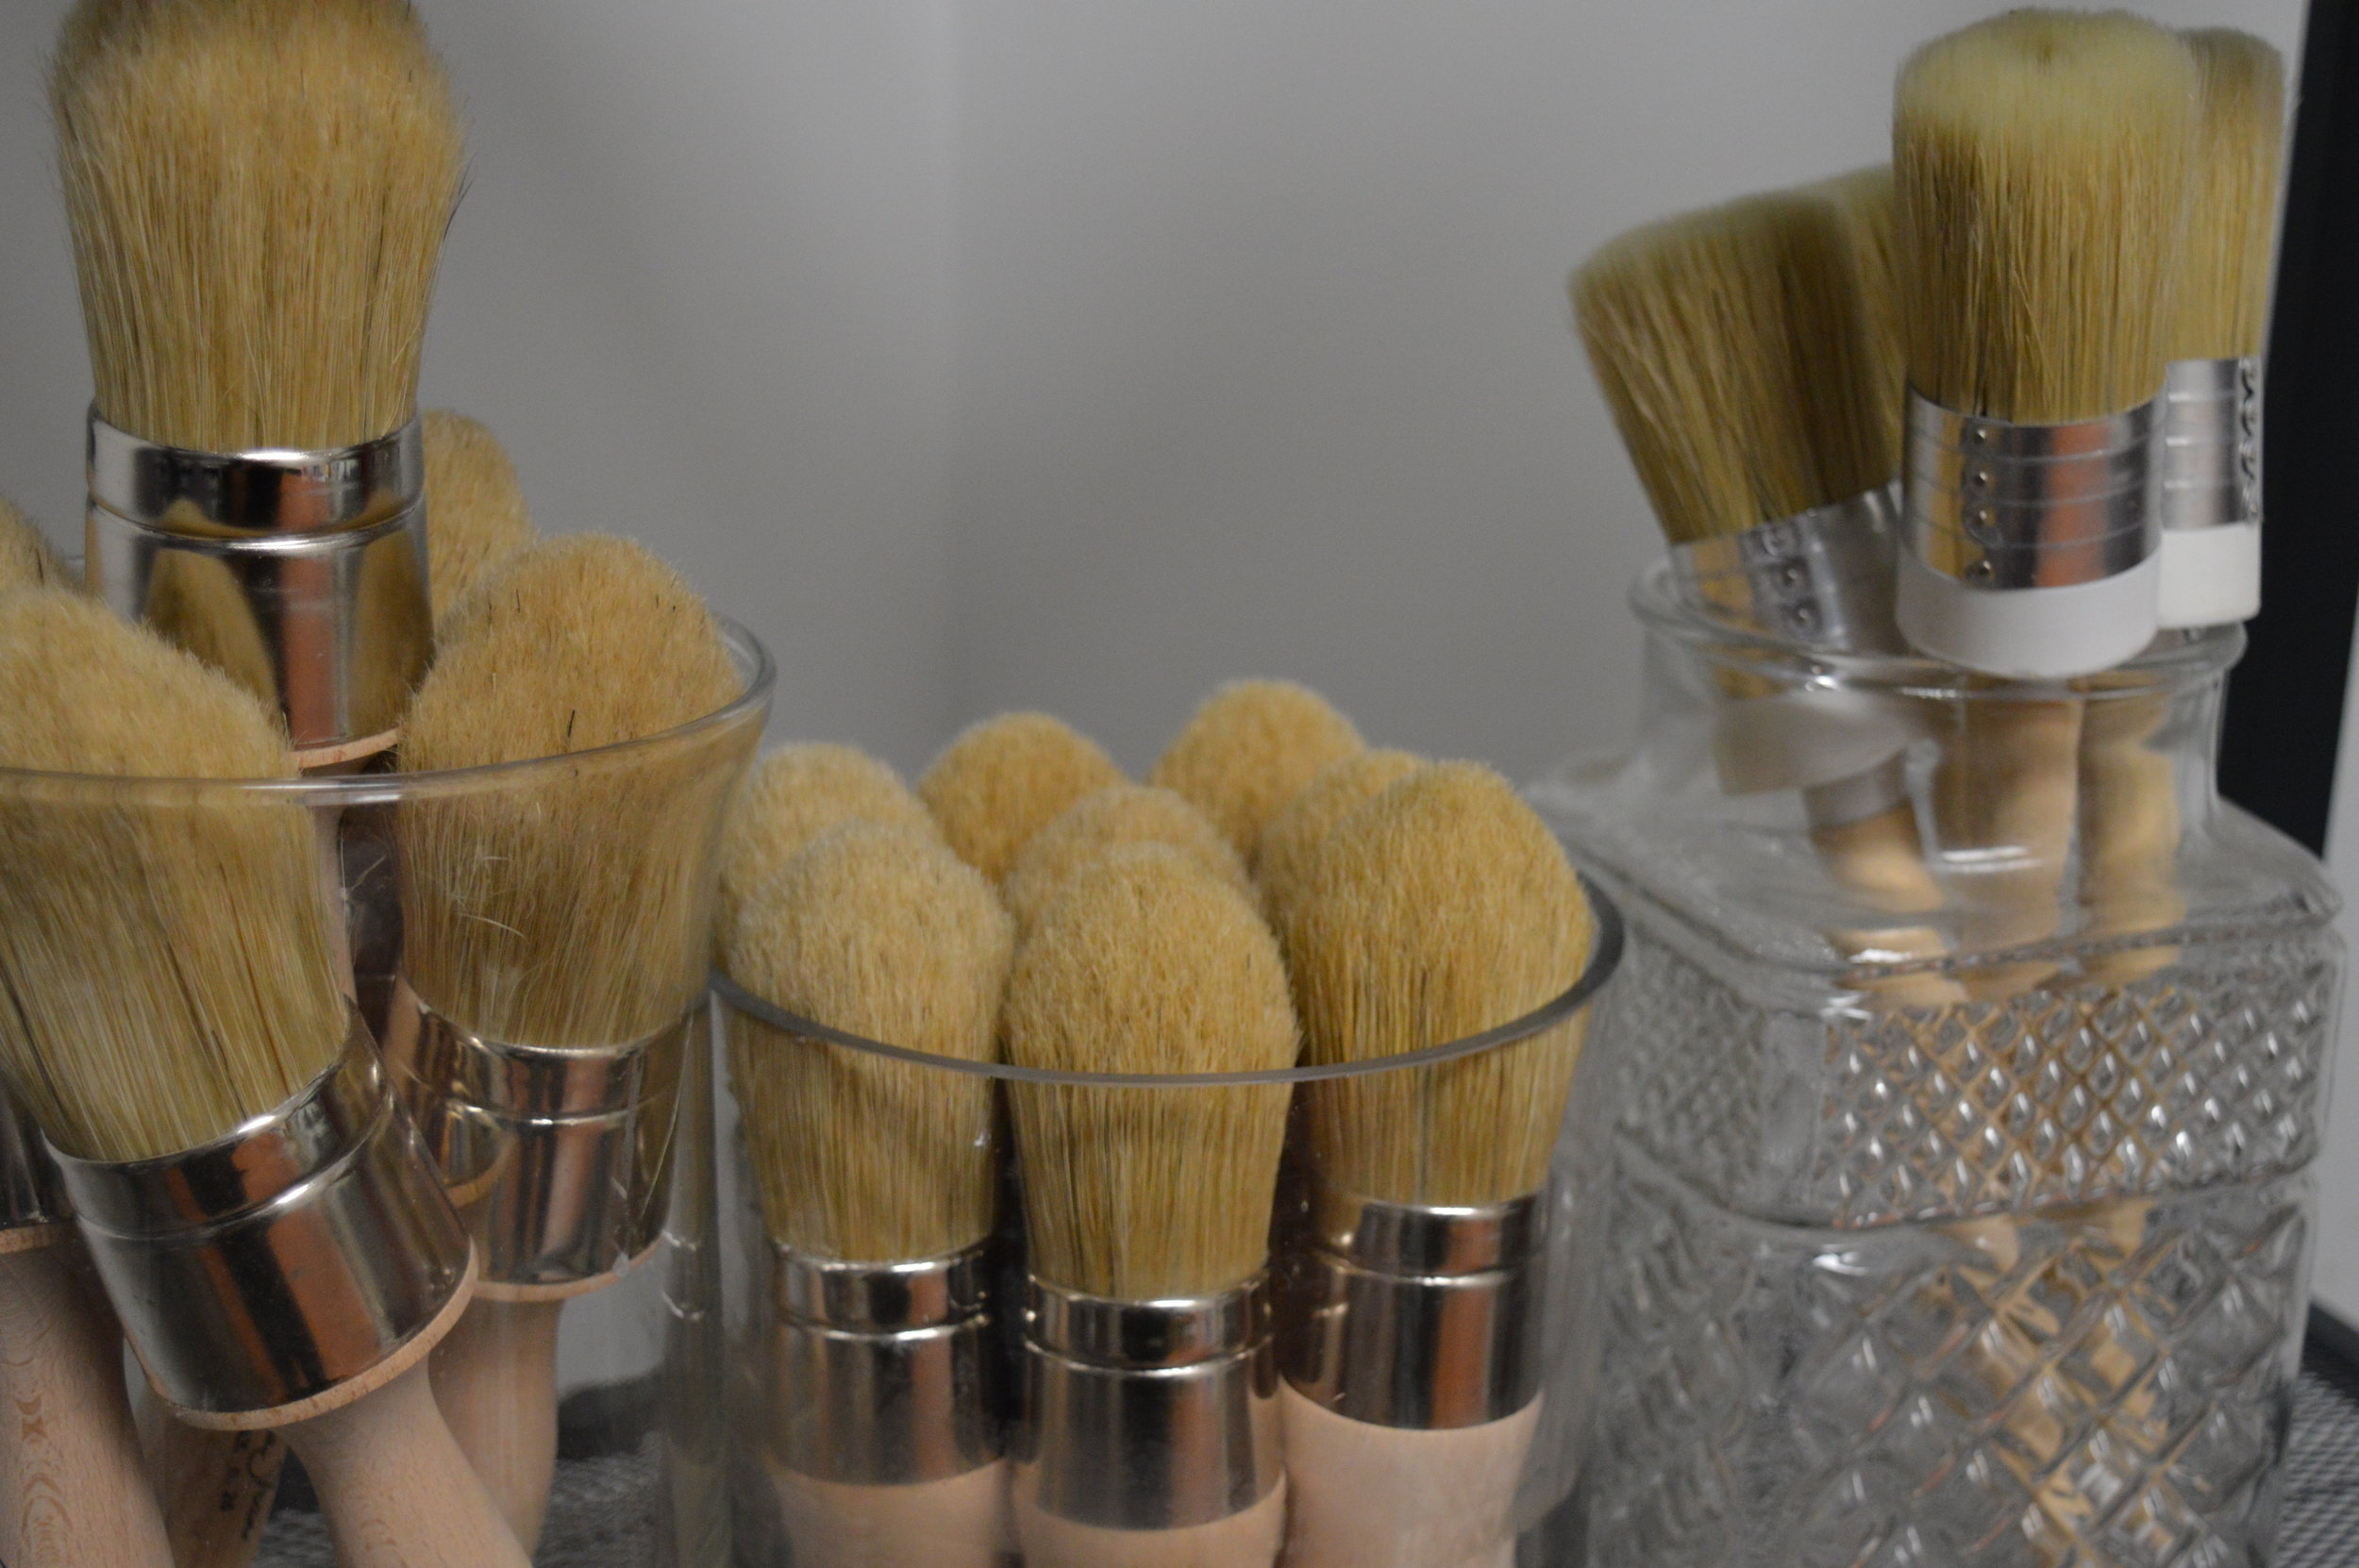
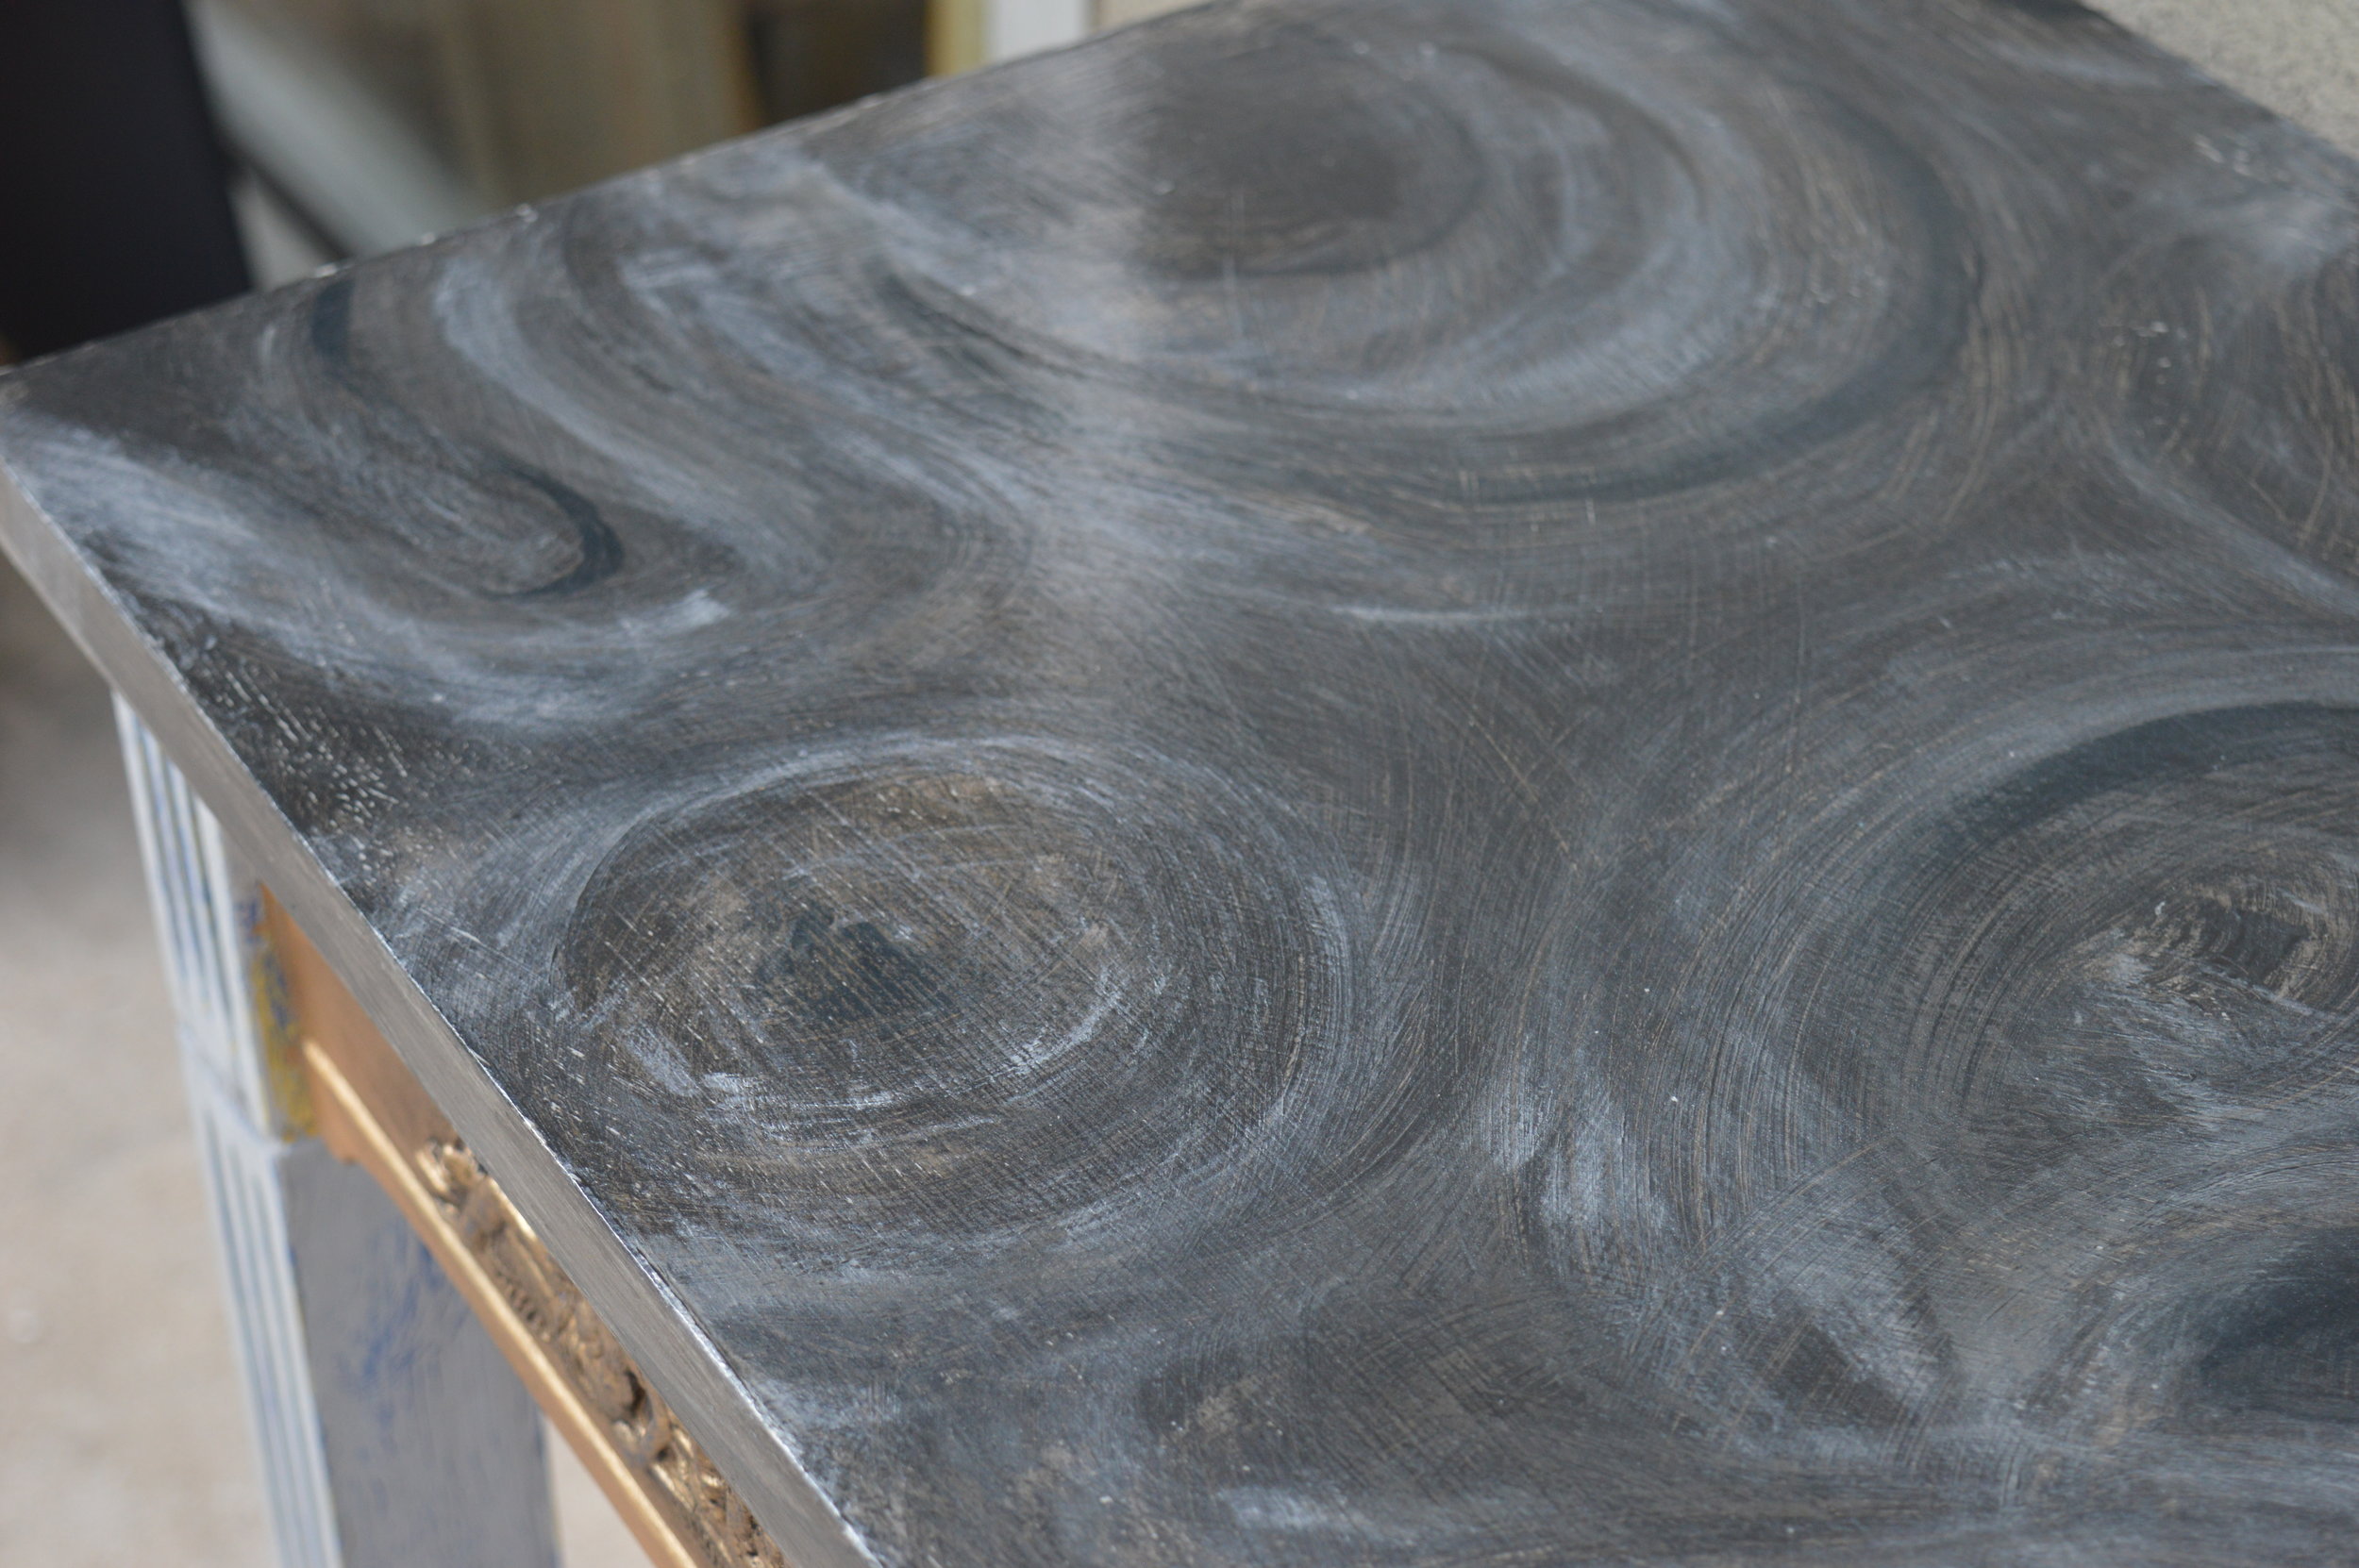
Washed Effect (Transparent Paint Coverage/ Showing Some of the Base Material and Color Through the Paint; Works Best on Porous Materials Like Unsealed Tile and Stone, and Dry/Raw/Worn Woods)- To create this effect, choose your Chalk Paint® color (white and grey washes are extremely popular these days due to being so neutral BUT you can do color washes too!) and dilute the paint with water between 50%-80% water (depending on how transparent you want the paint layer to be), and mix paint and water up together very well. Make sure your surface is either degreased or at least make sure none of the stone or tile is crumbling or degrading, brushing off dust and soot. Apply your paint wash with a good natural brush, working in sections. If you want to remove some paint from certain areas and reveal some of the underlying texture and colors, wipe some paint wash away with a lint-free cloth. If wiping away, a great tip is to keep a spray water bottle handy nearby and spritz the washed areas before wiping them, especially if the wash is absorbing and drying into the surface quickly. Add more layers once dried if you like! And again, you may certainly seal the surface when done.

Project shared with Silk and Sage courtesy of customer, J.M., done with Chalk Paint® in French Linen as a more solid base coat followed by a wash with Old White
We love these looks and hope you do too! We are constantly asked about such projects year-round, and always receive lovely status updates on how everything has turned out and lasted over the years. Another way to incorporate this look into other spaces of your home would be on tiled or stone backsplashes too (not inside a shower or constant wet spaces however). If you try this type of project then drop us a line and let us know how it’s turned out! Continue to shop with us using our no to low-contact options to maintain our health during these times.
Happy painting, stay safe and well, xoxo

How to Apply Efex Flexible Mouldings to Furniture (To Be Painted Over)
How to apply Efex Flexible Moldings to Furniture, title says it all!

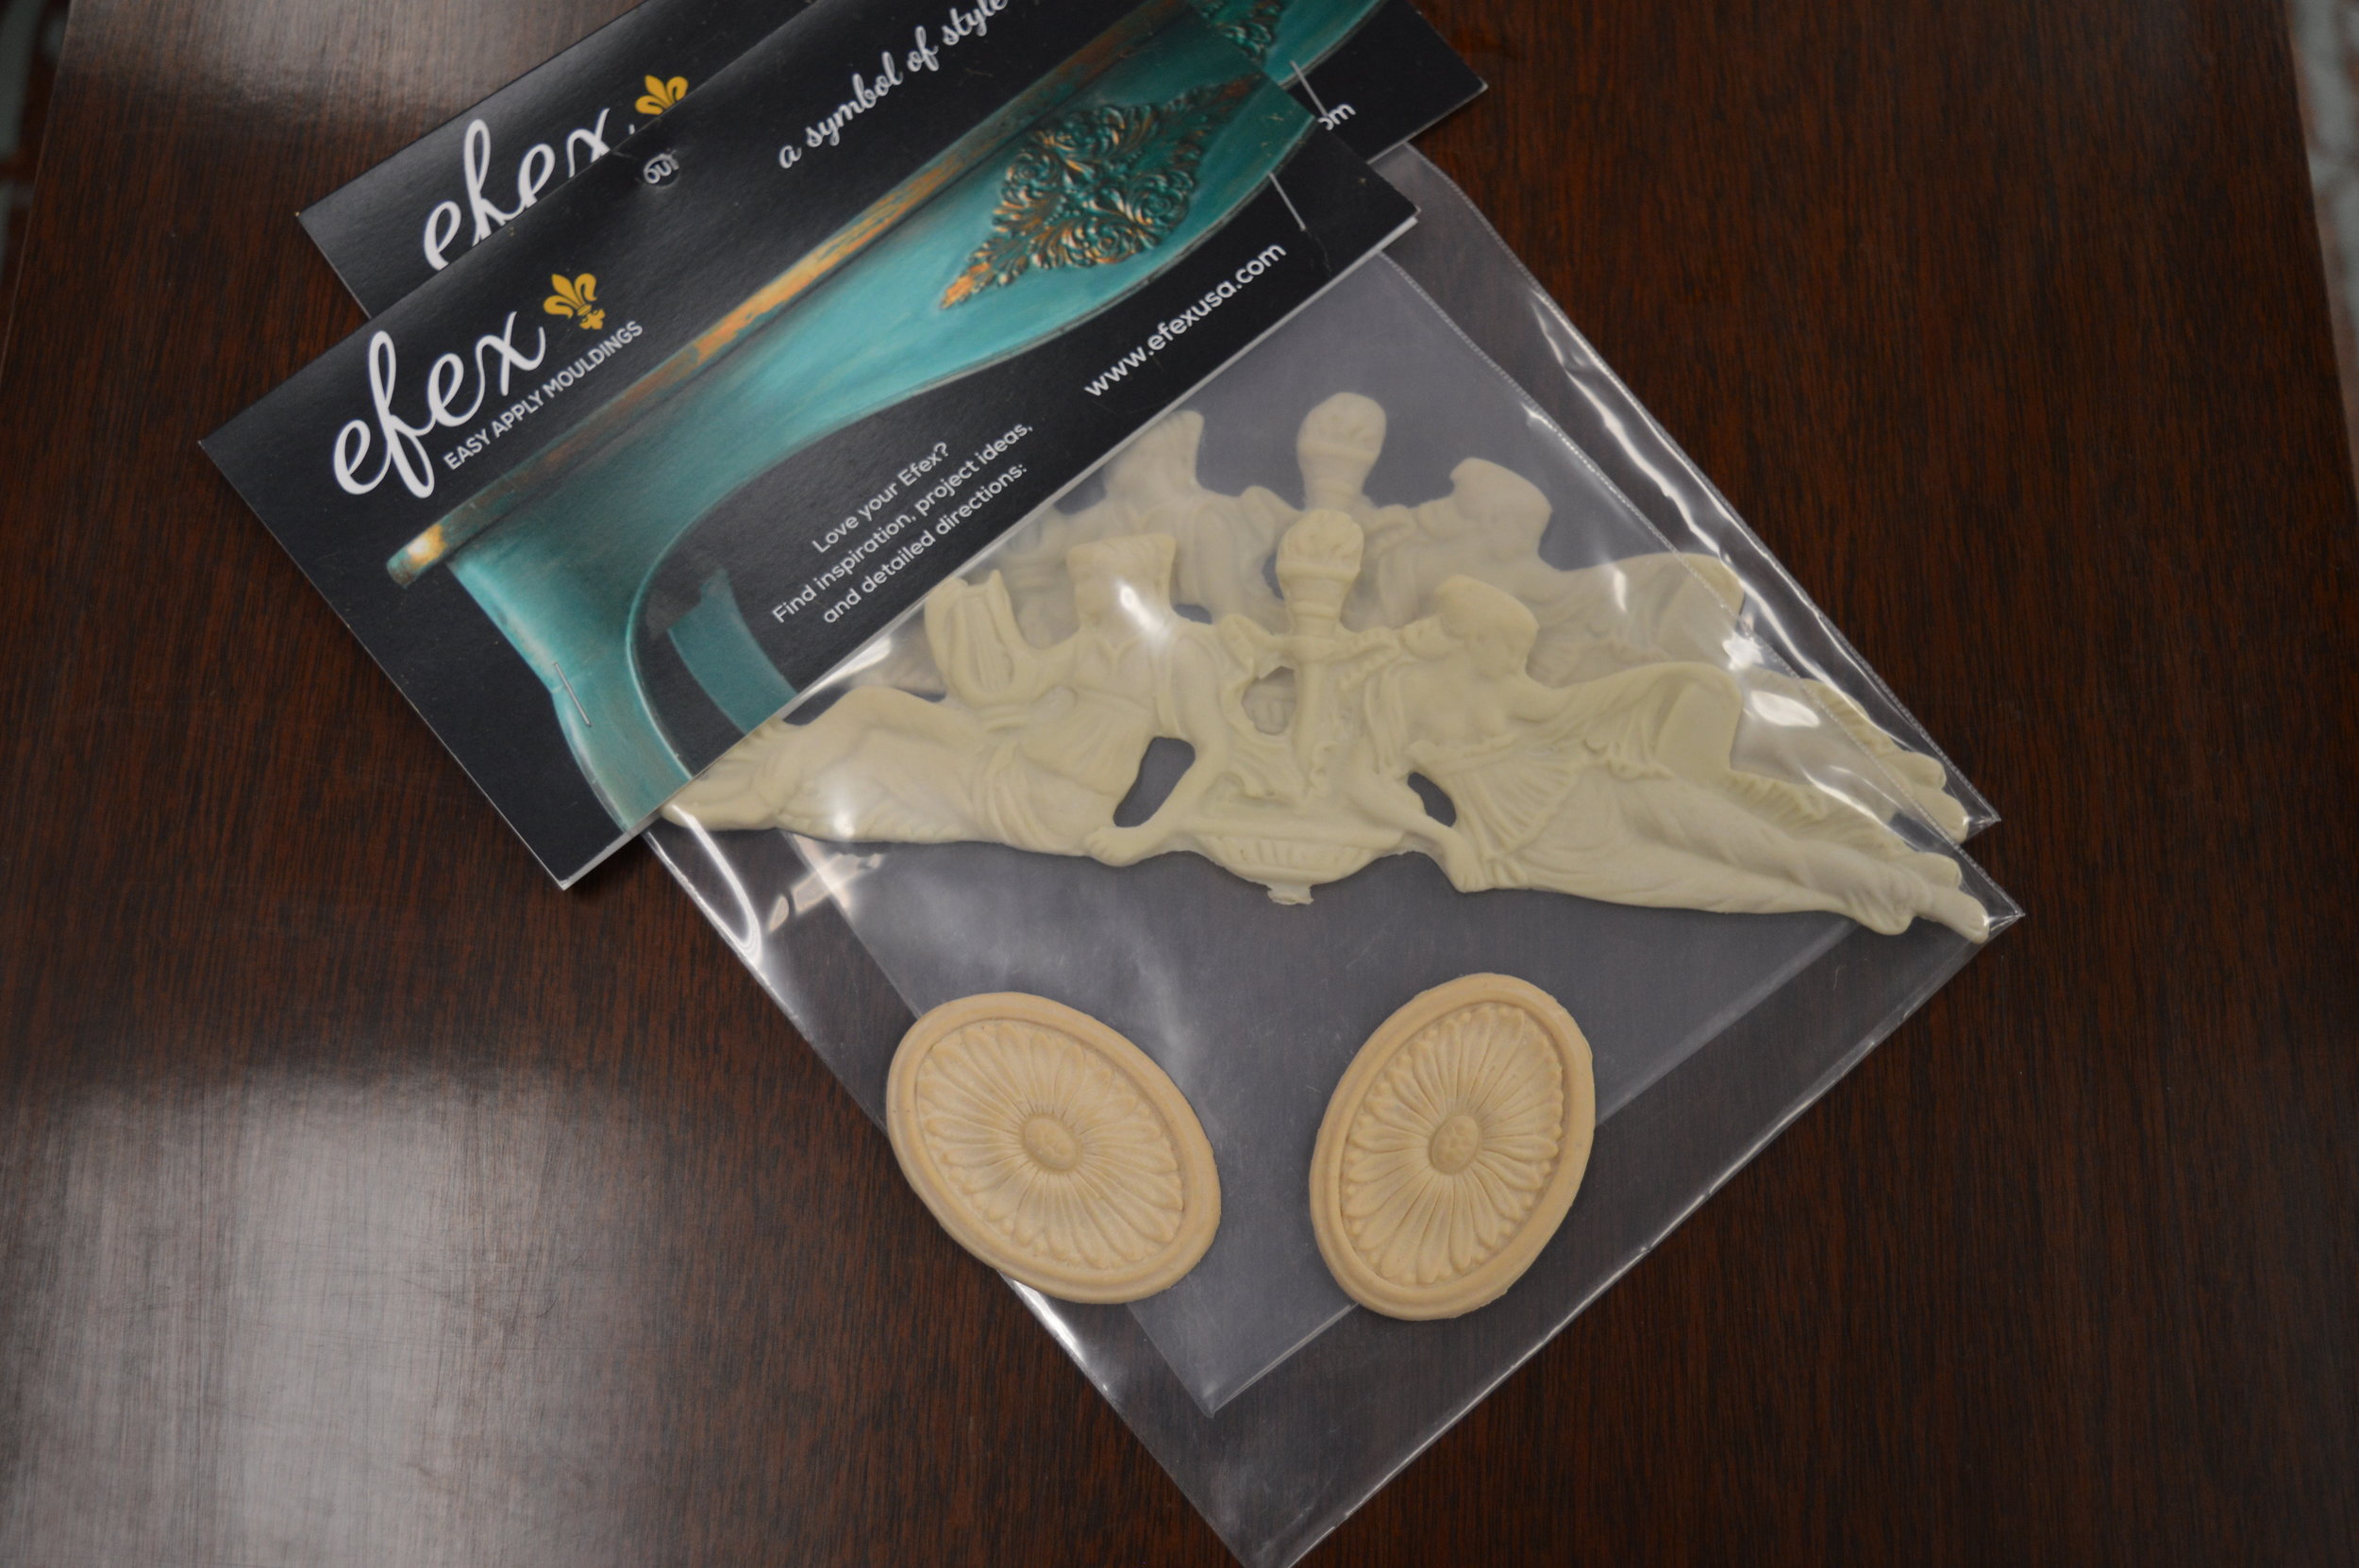
In the last couple of months you might know that we started to carry Efex Flexible Mouldings, which are downright ahh-mazing. They’re flexible, lightweight silicone mouldings that can be applied to furniture, decor, walls and architectural accents, and much more I’m sure. There aren’t many tutorials that we could find out there, so here we are, with great tips composed with a complete transformation of a furniture piece alongside!
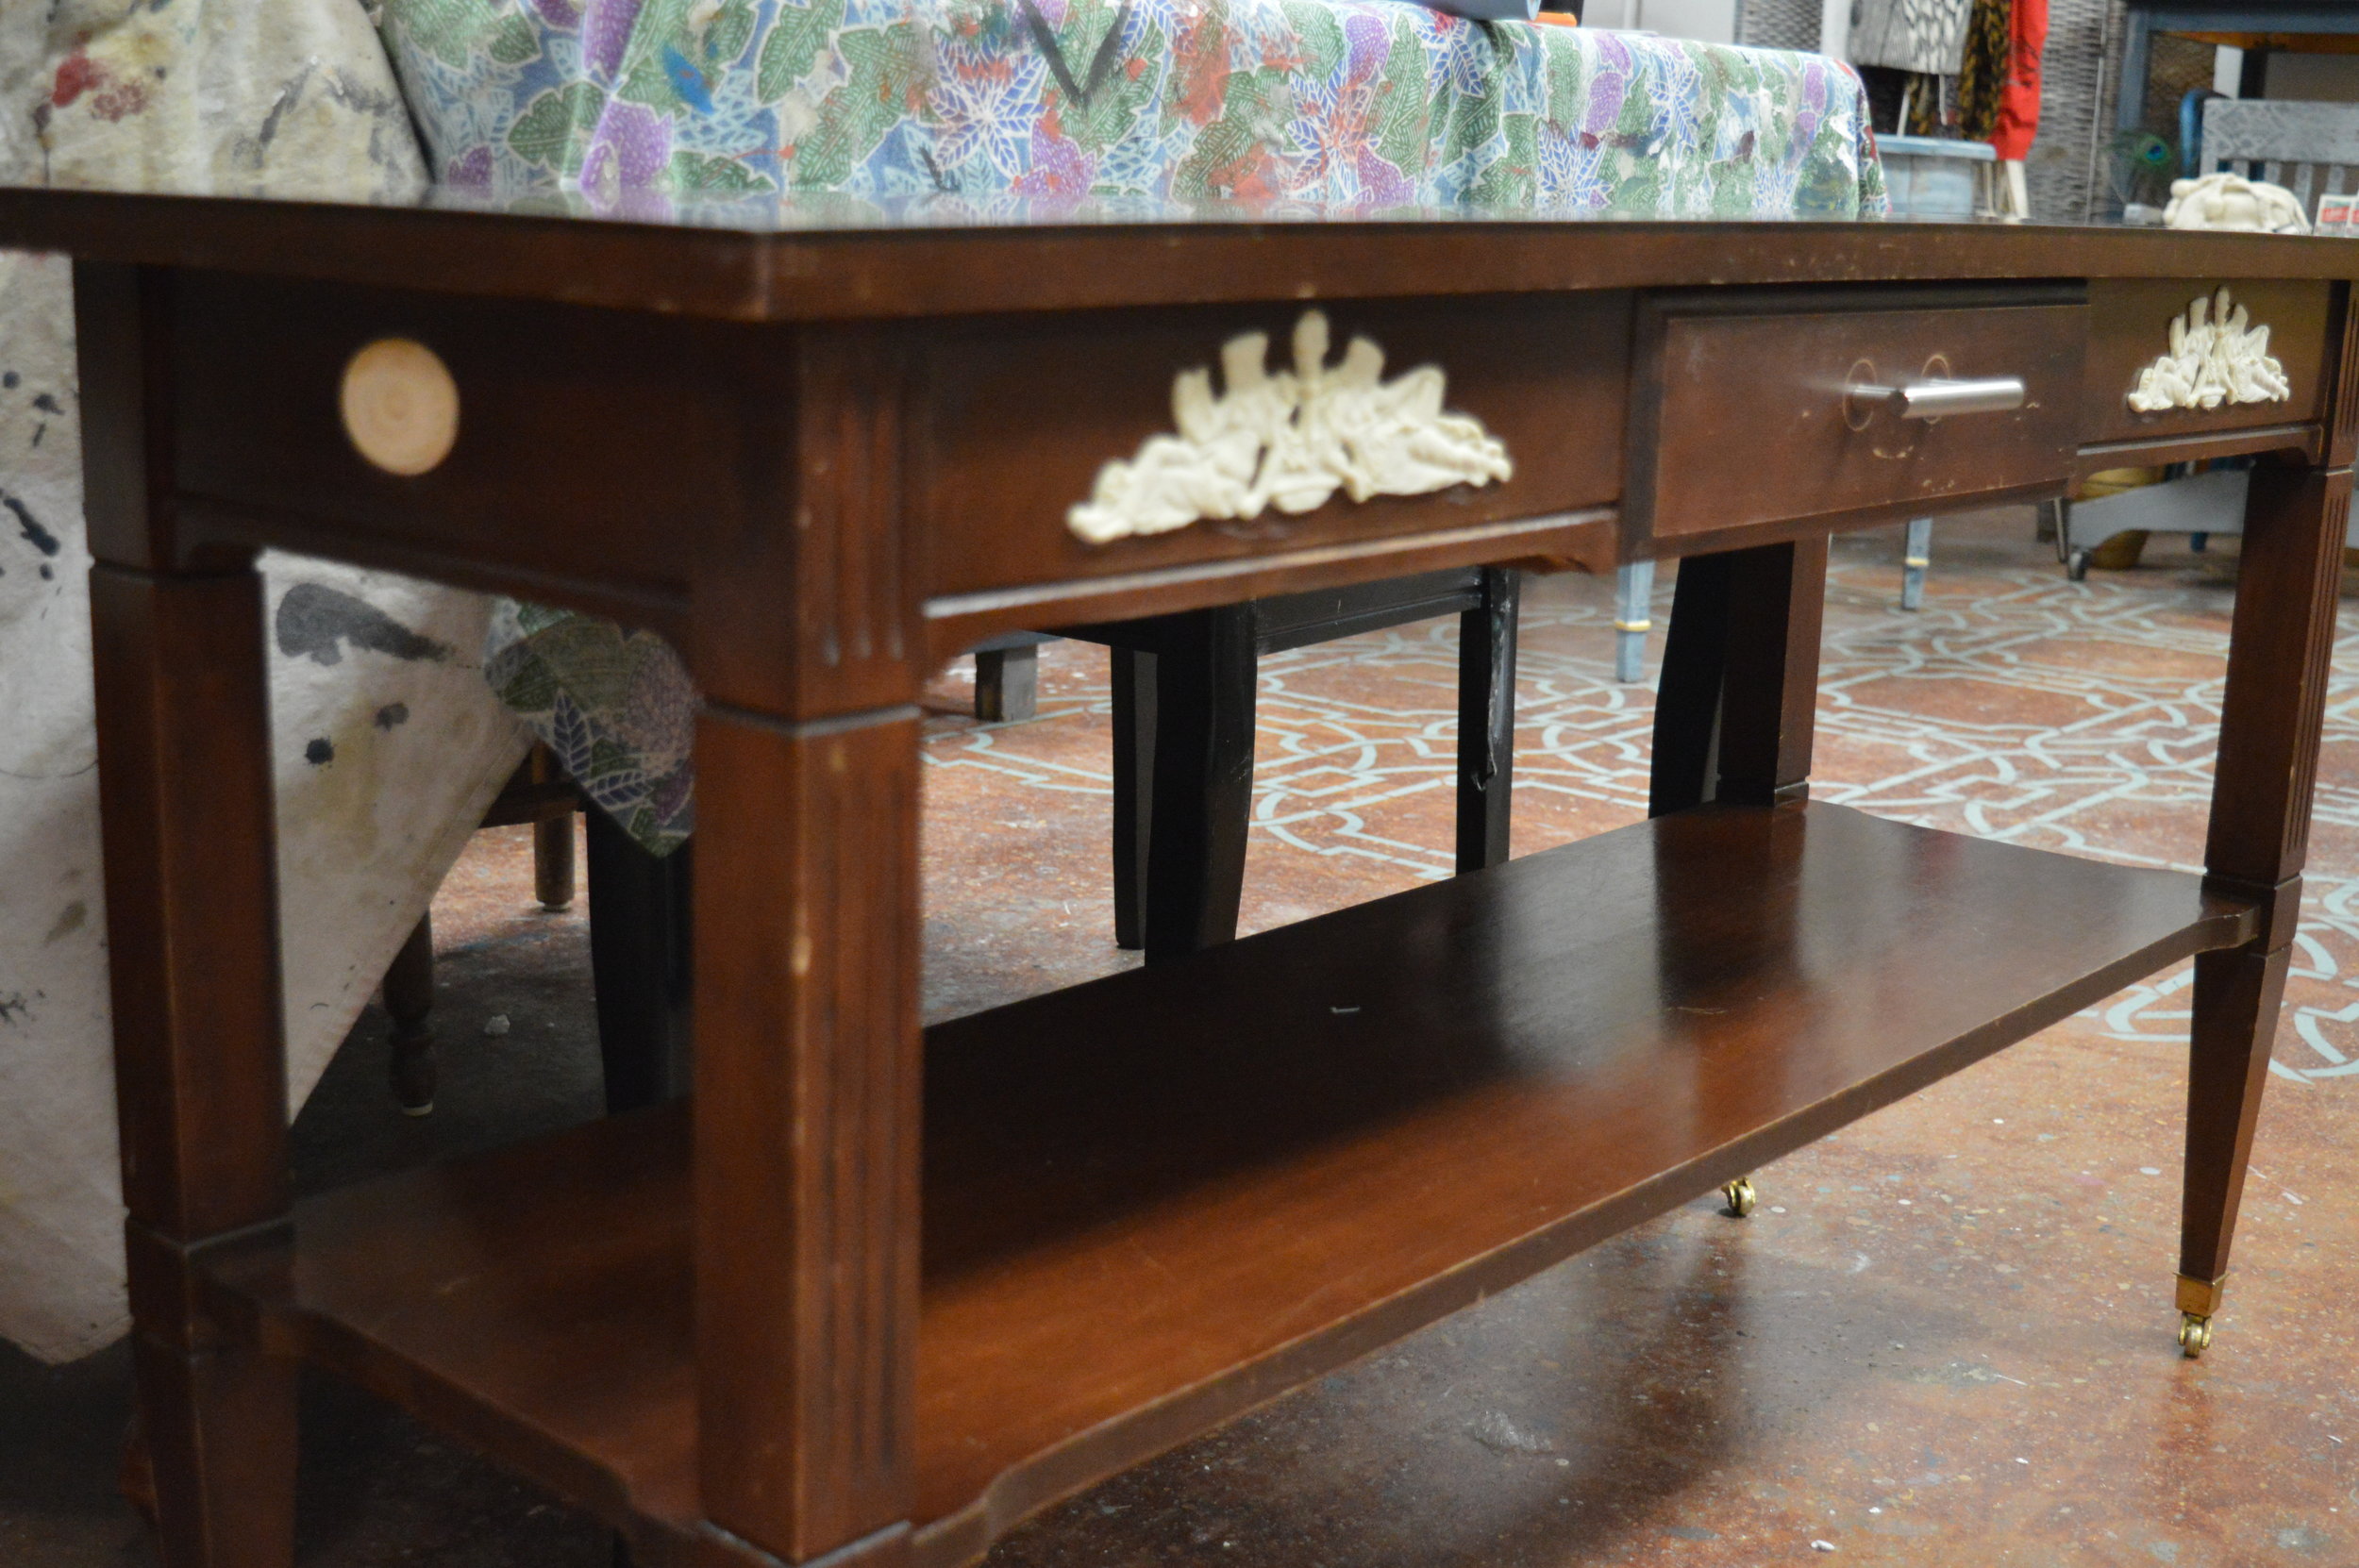
We started off with a quite traditional, rather boring piece:
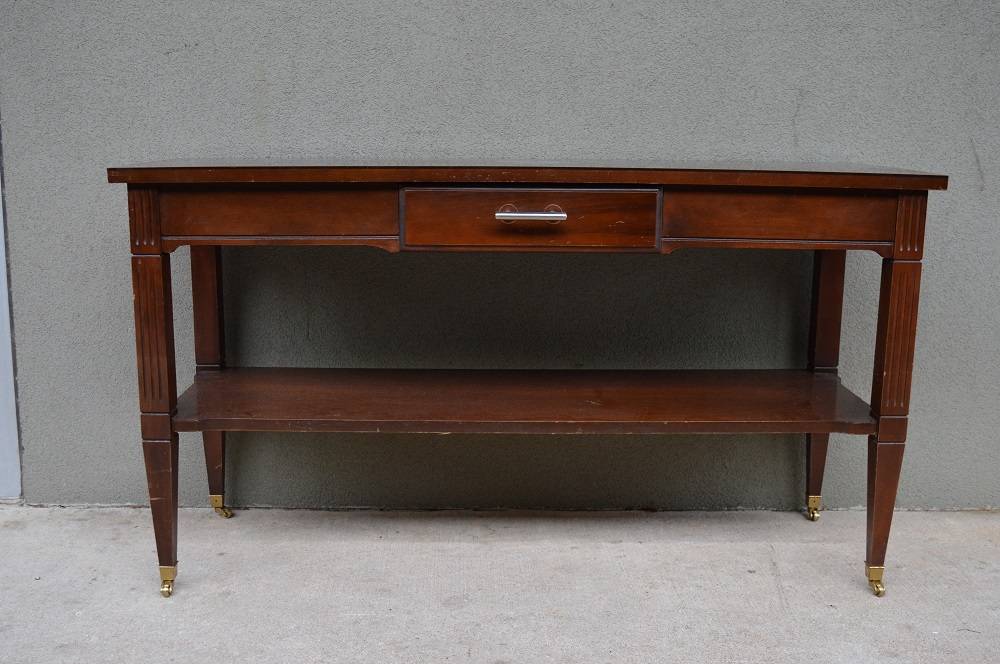

Our idea was to play off the existing design and go in a more neoclassical direction. Now, here are the steps we took to apply Efex:
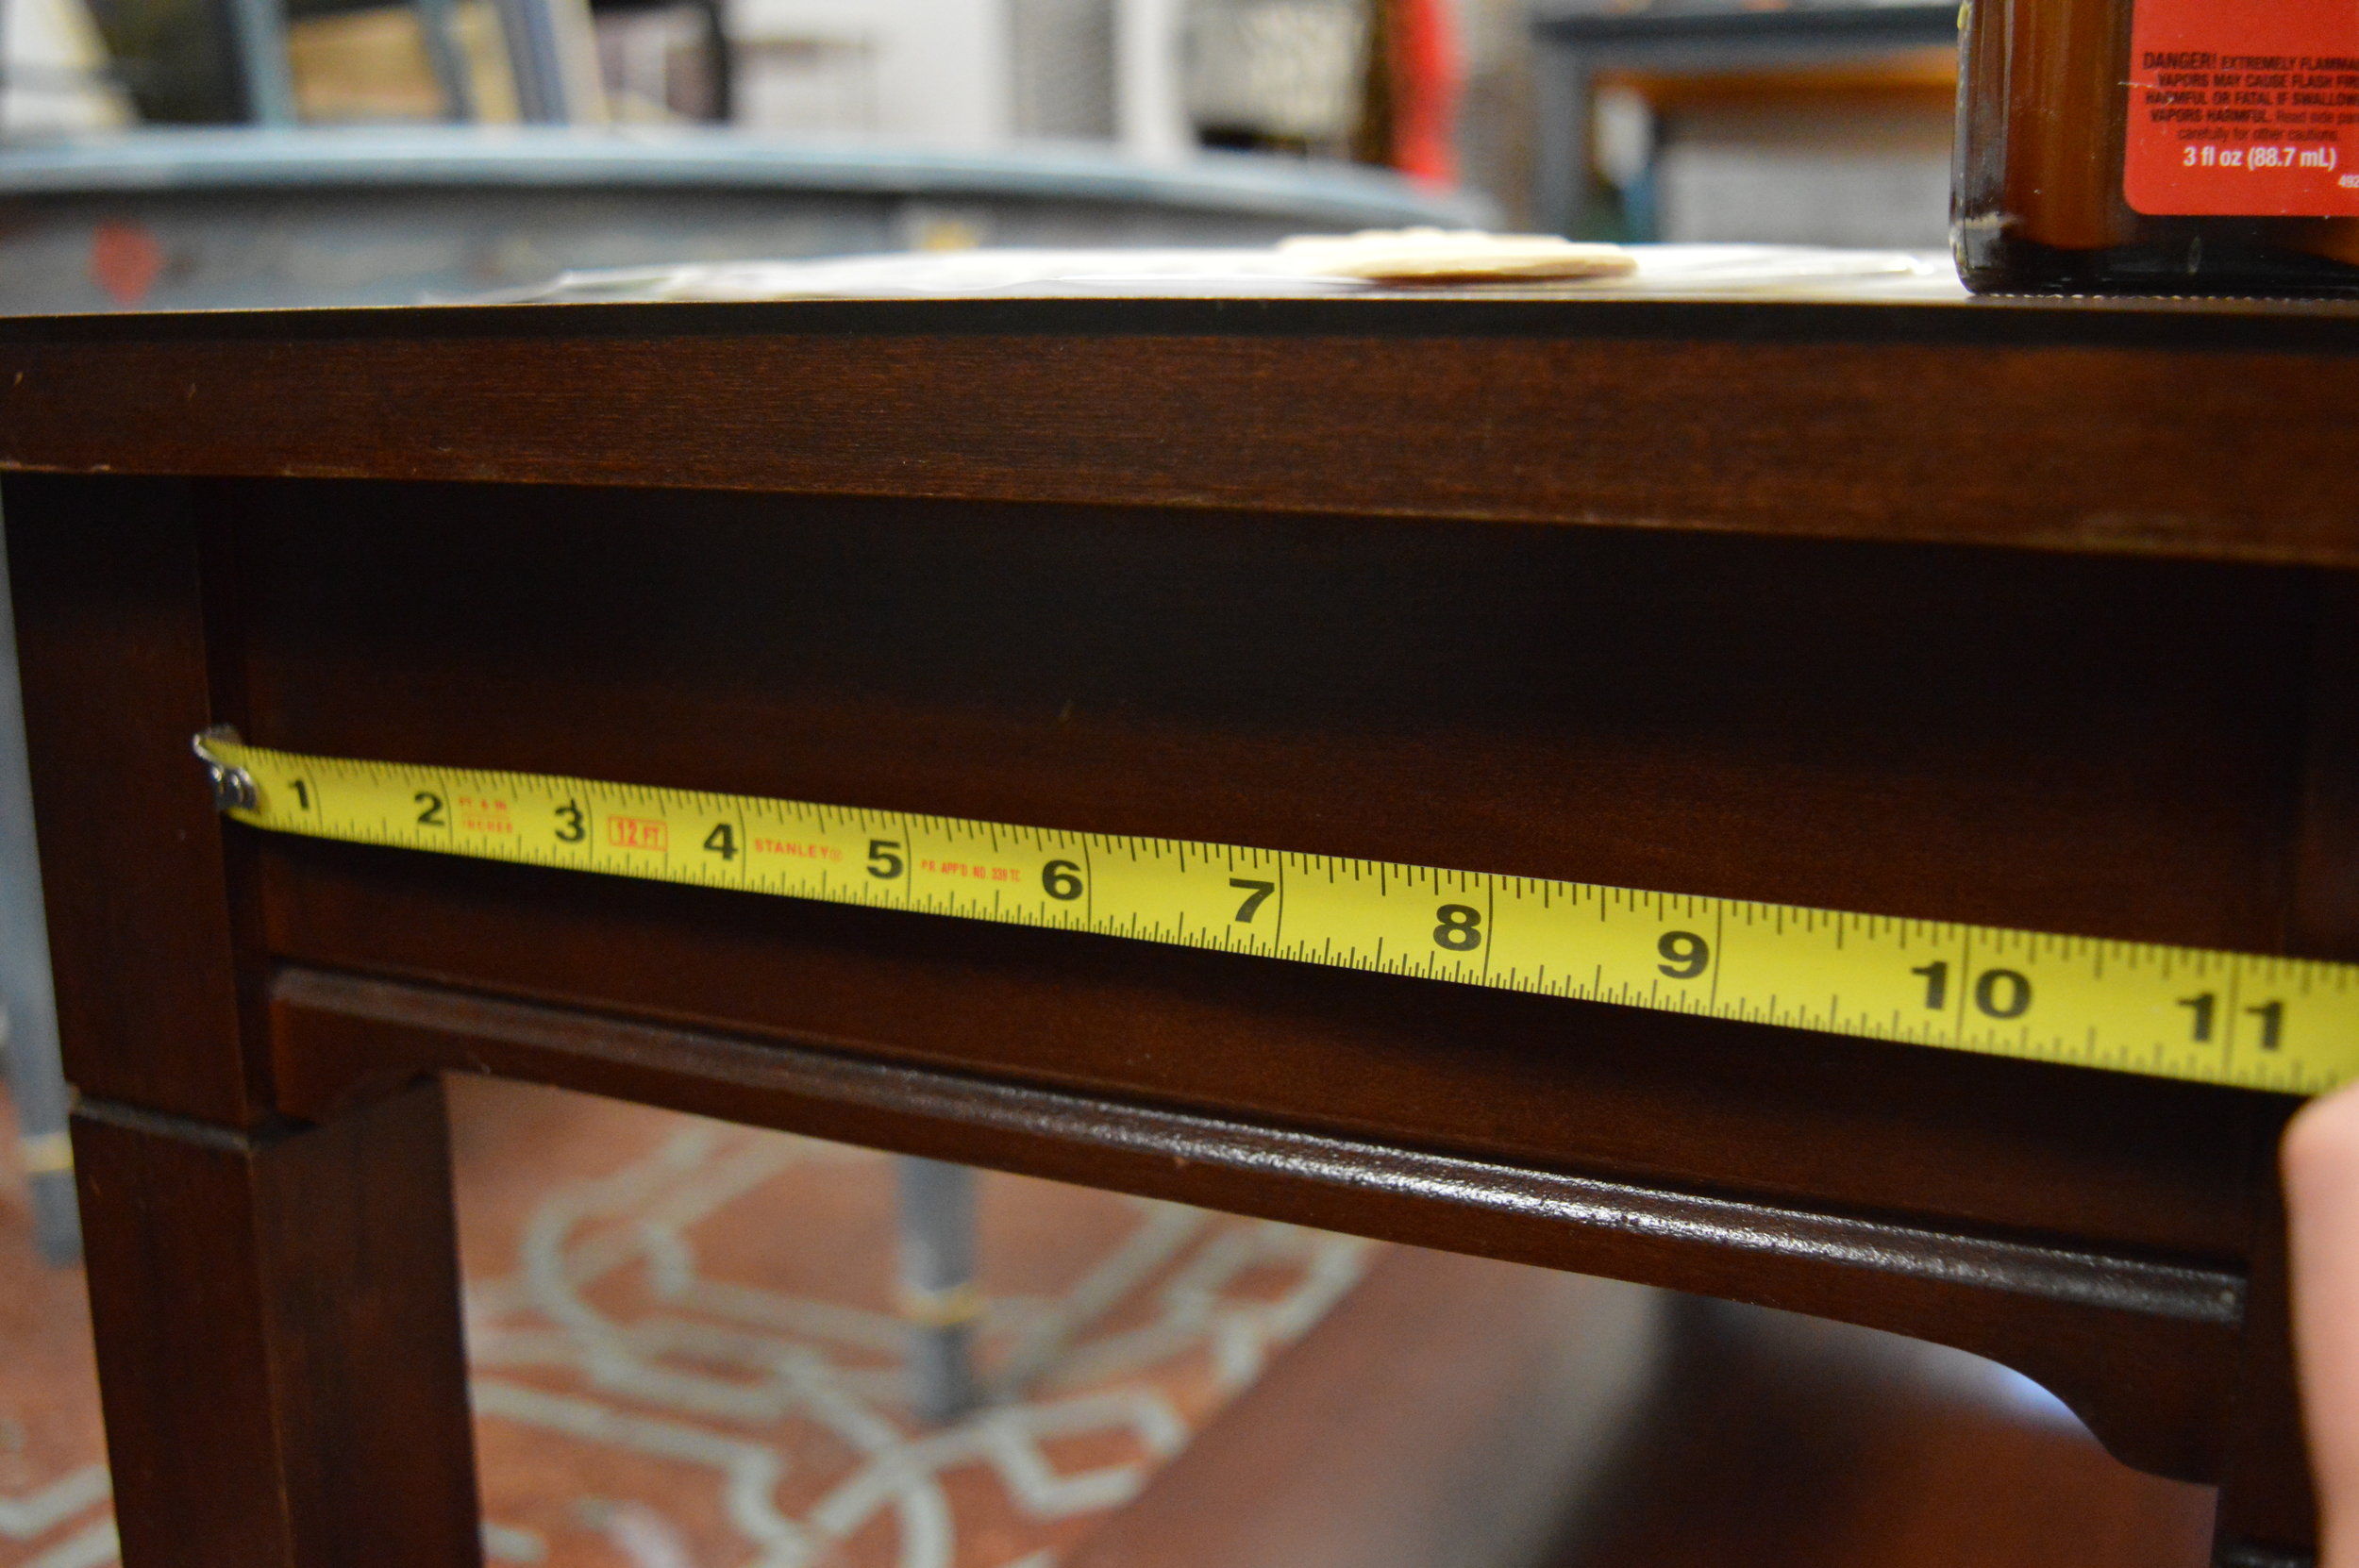
1. We cleaned our piece, then selected our Efex designs and measured the spaces on the furniture to plot out the layout.
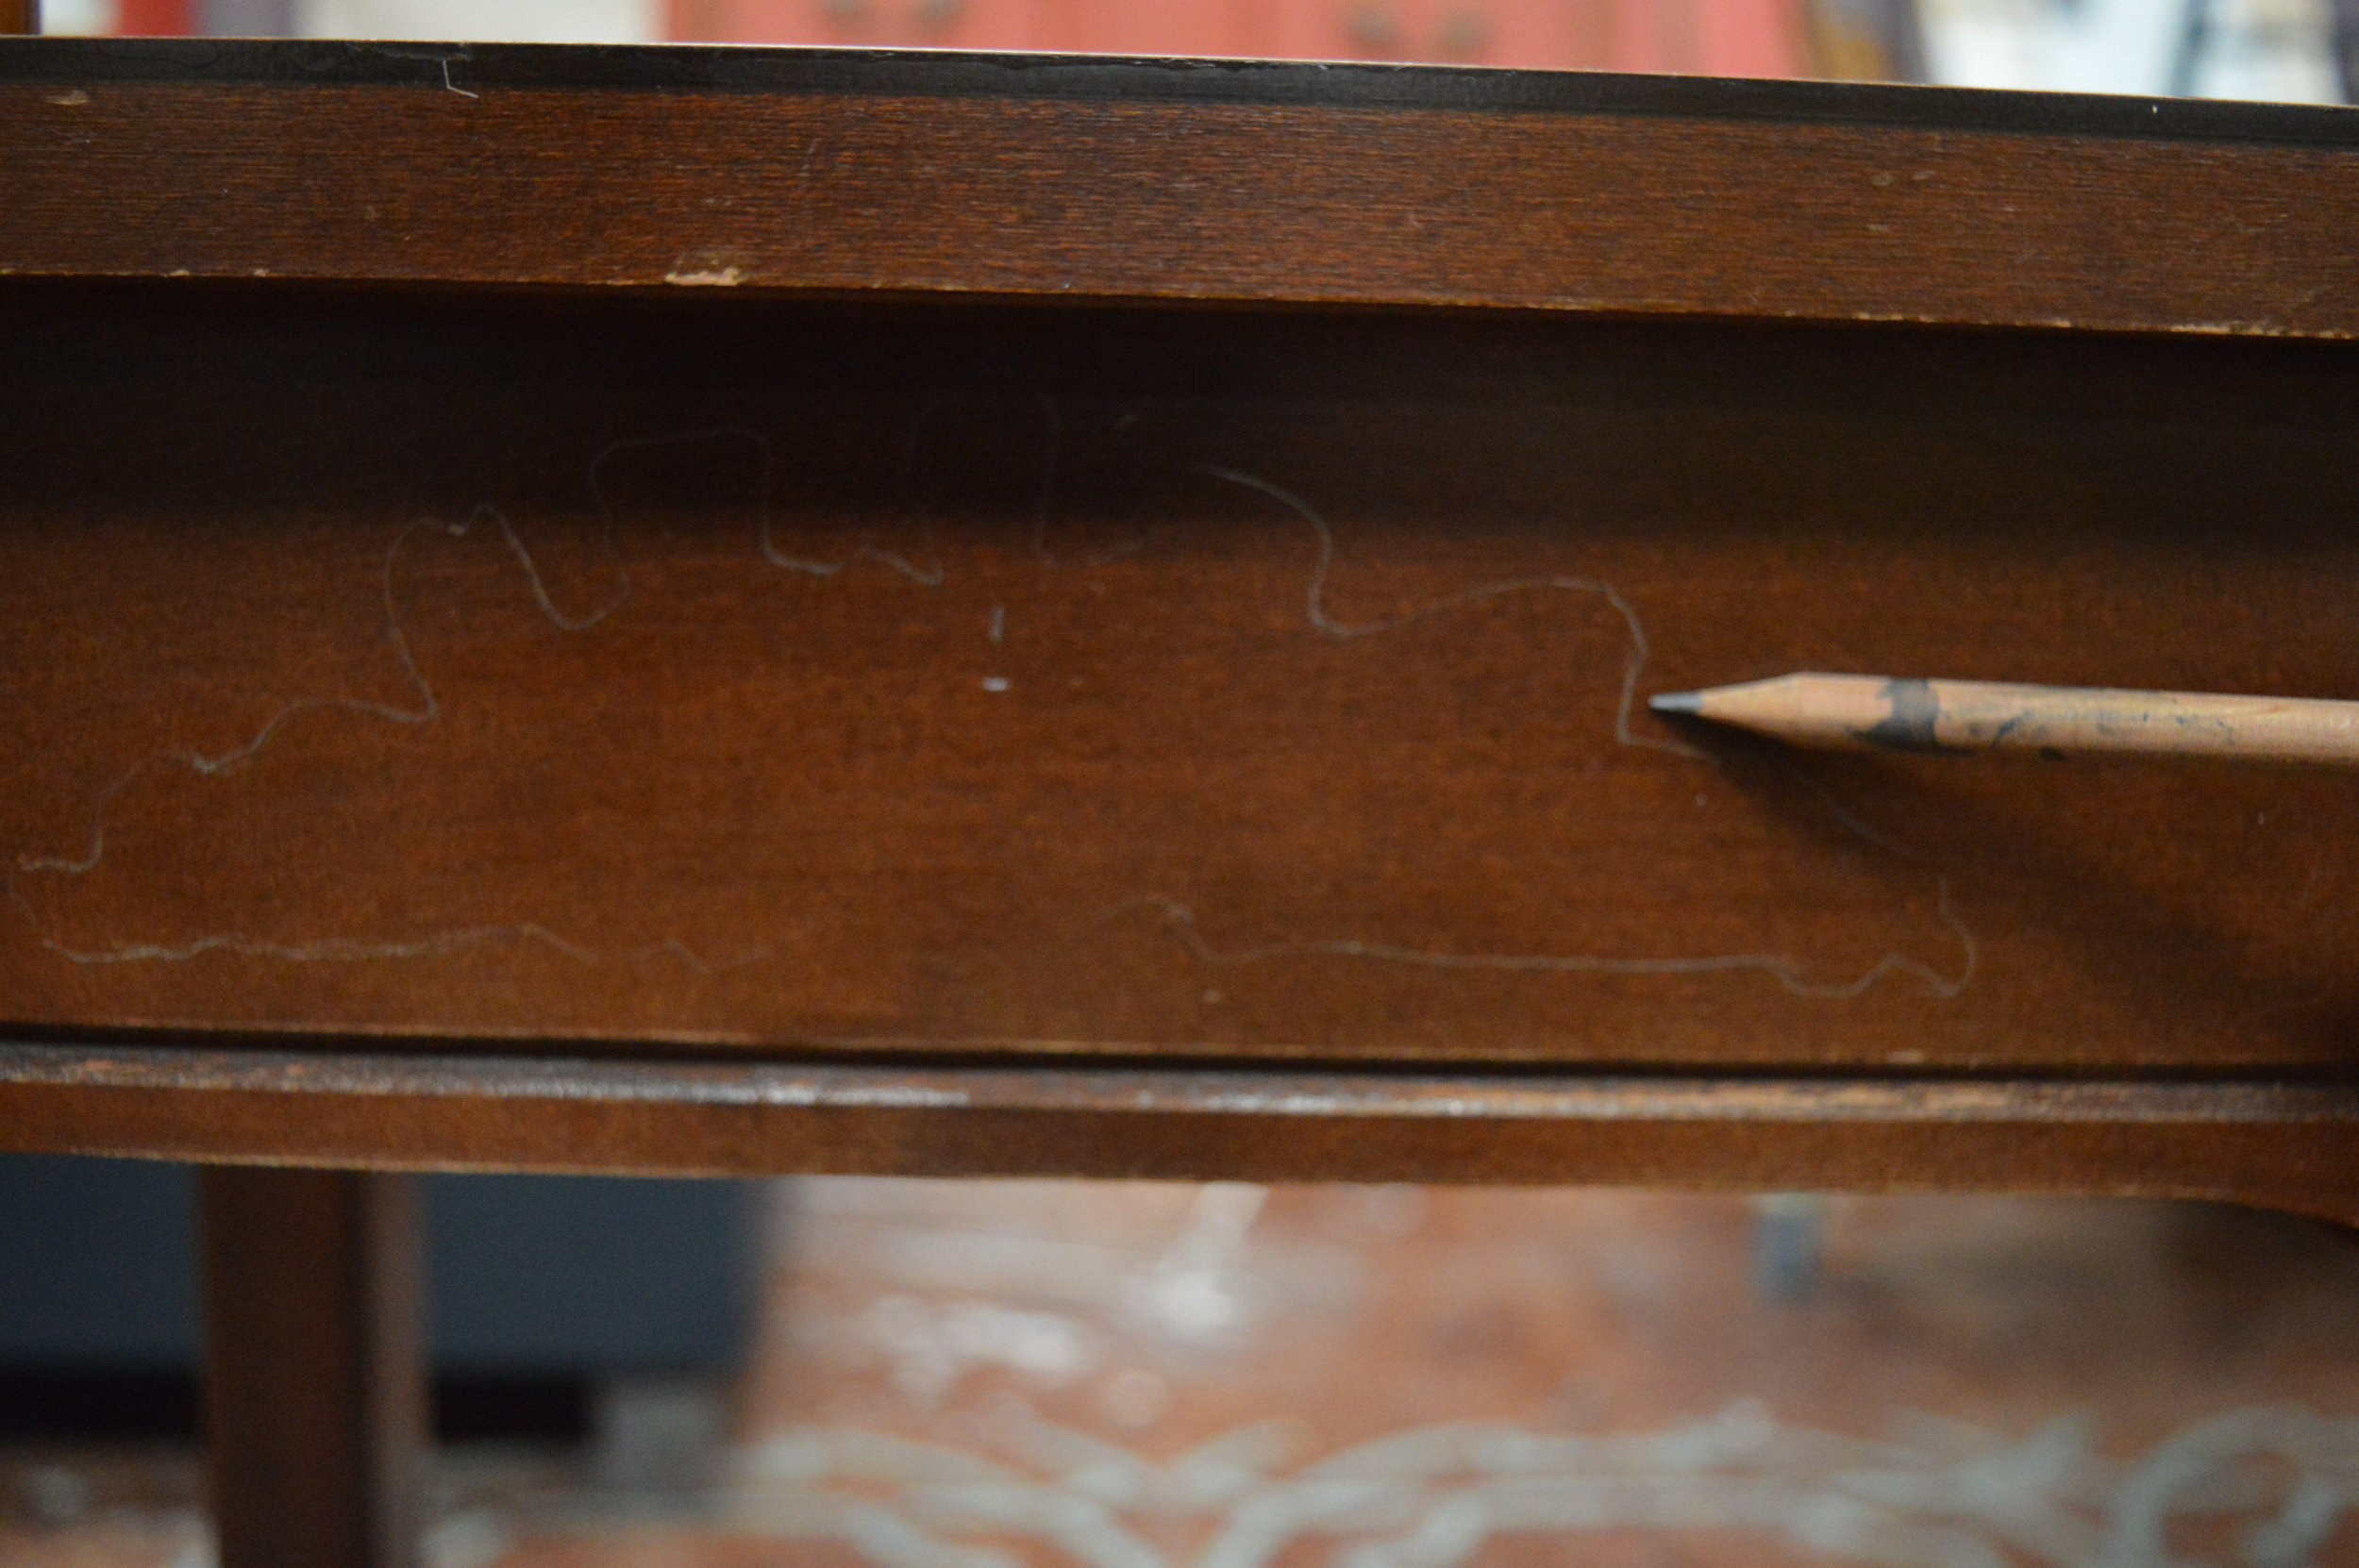
2. We traced the silhouettes of the Efex shapes to make sure they could stay aligned during the glueing part of the process. Tracing is very important if you want your Efex shapes to look even and aligned!
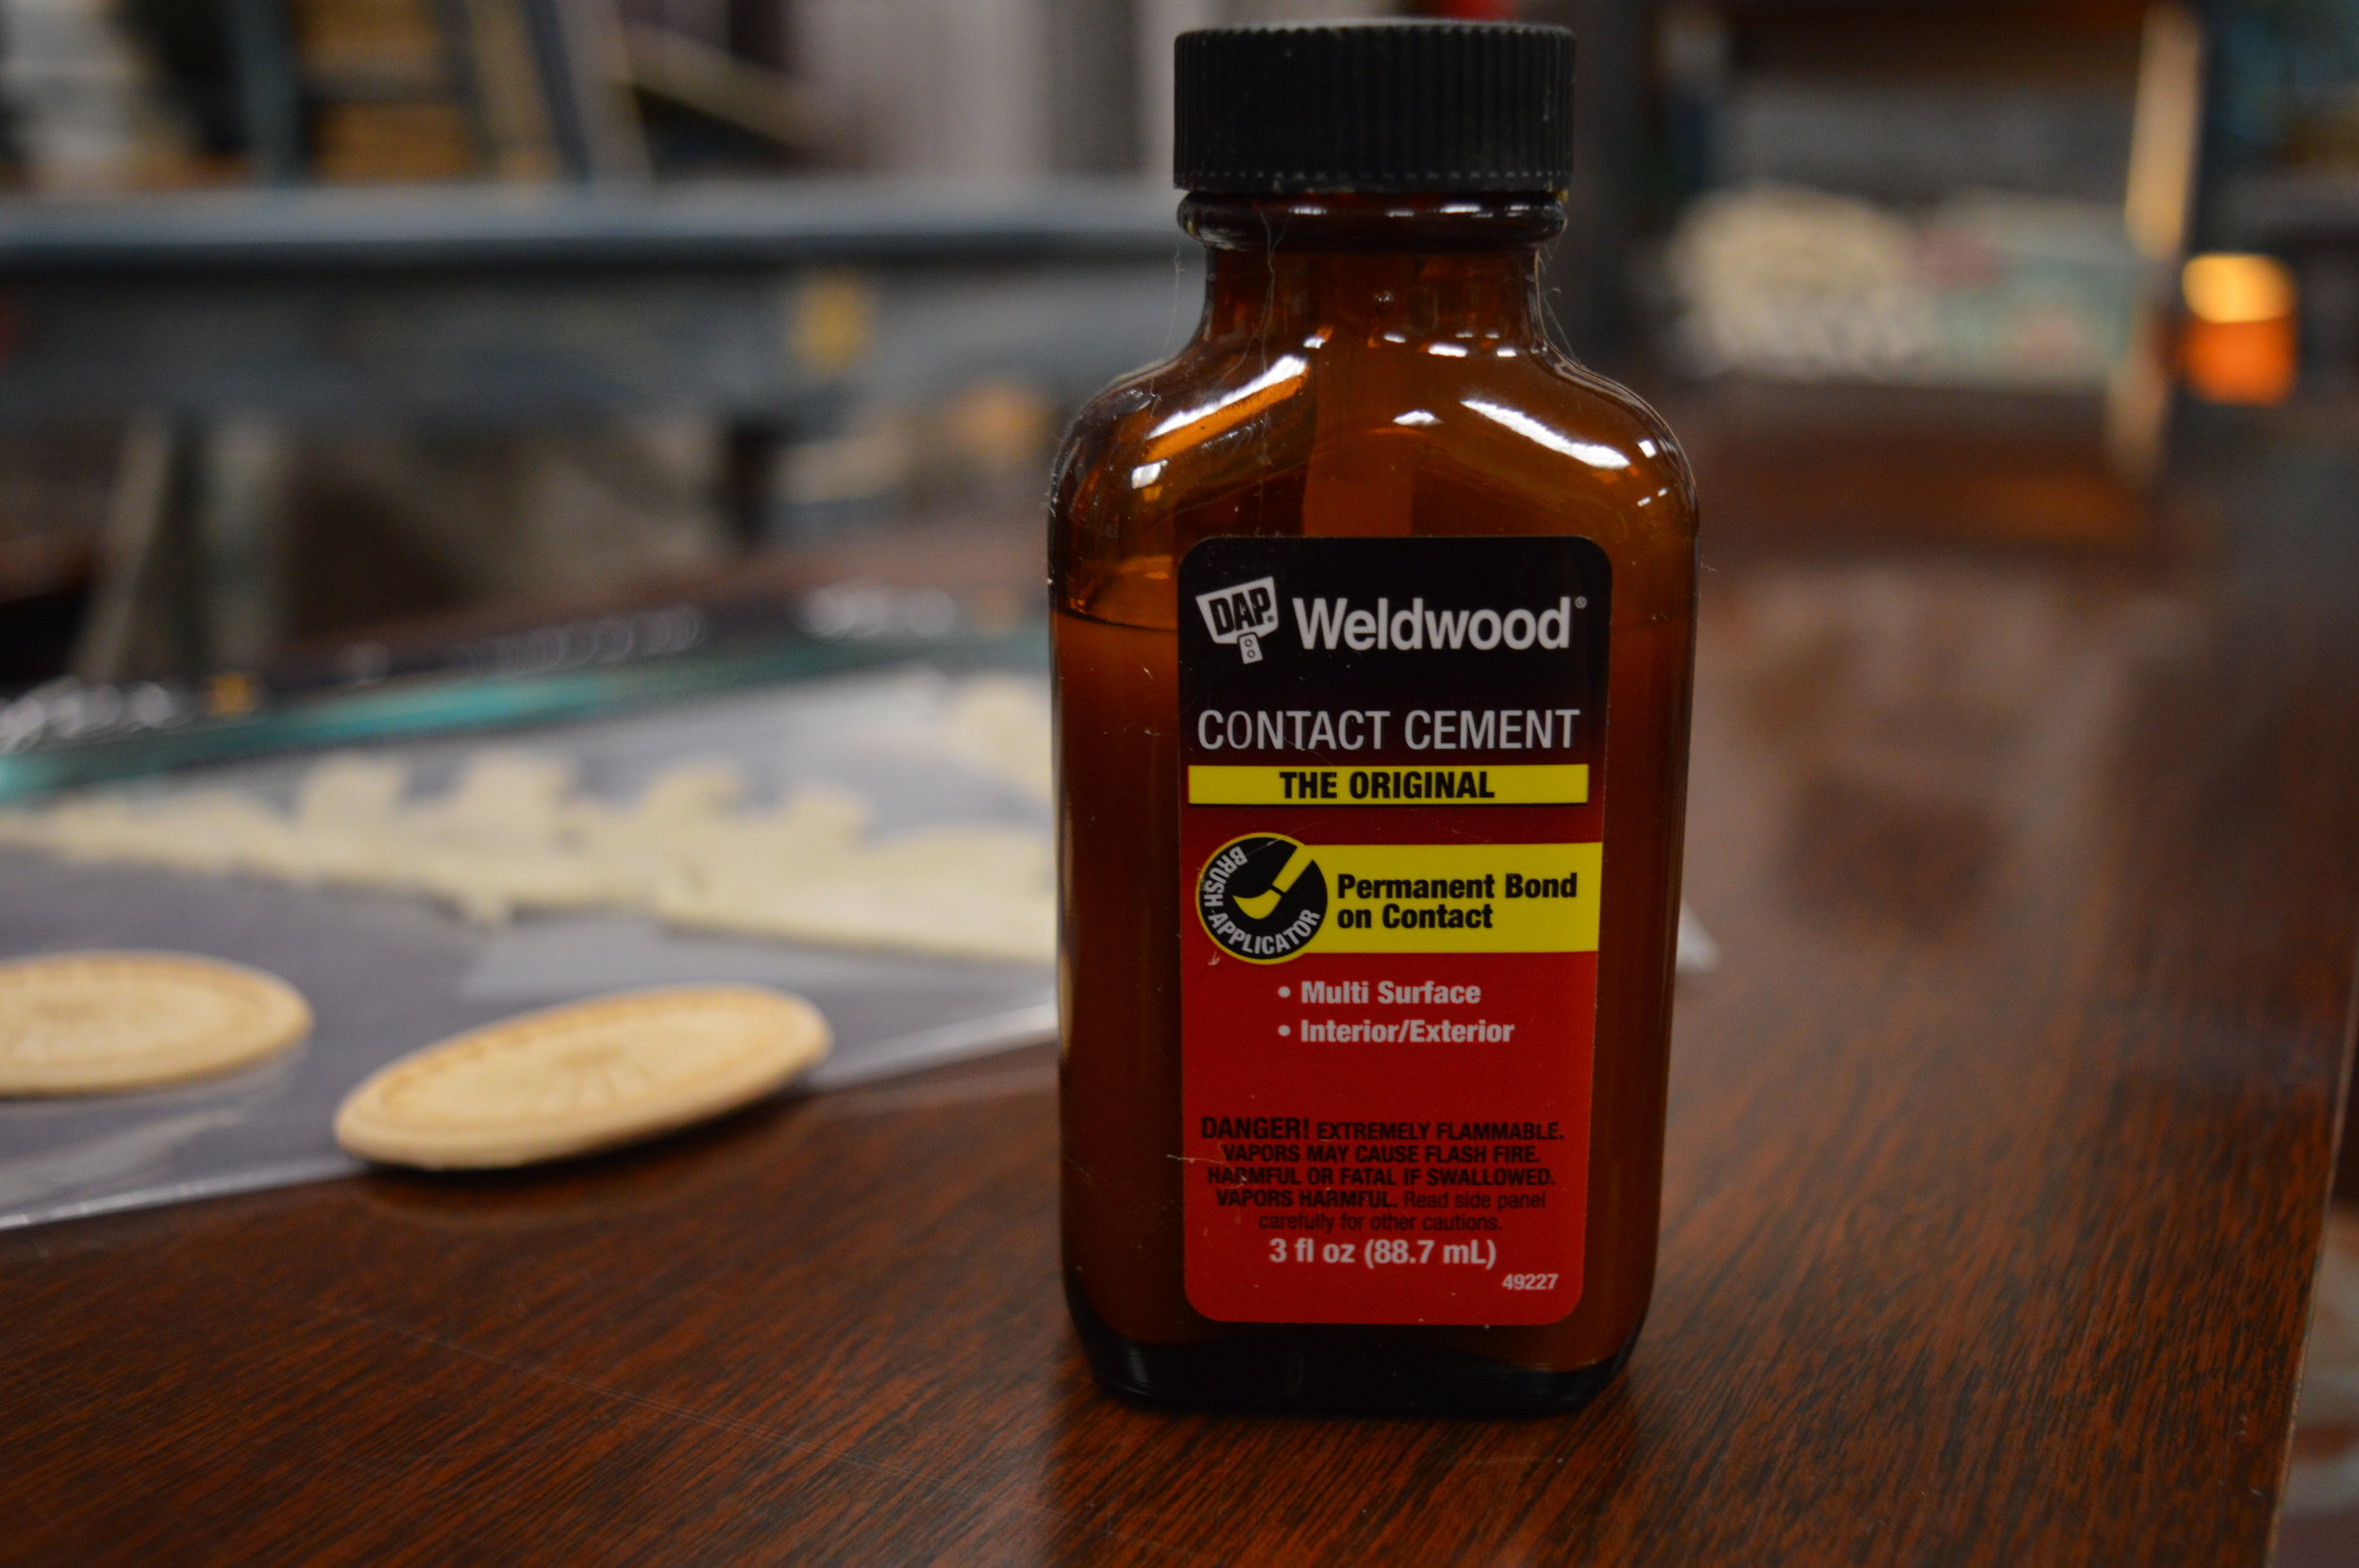
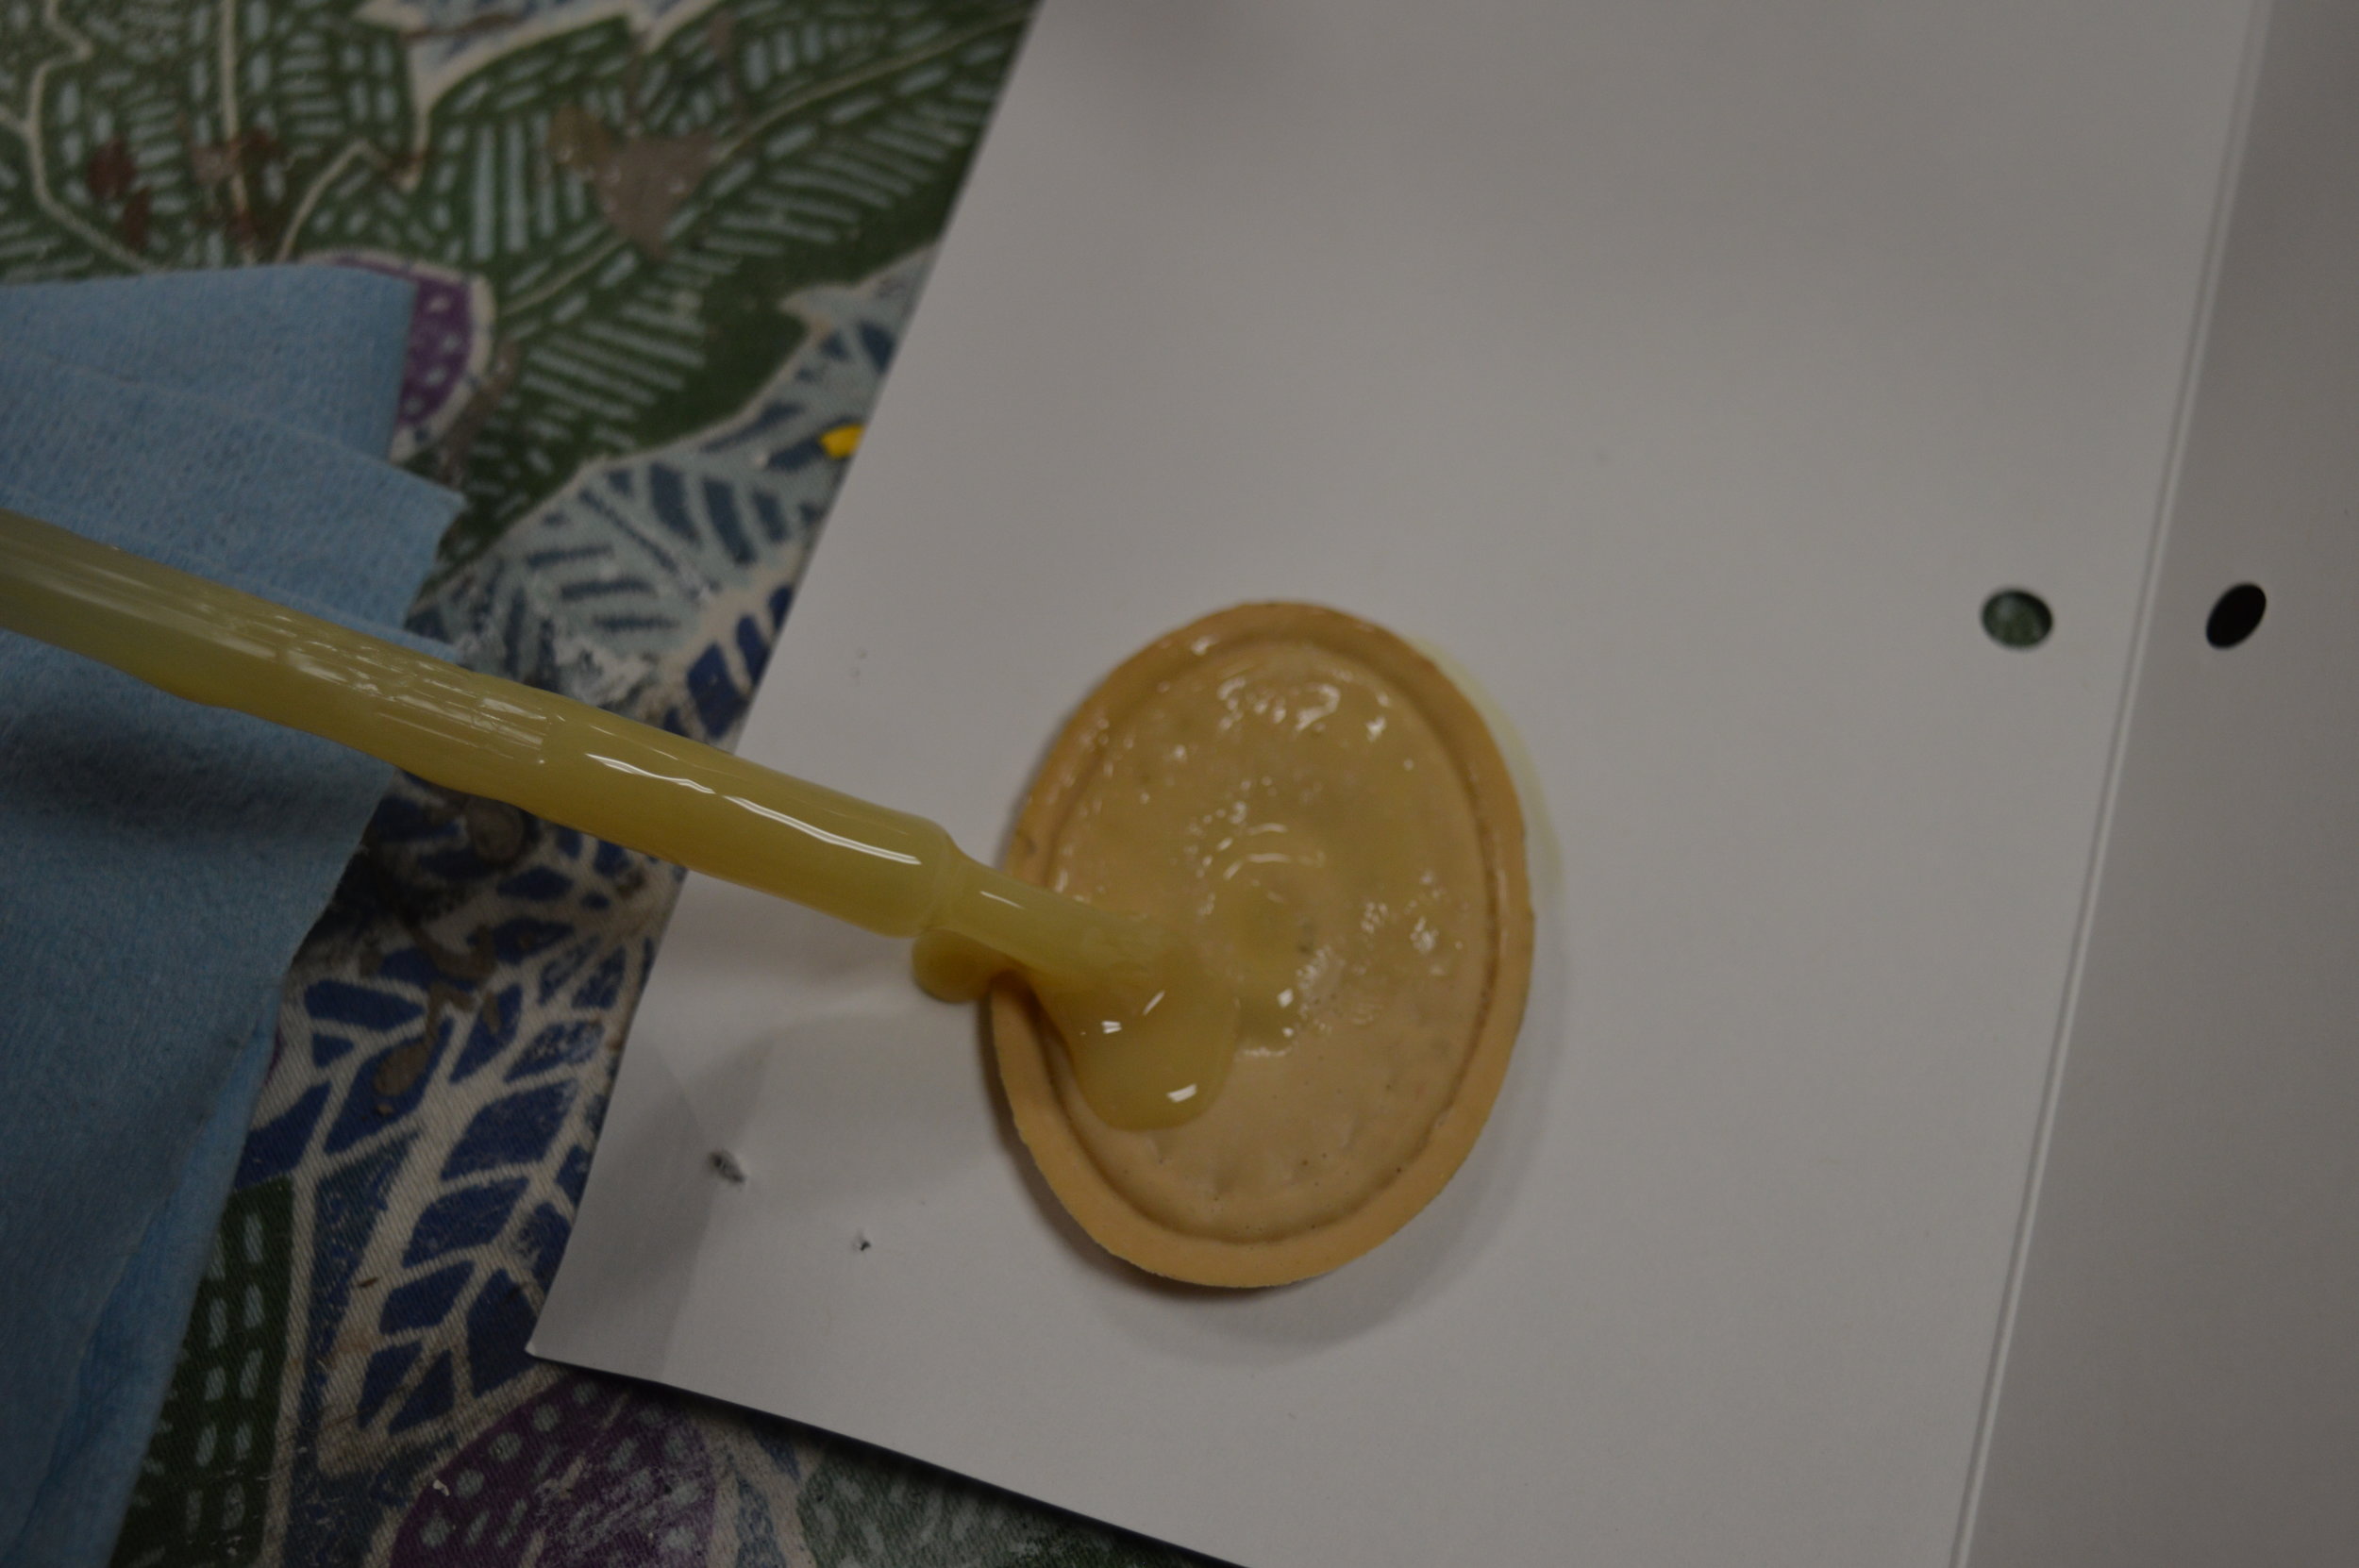
3. We applied contact cement to BOTH the backs of each shape, as well as within the traced shape on the surface of the furniture. These Efex shapes cannot merely be glued on with regular Elmer’s or wood glue— they work together with the contact cement. Basically, the cement dries for 15 minutes on each side, and then when you place the shape down, both cemented sides bond to one another. That way they are on there firmly and won’t budge!
We recommend cementing outside the lines of the traced shape as well, just a little bit, because when you press the silicone Efex down they may flatten and widen out a tiny bit. This ensures that you don’t end up with gaps and loose edges. Make sure you don’t skip areas on the backs of the actual mouldings either. We carry the DAP Weldwood at our Shop & Studio alongside Efex, and we love the small bottles because they have a brush attached to the inside of the cap (like a nail polish bottle) to make life easier.

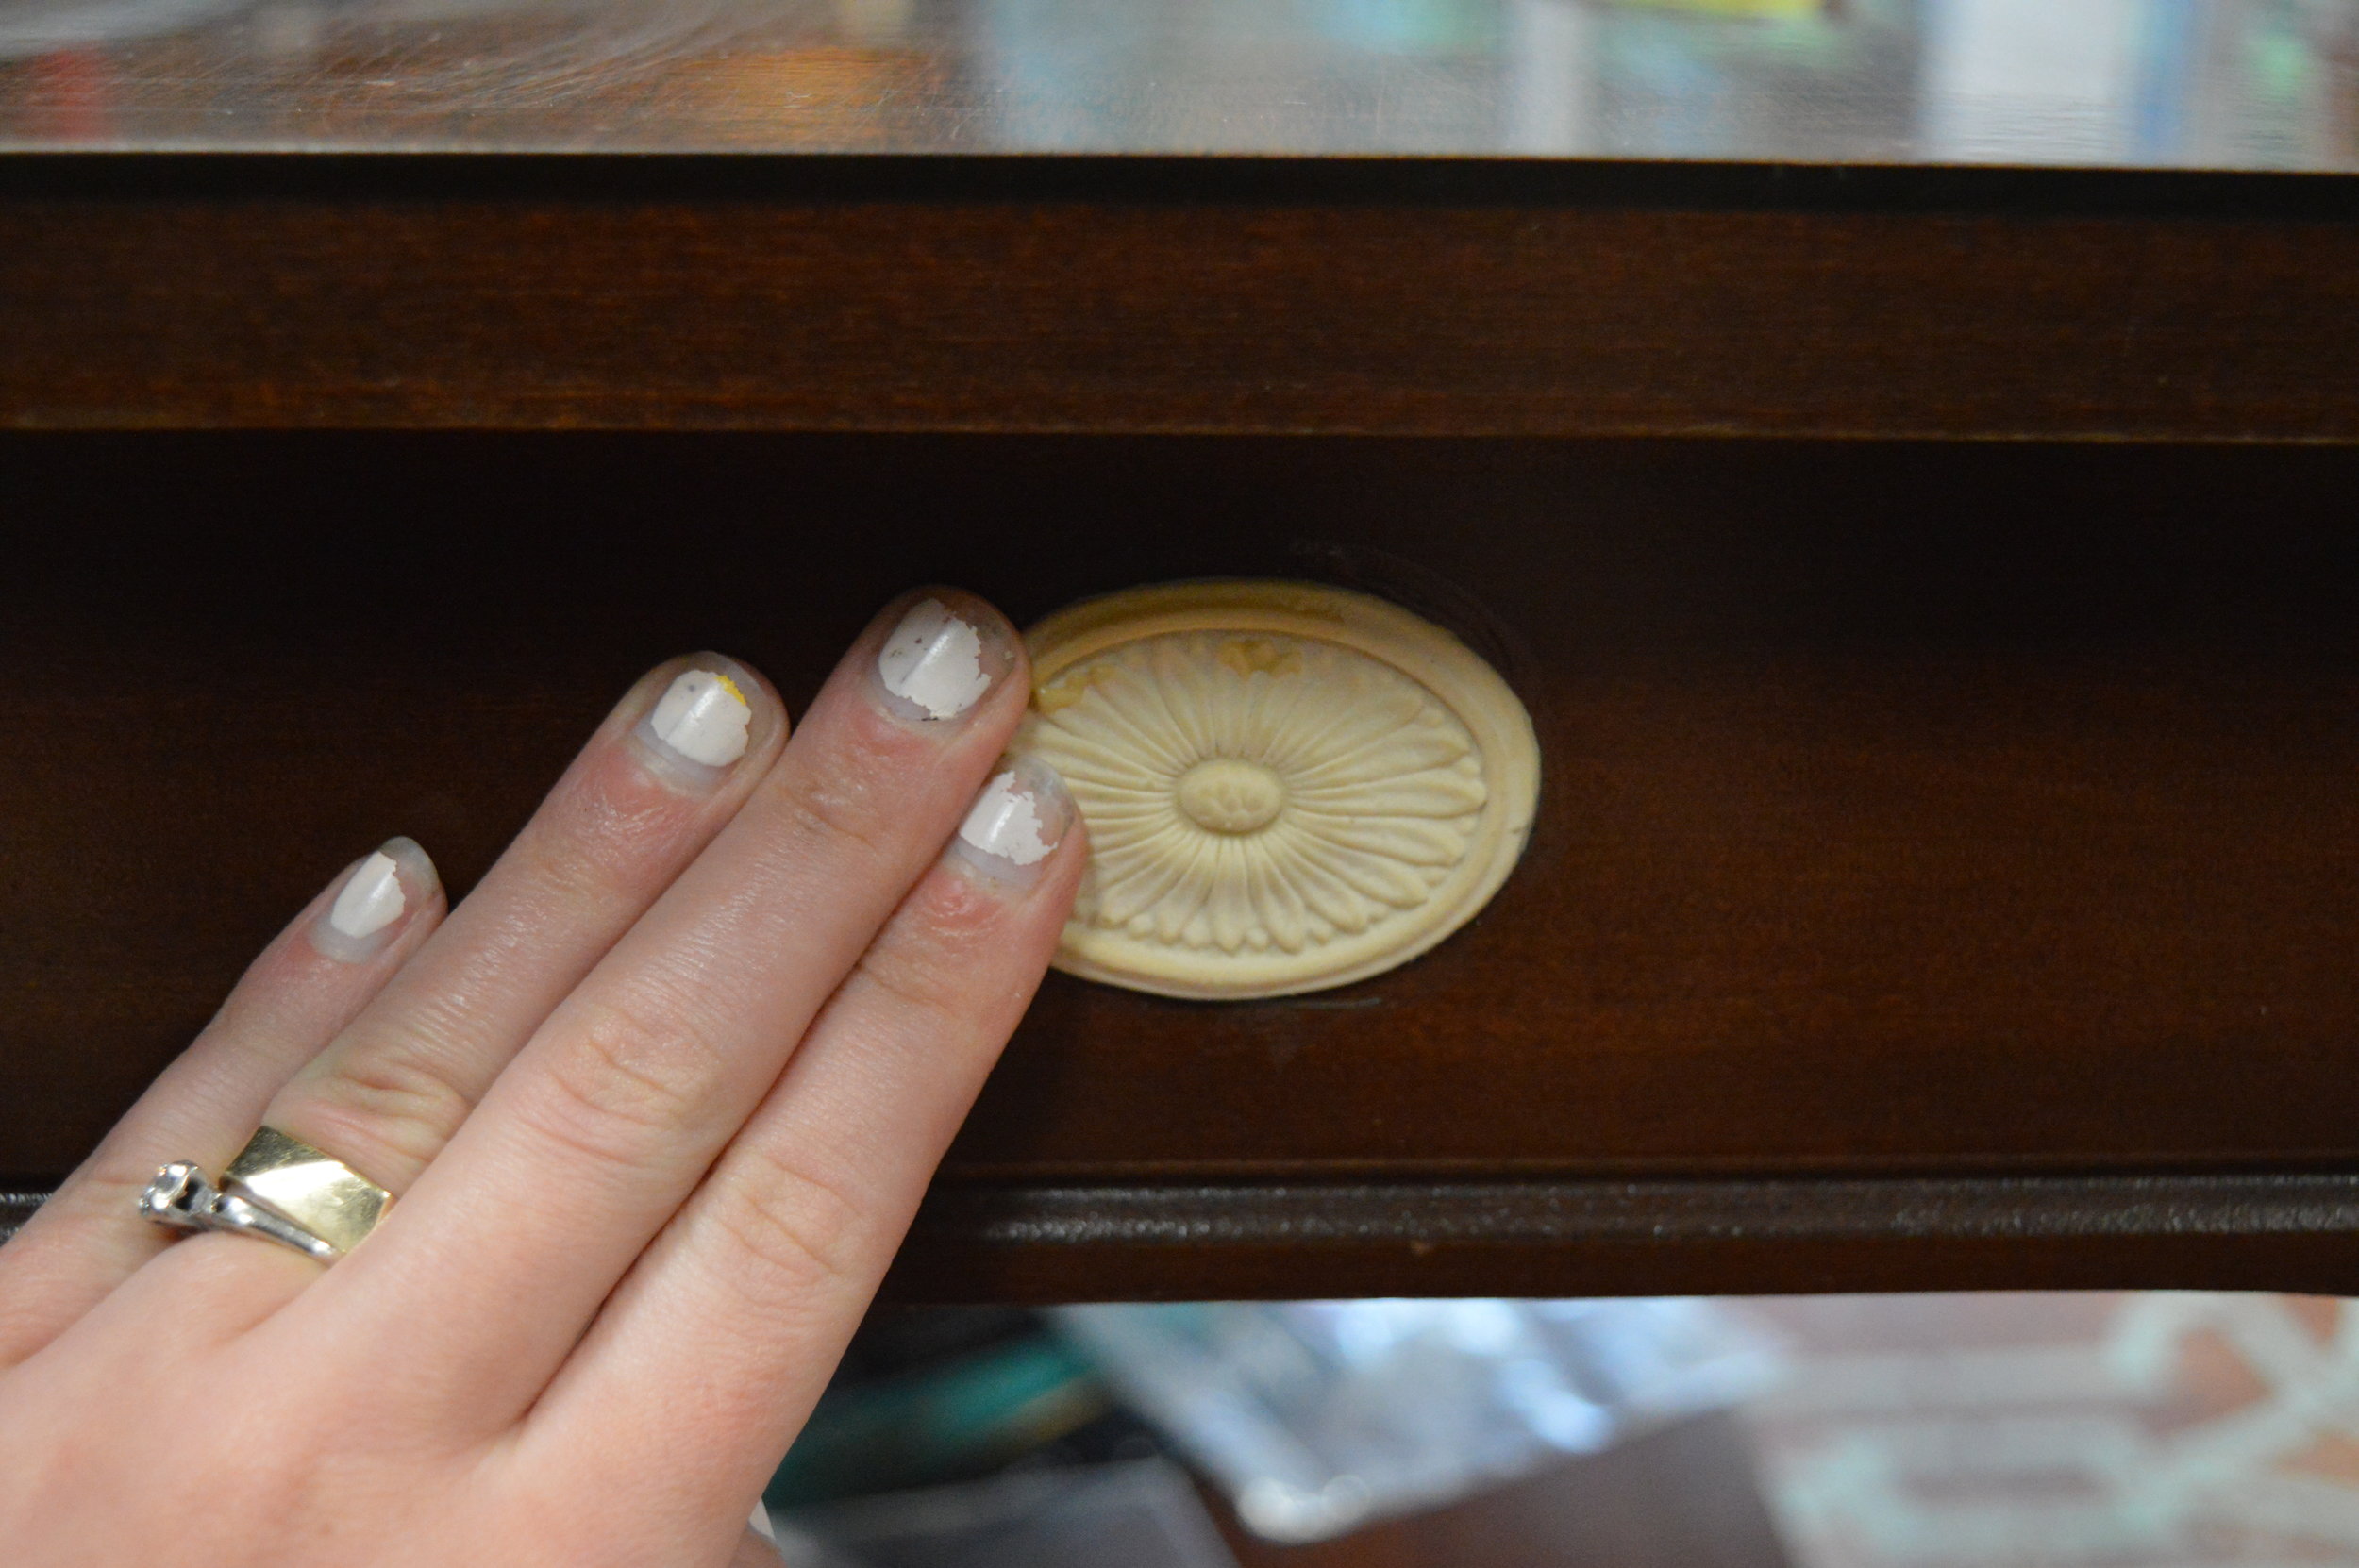
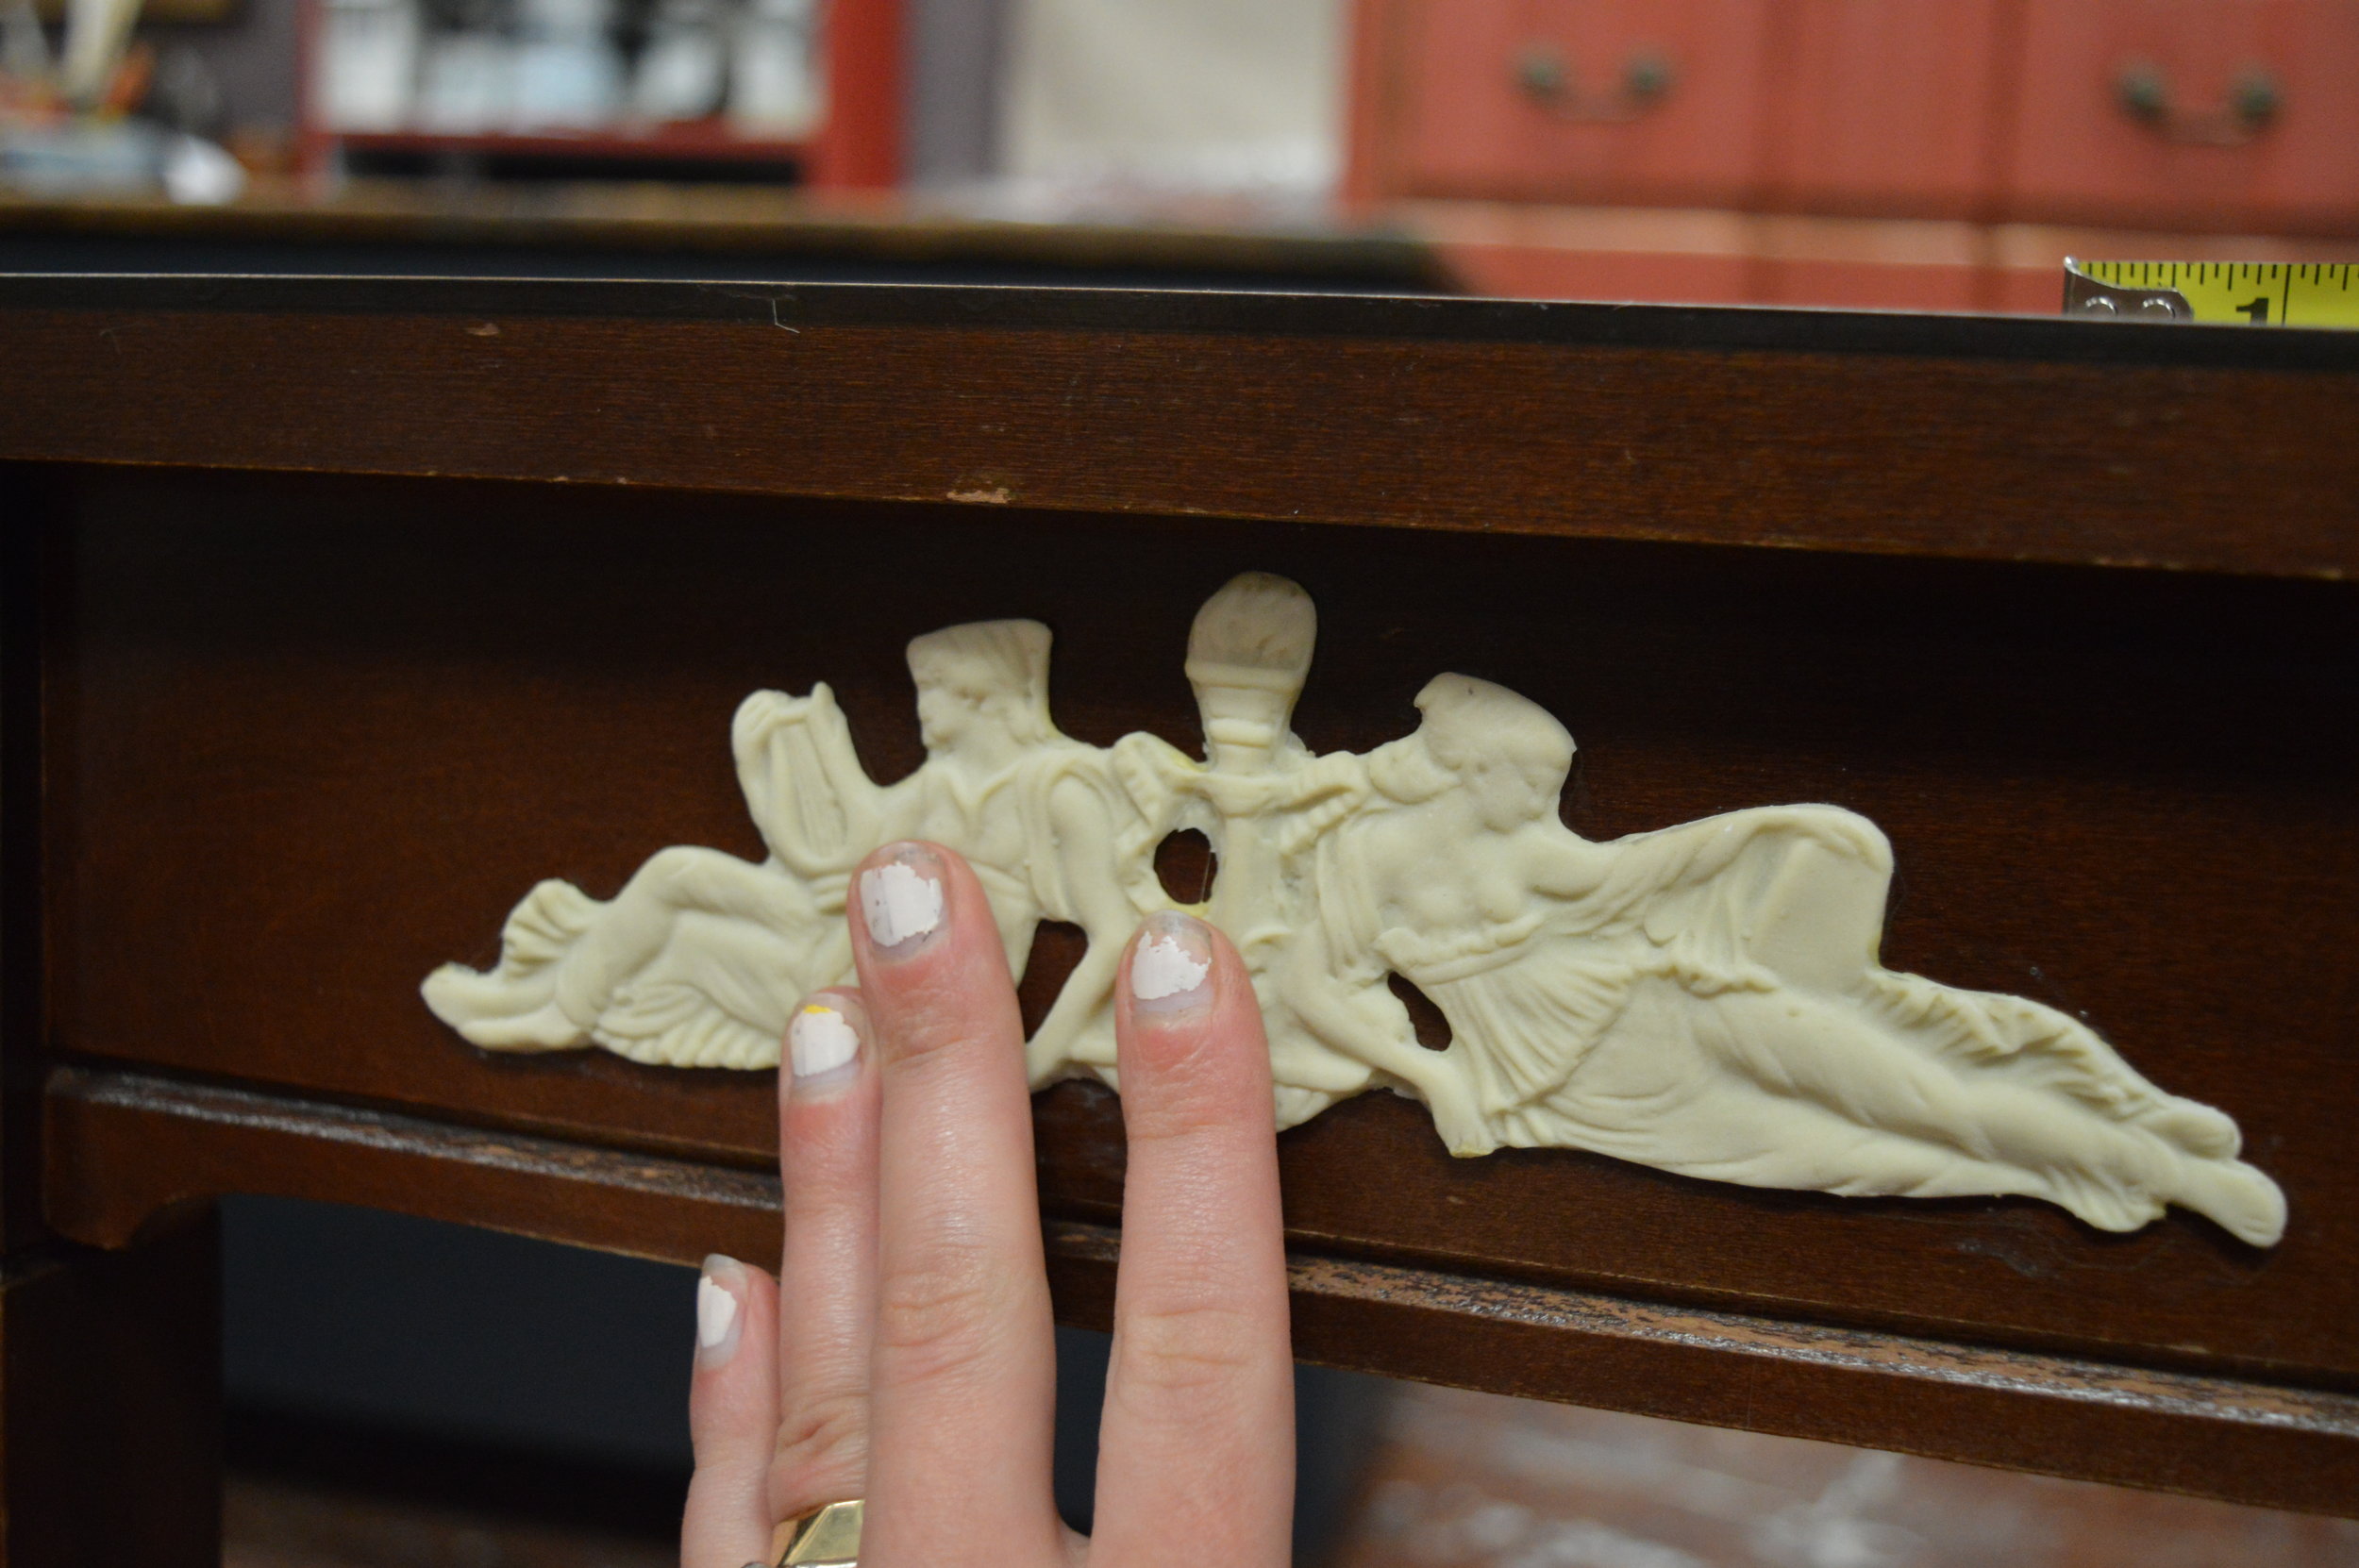
4. We pressed down each shape, aligning it as best as possible to the traced area and contact cement. A great suggestion is to press just the middle of the shape down first and work outward, because once the cement sides are bonded to one another then it’s very difficult to lift the shape back up. Starting from the middle allows you some wiggle-room (pun intended!) to shift the shape a bit if needed where it hasn’t yet bonded. That being said, it really was not difficult at all to make sure they got on there correctly. Our students and customers agree so far on that as well!
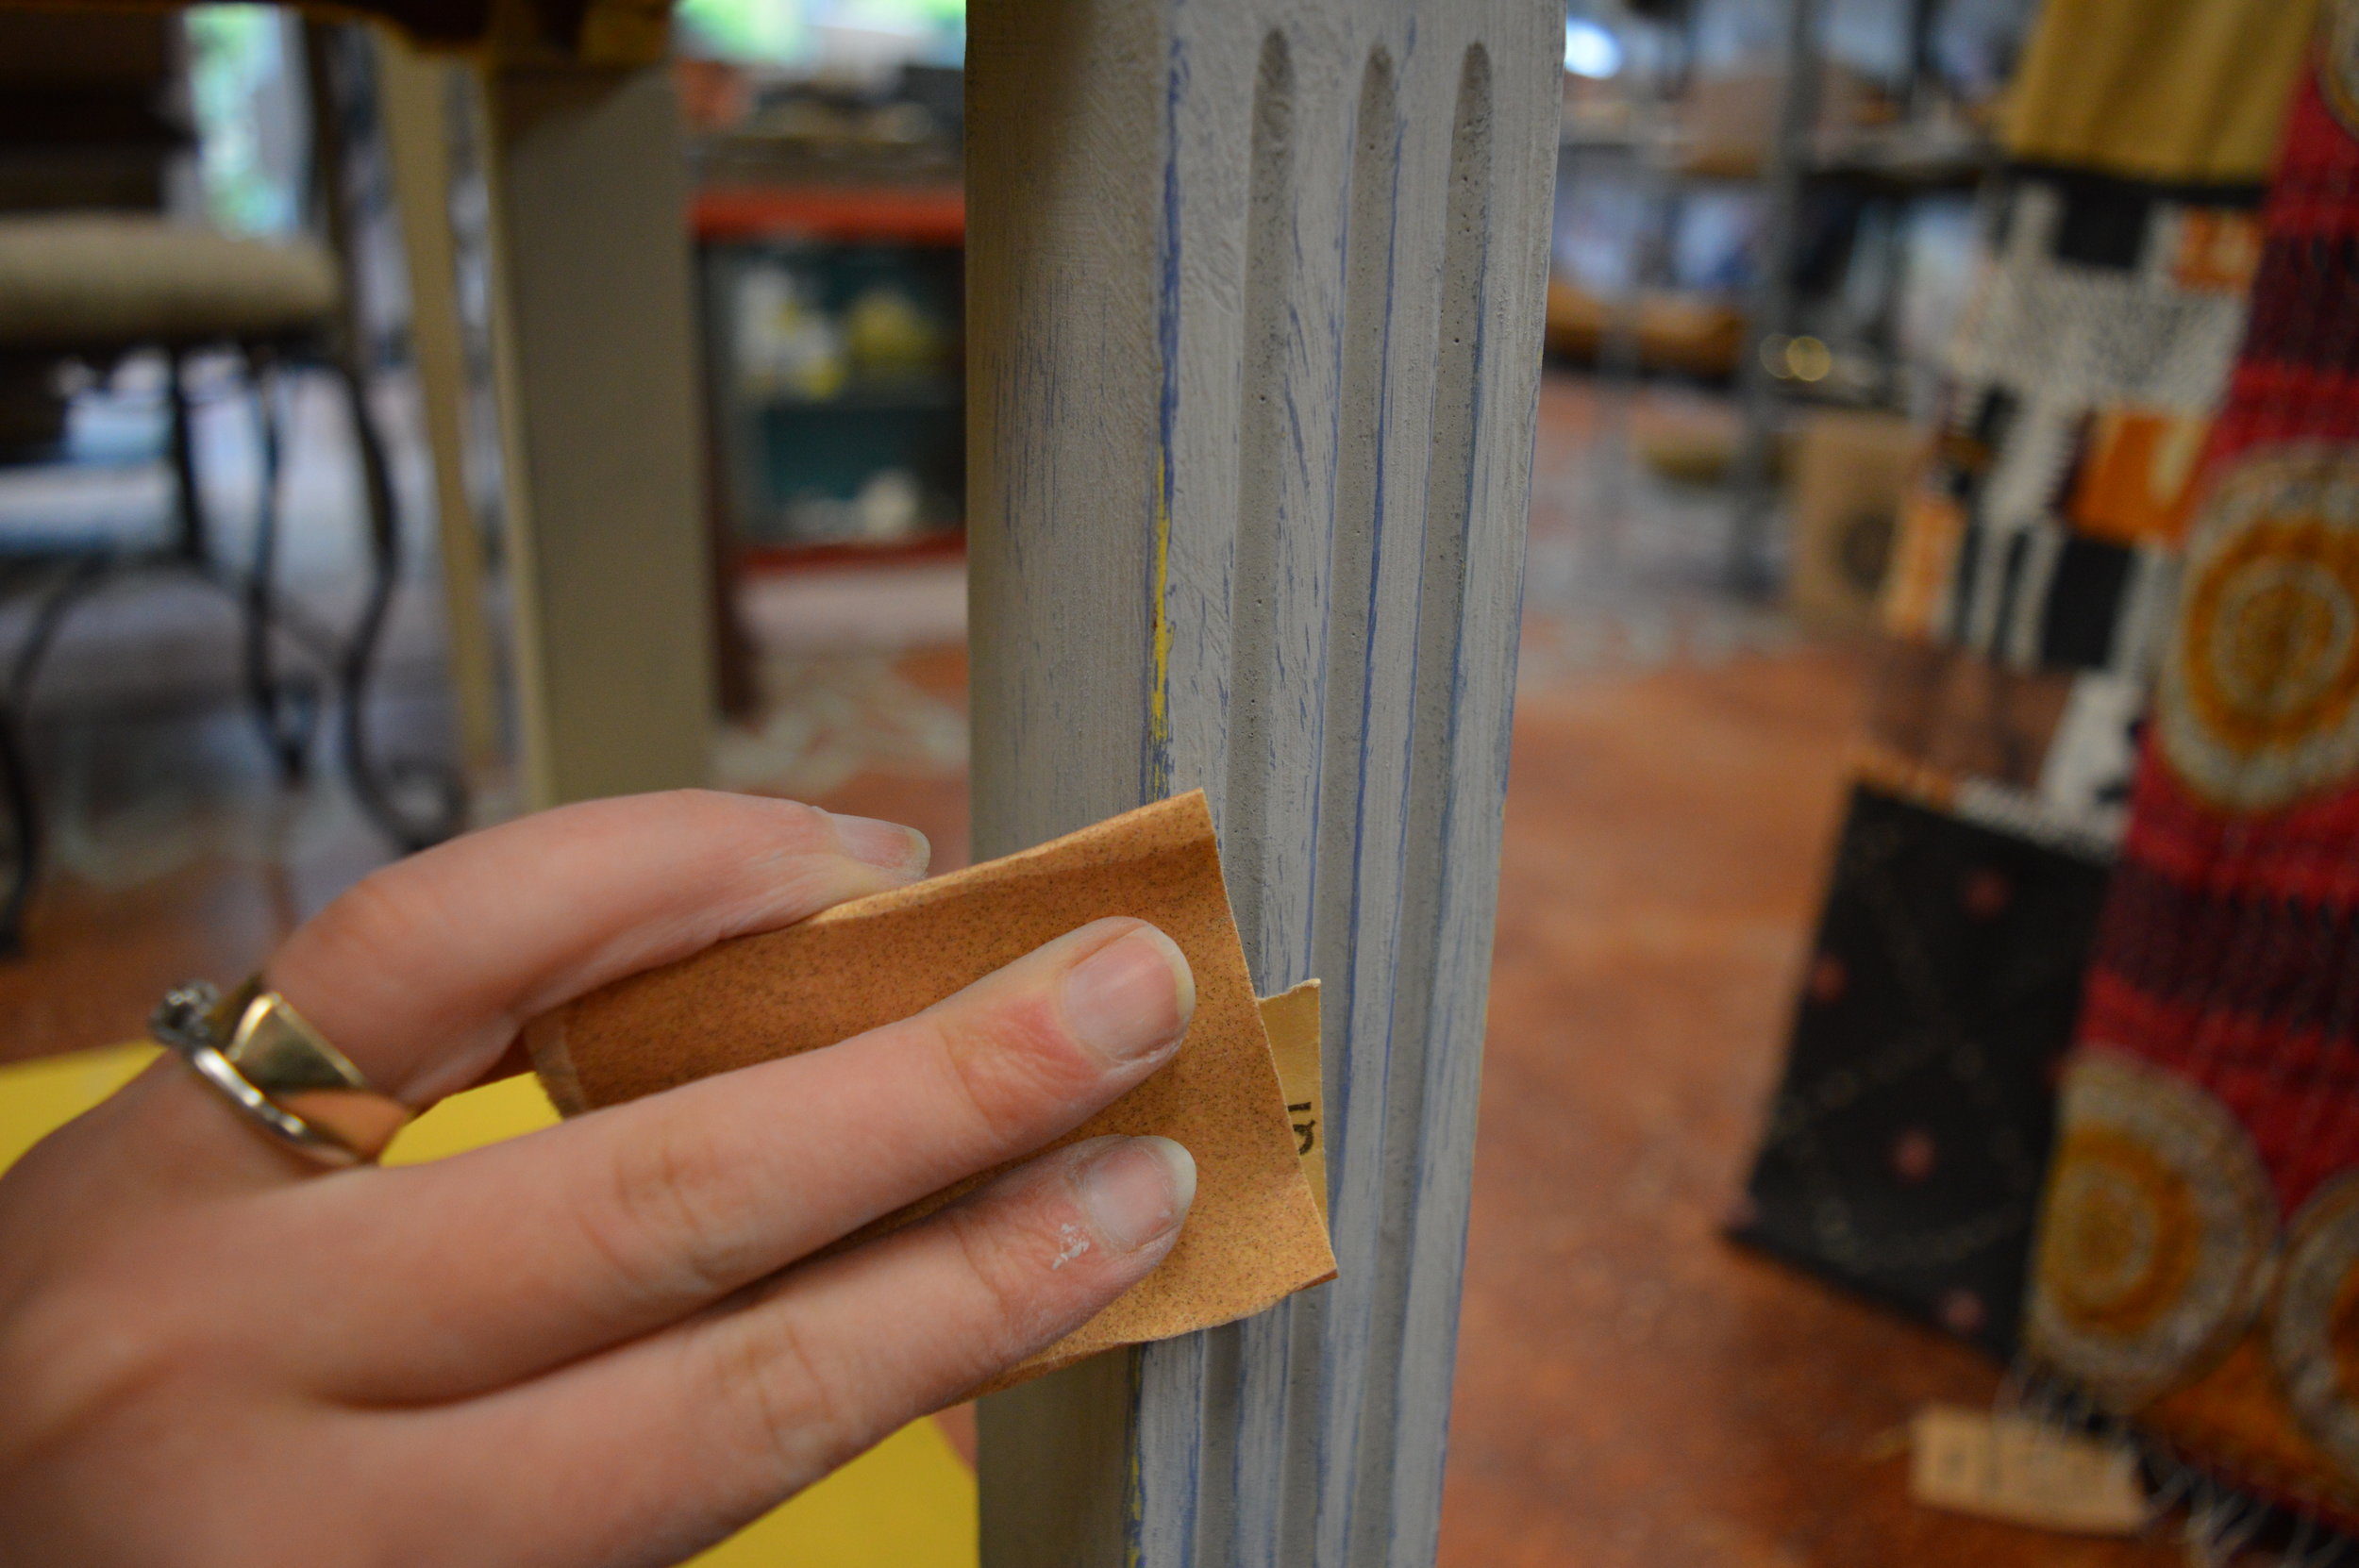
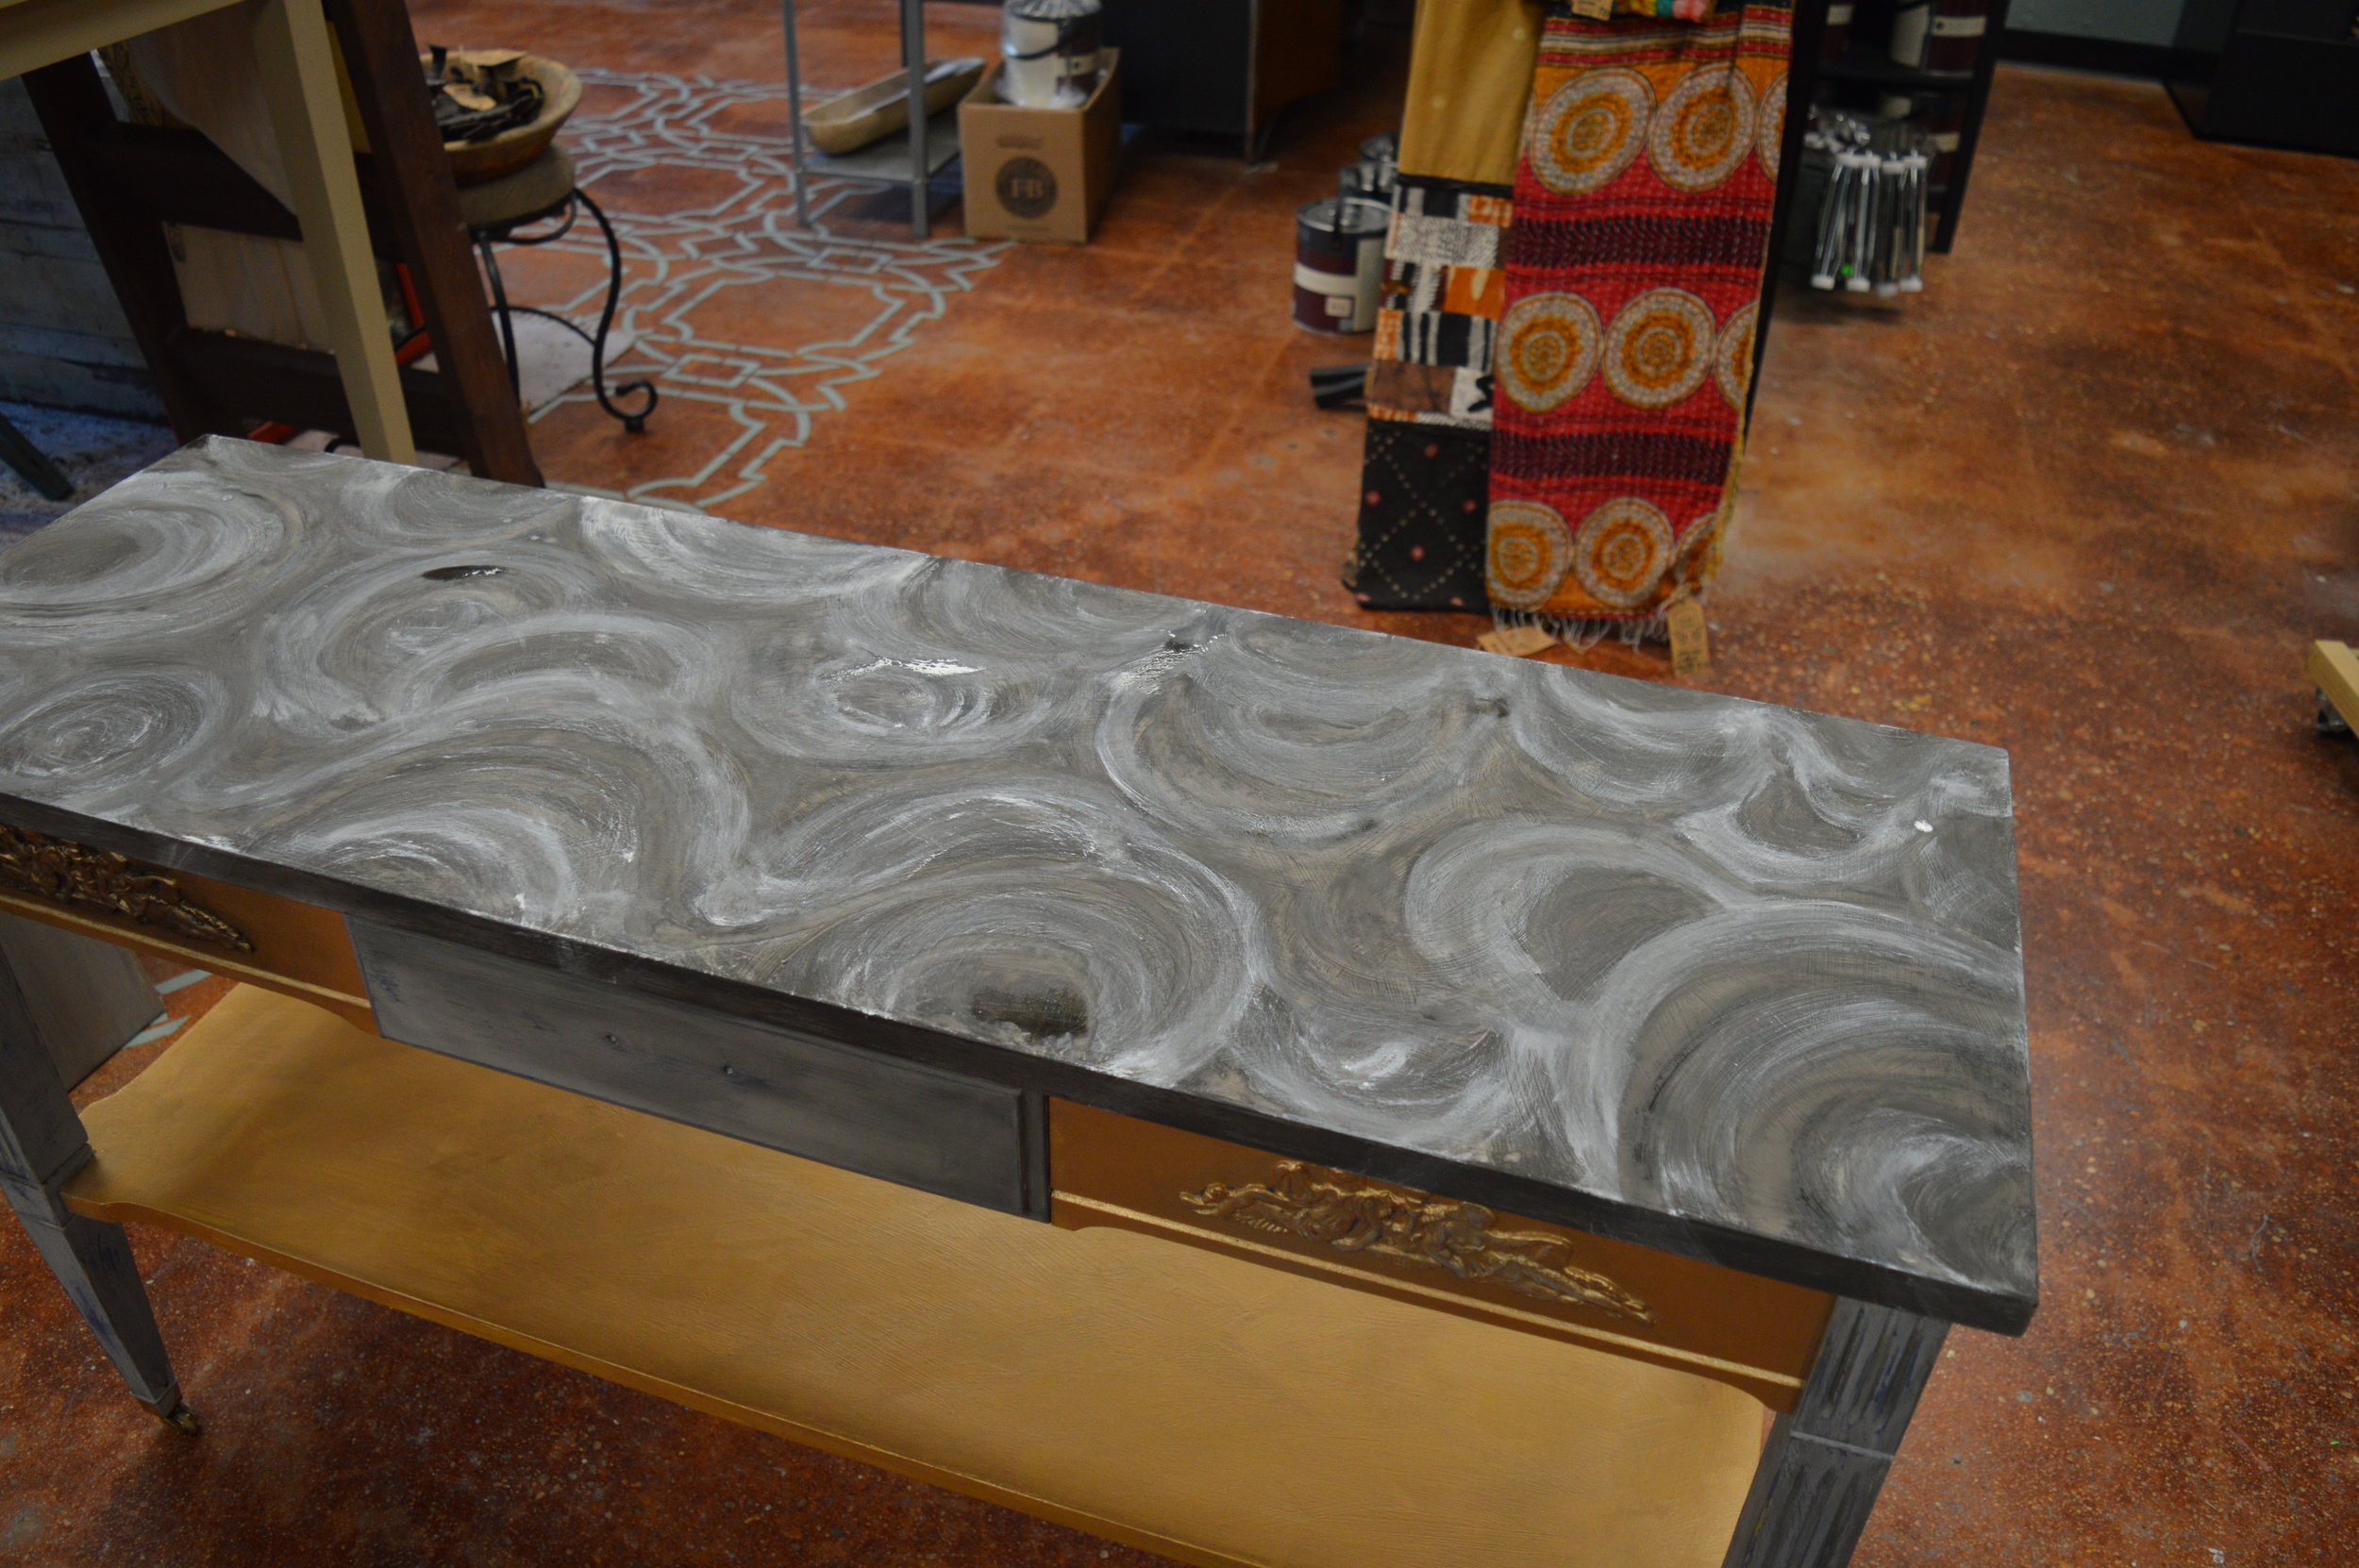
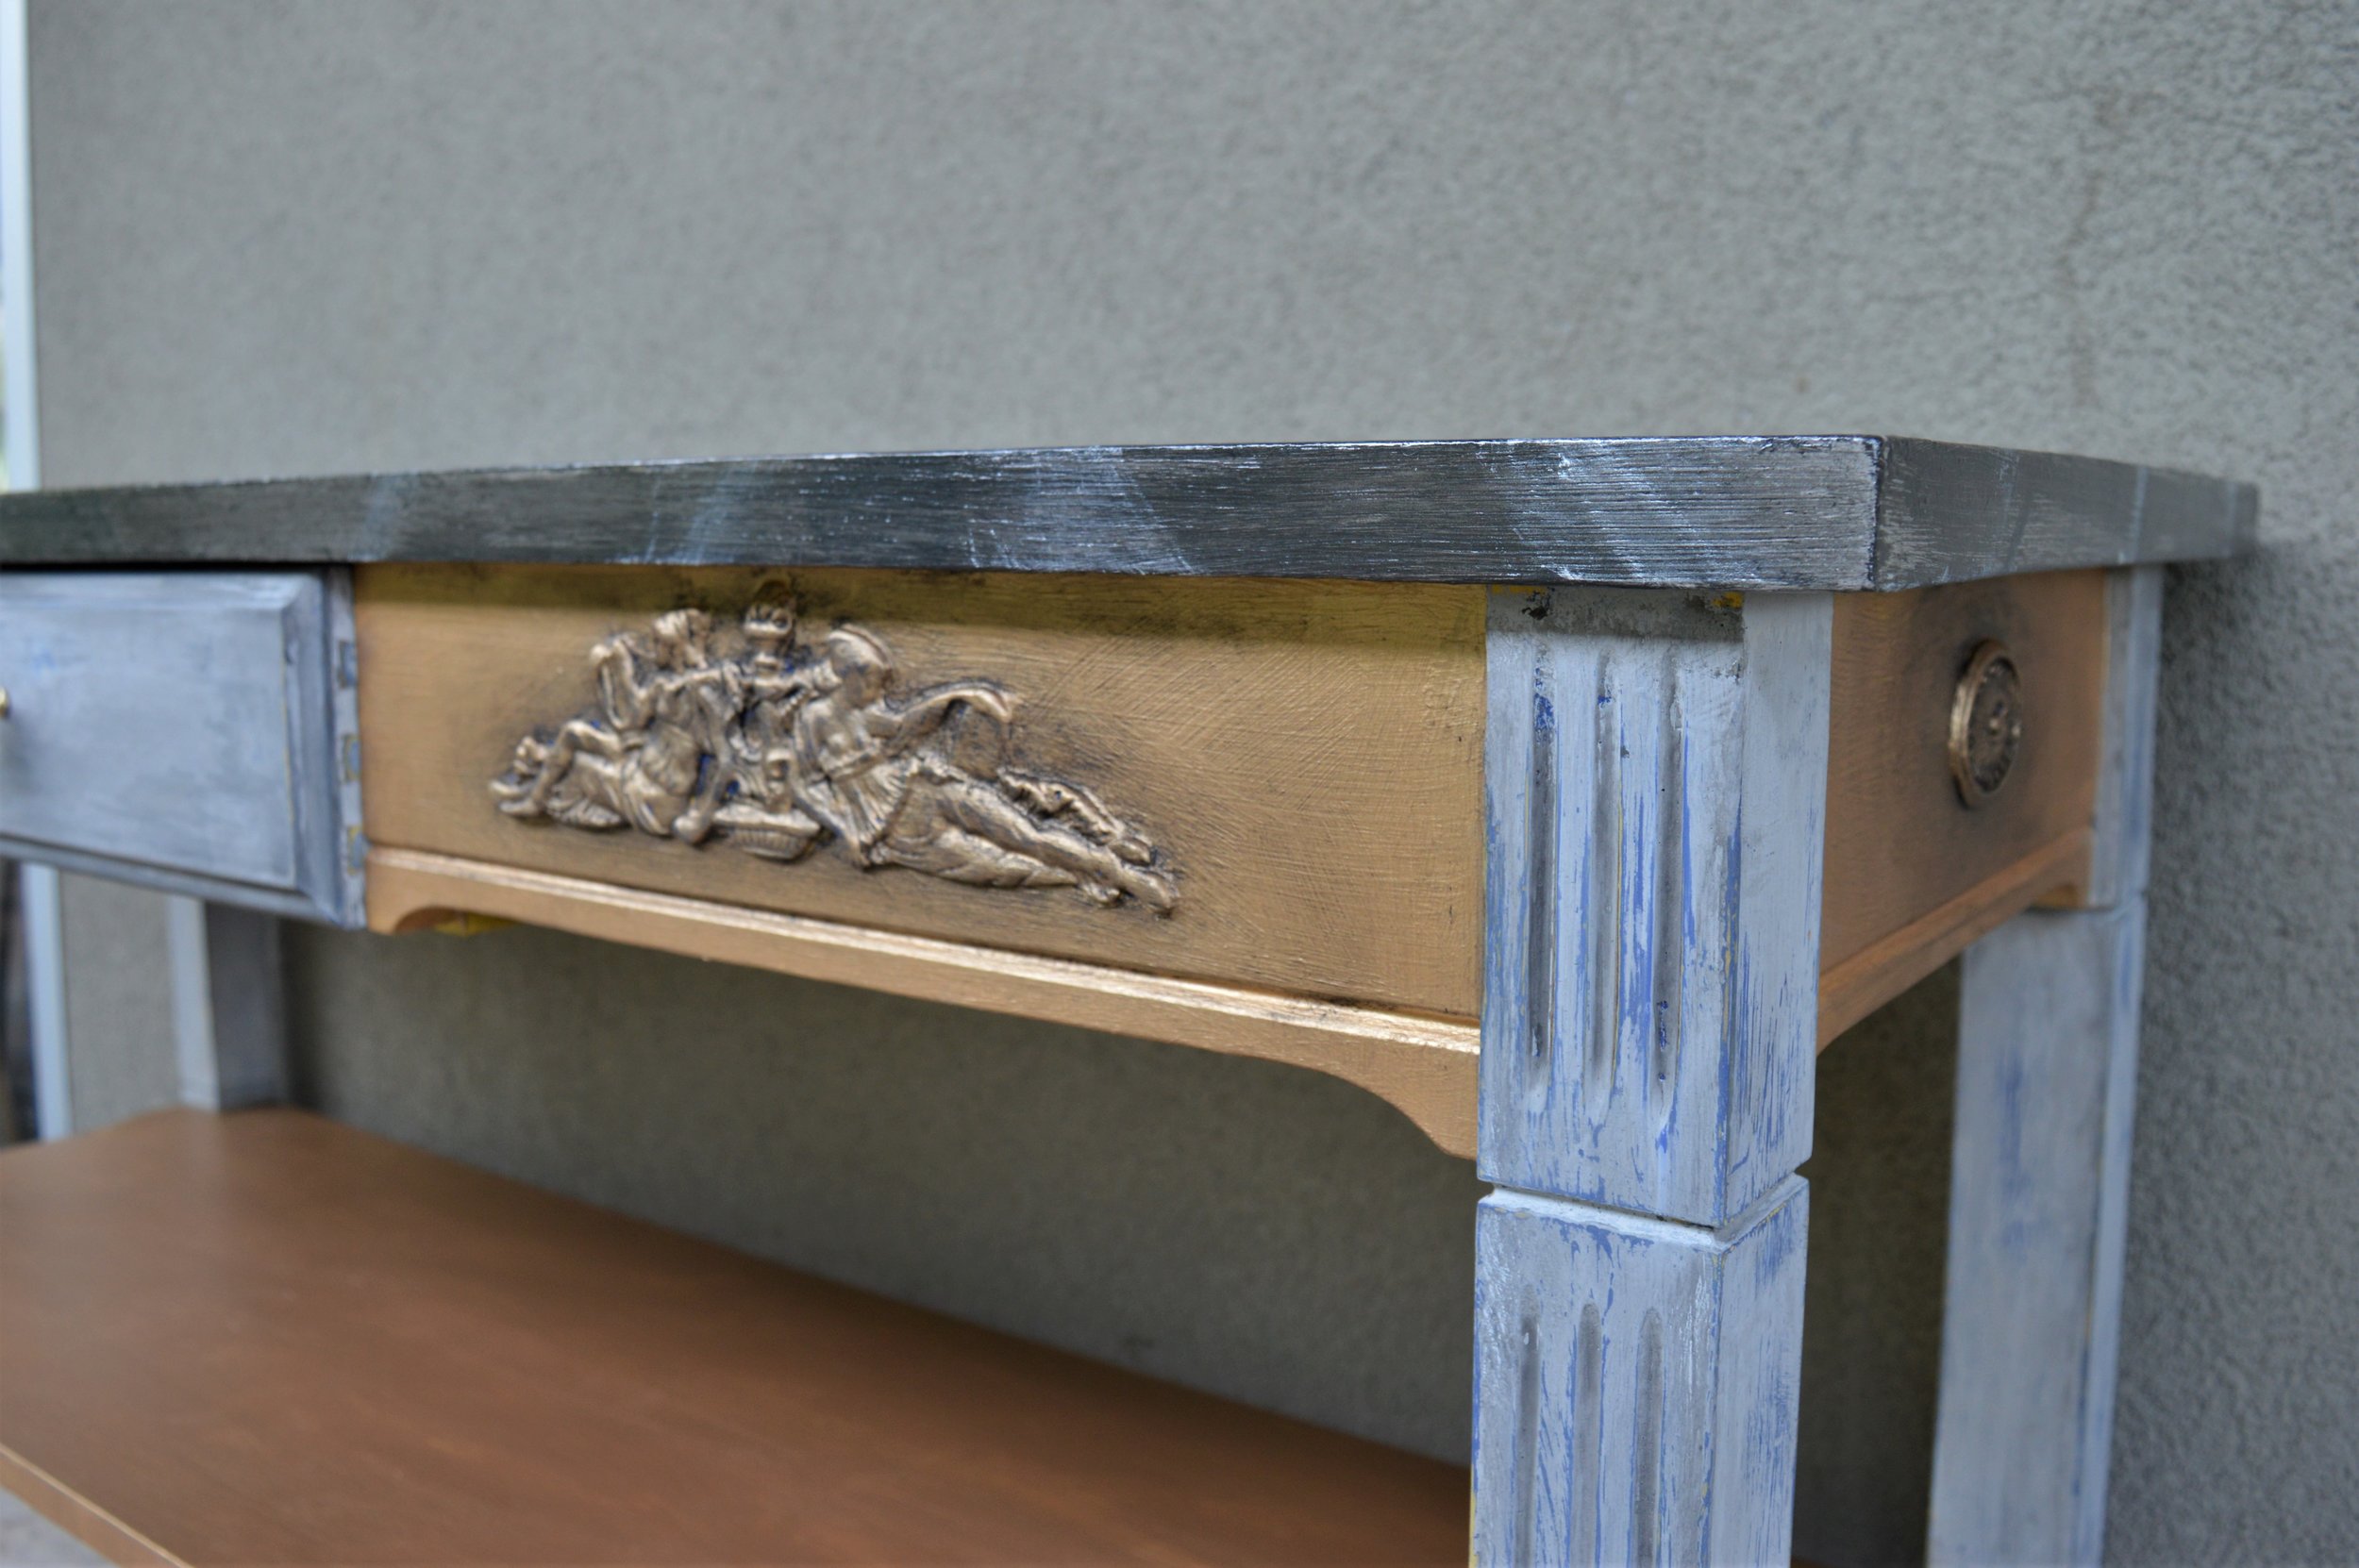
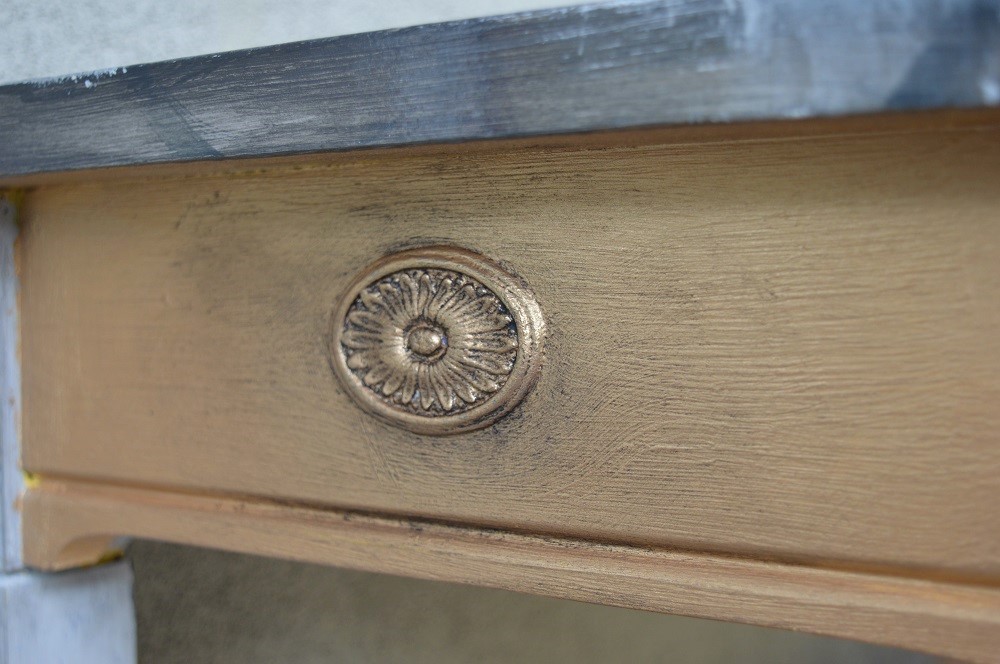
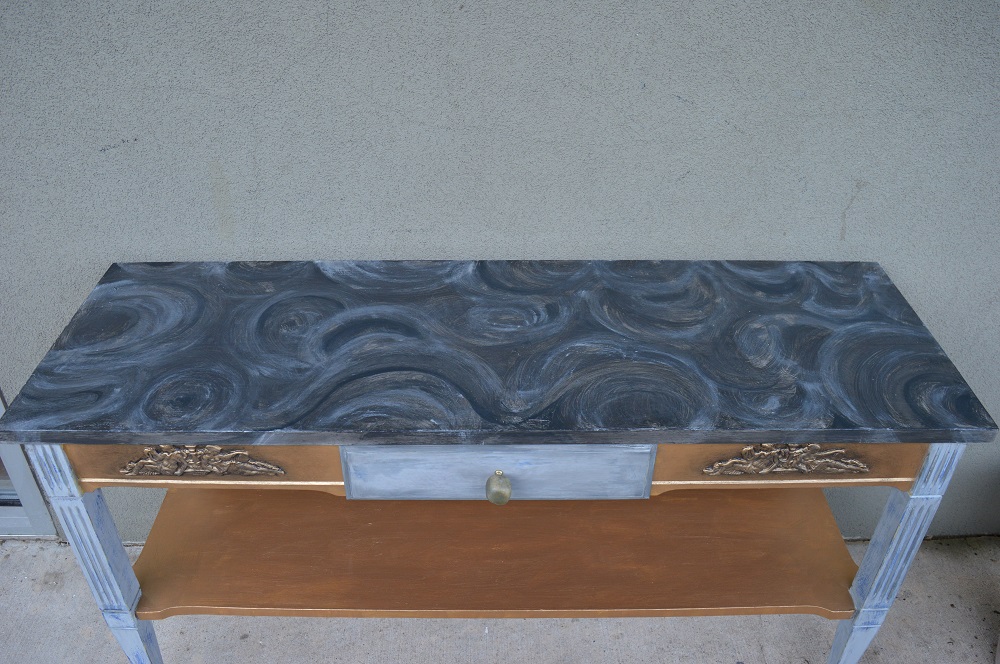
5. We went about finishing our painting technique up right over top! We used layers of Chalk Paint® global Paris Grey, Graphite, Tilton, and Napoleonic Blue. We also used some Modern Masters® Pale Gold on certain areas. We also did a specialty faux stone effect on the top— now THAT DIY tutorial will be for another day!
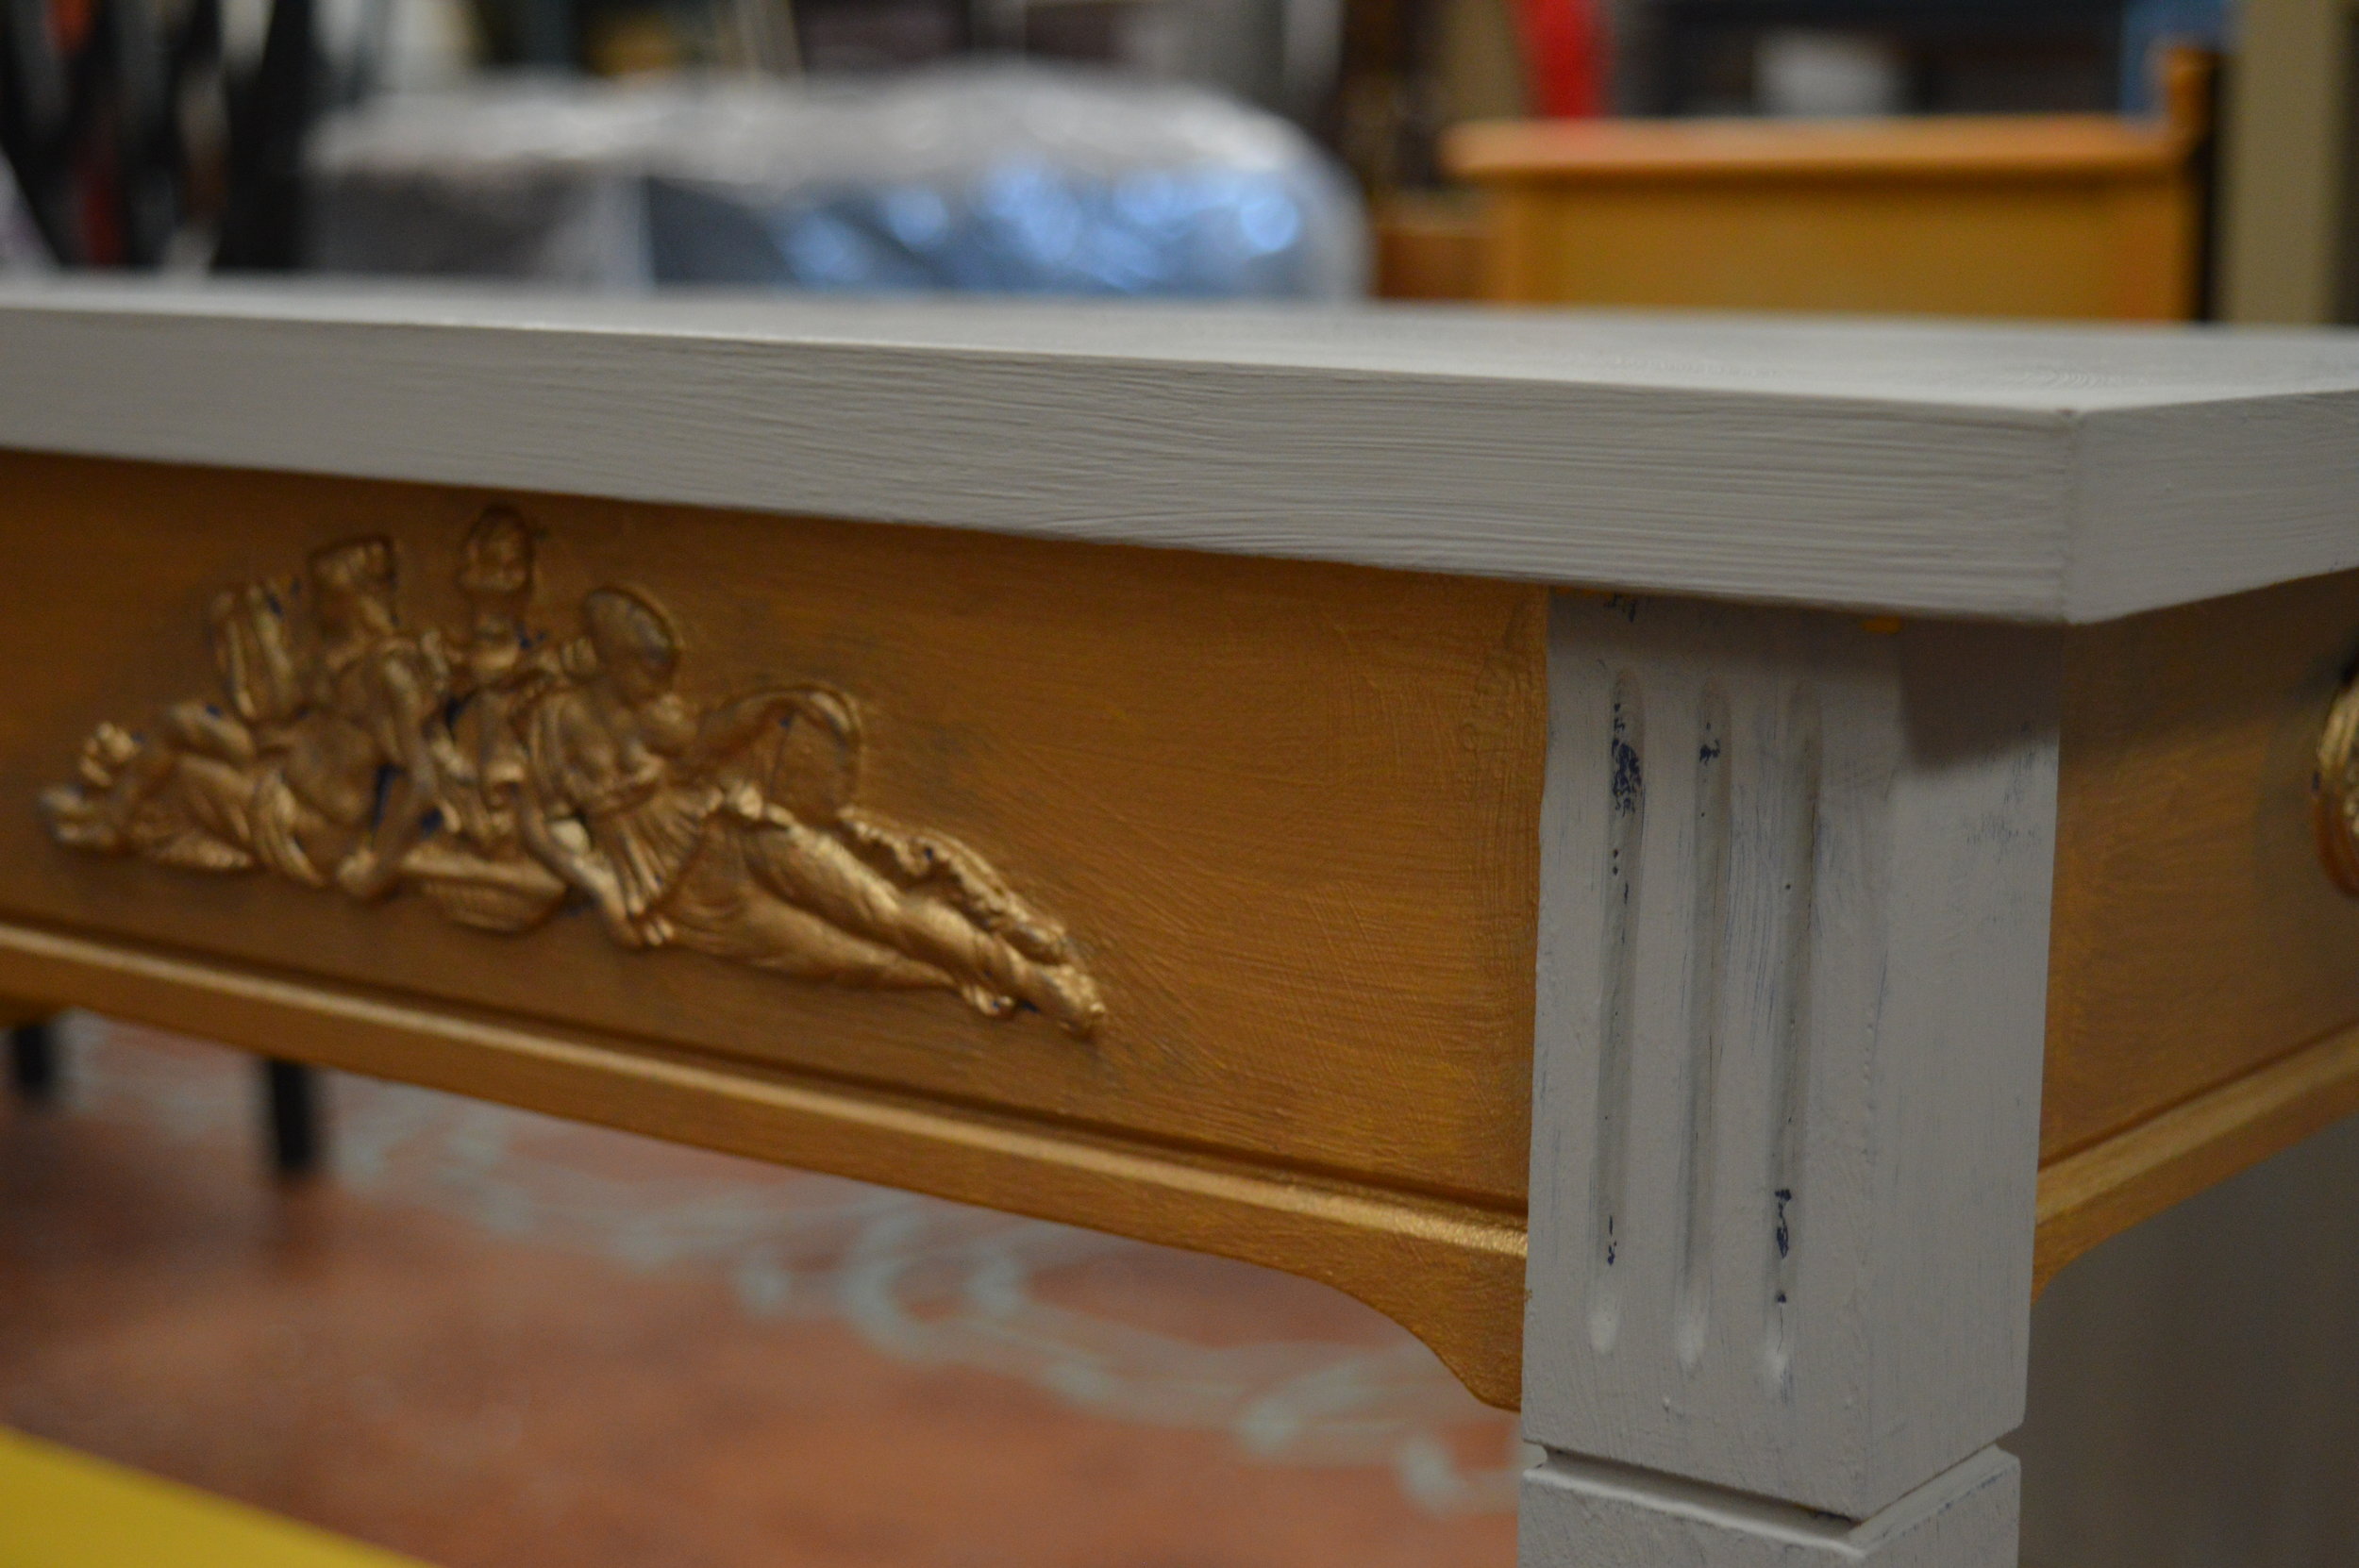

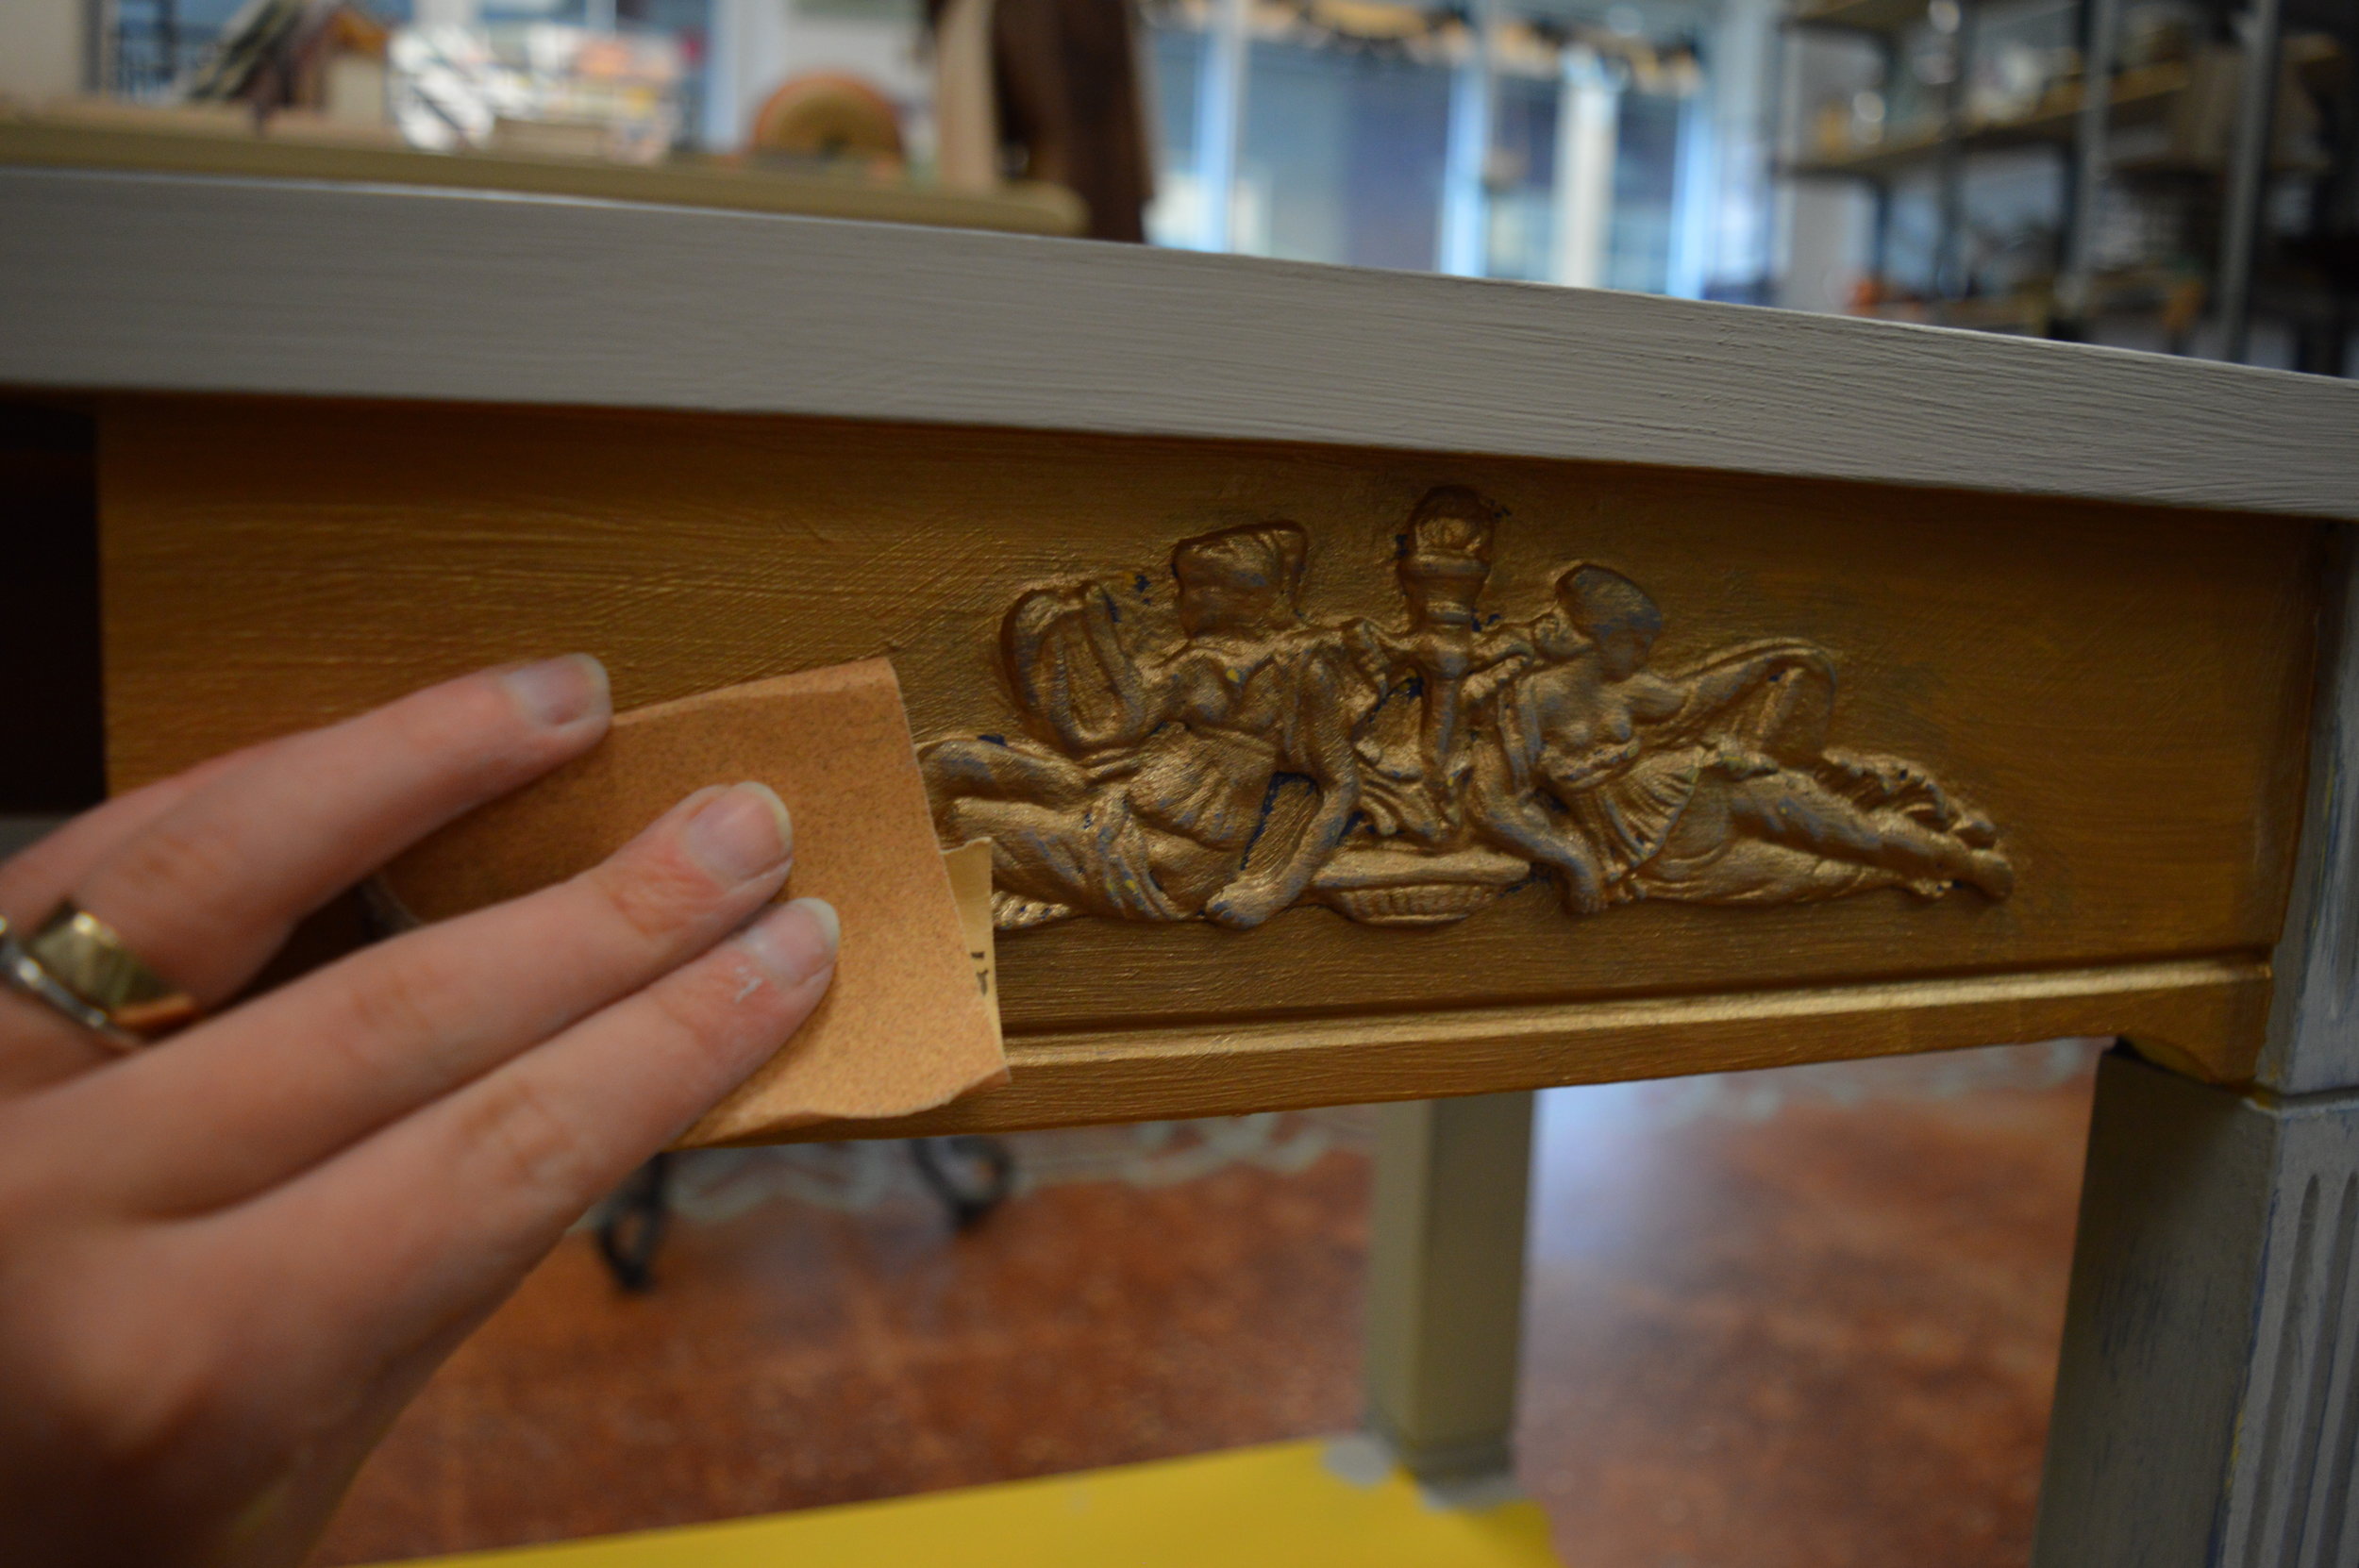
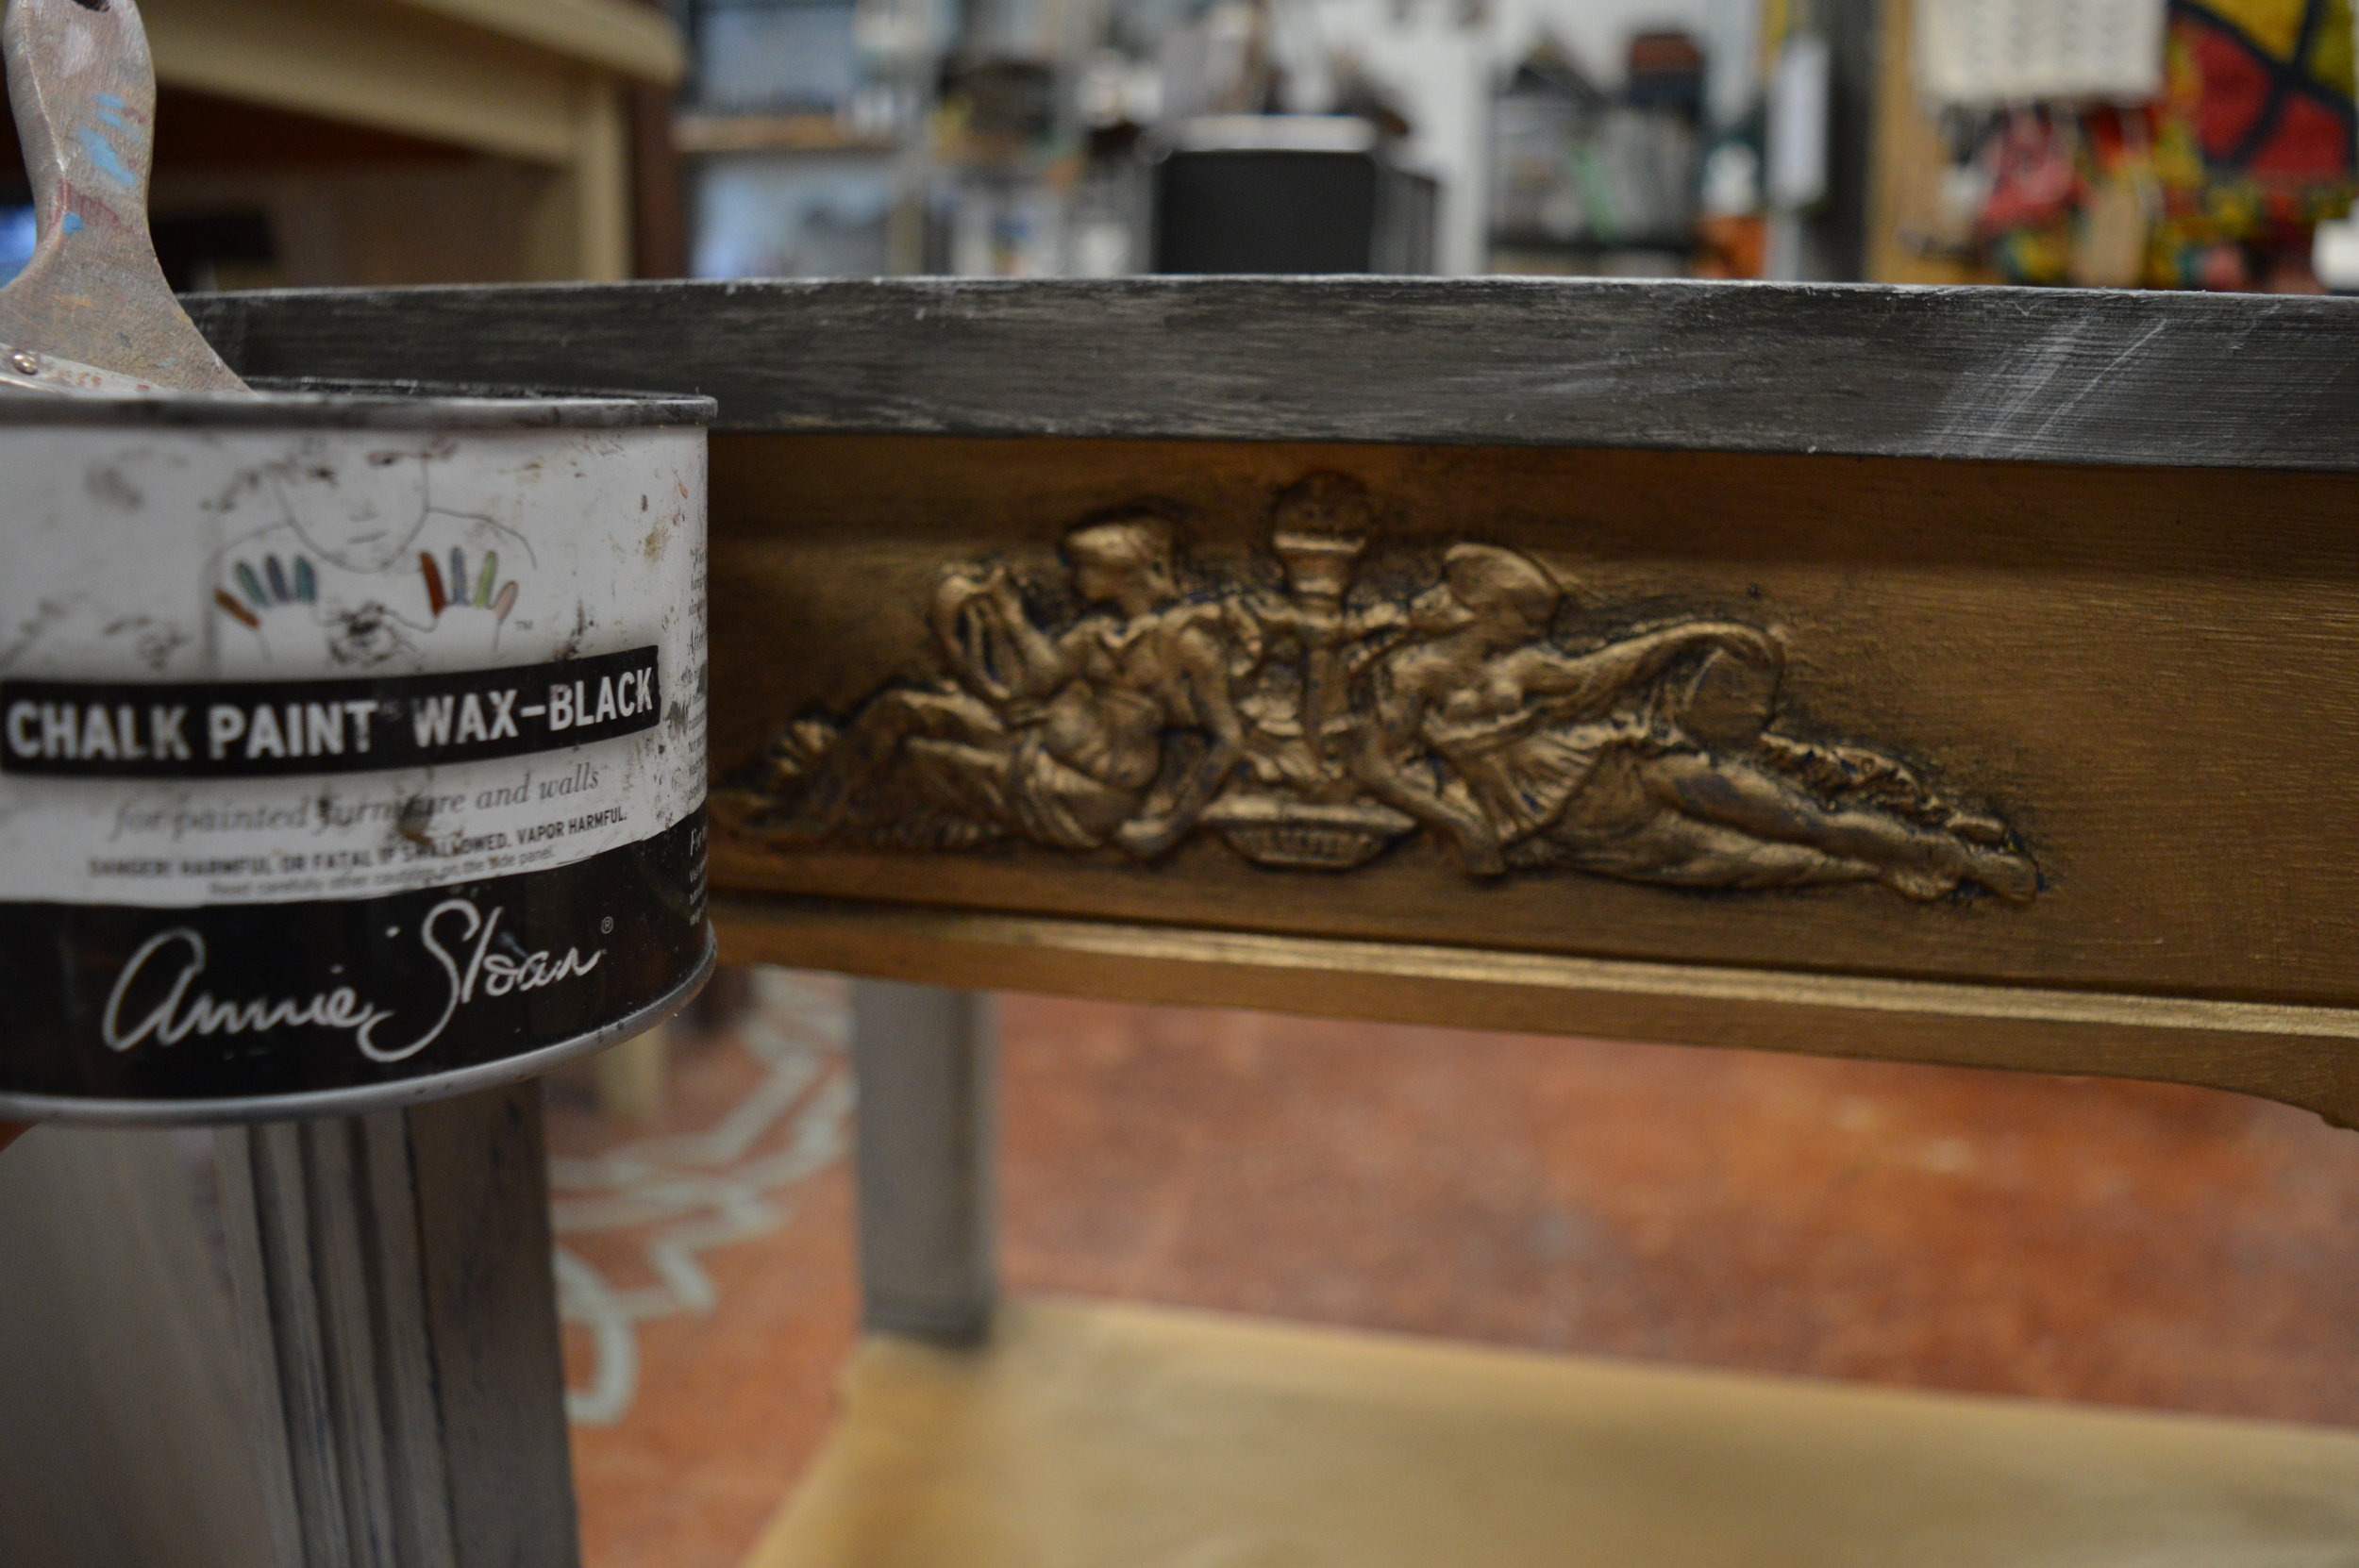
6. We added Chalk Paint® Black Wax around the Efex mouldings to enhance their appearance.
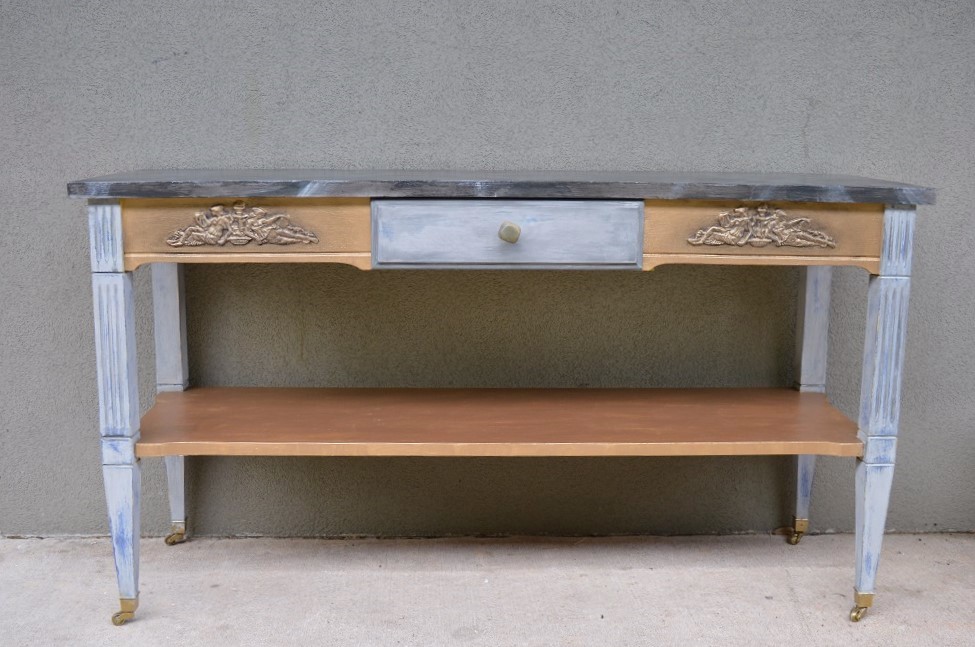
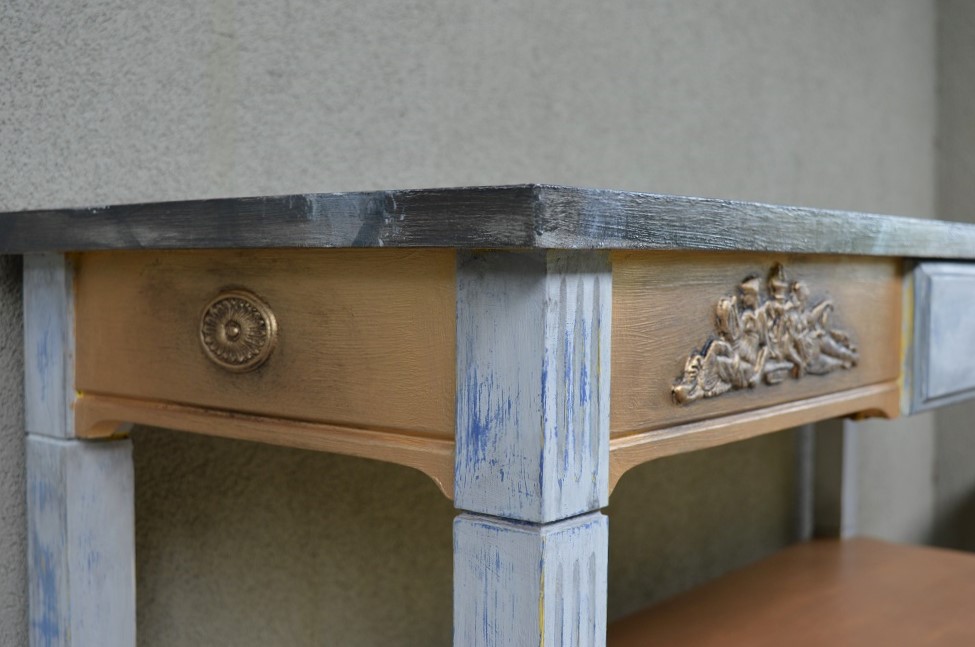
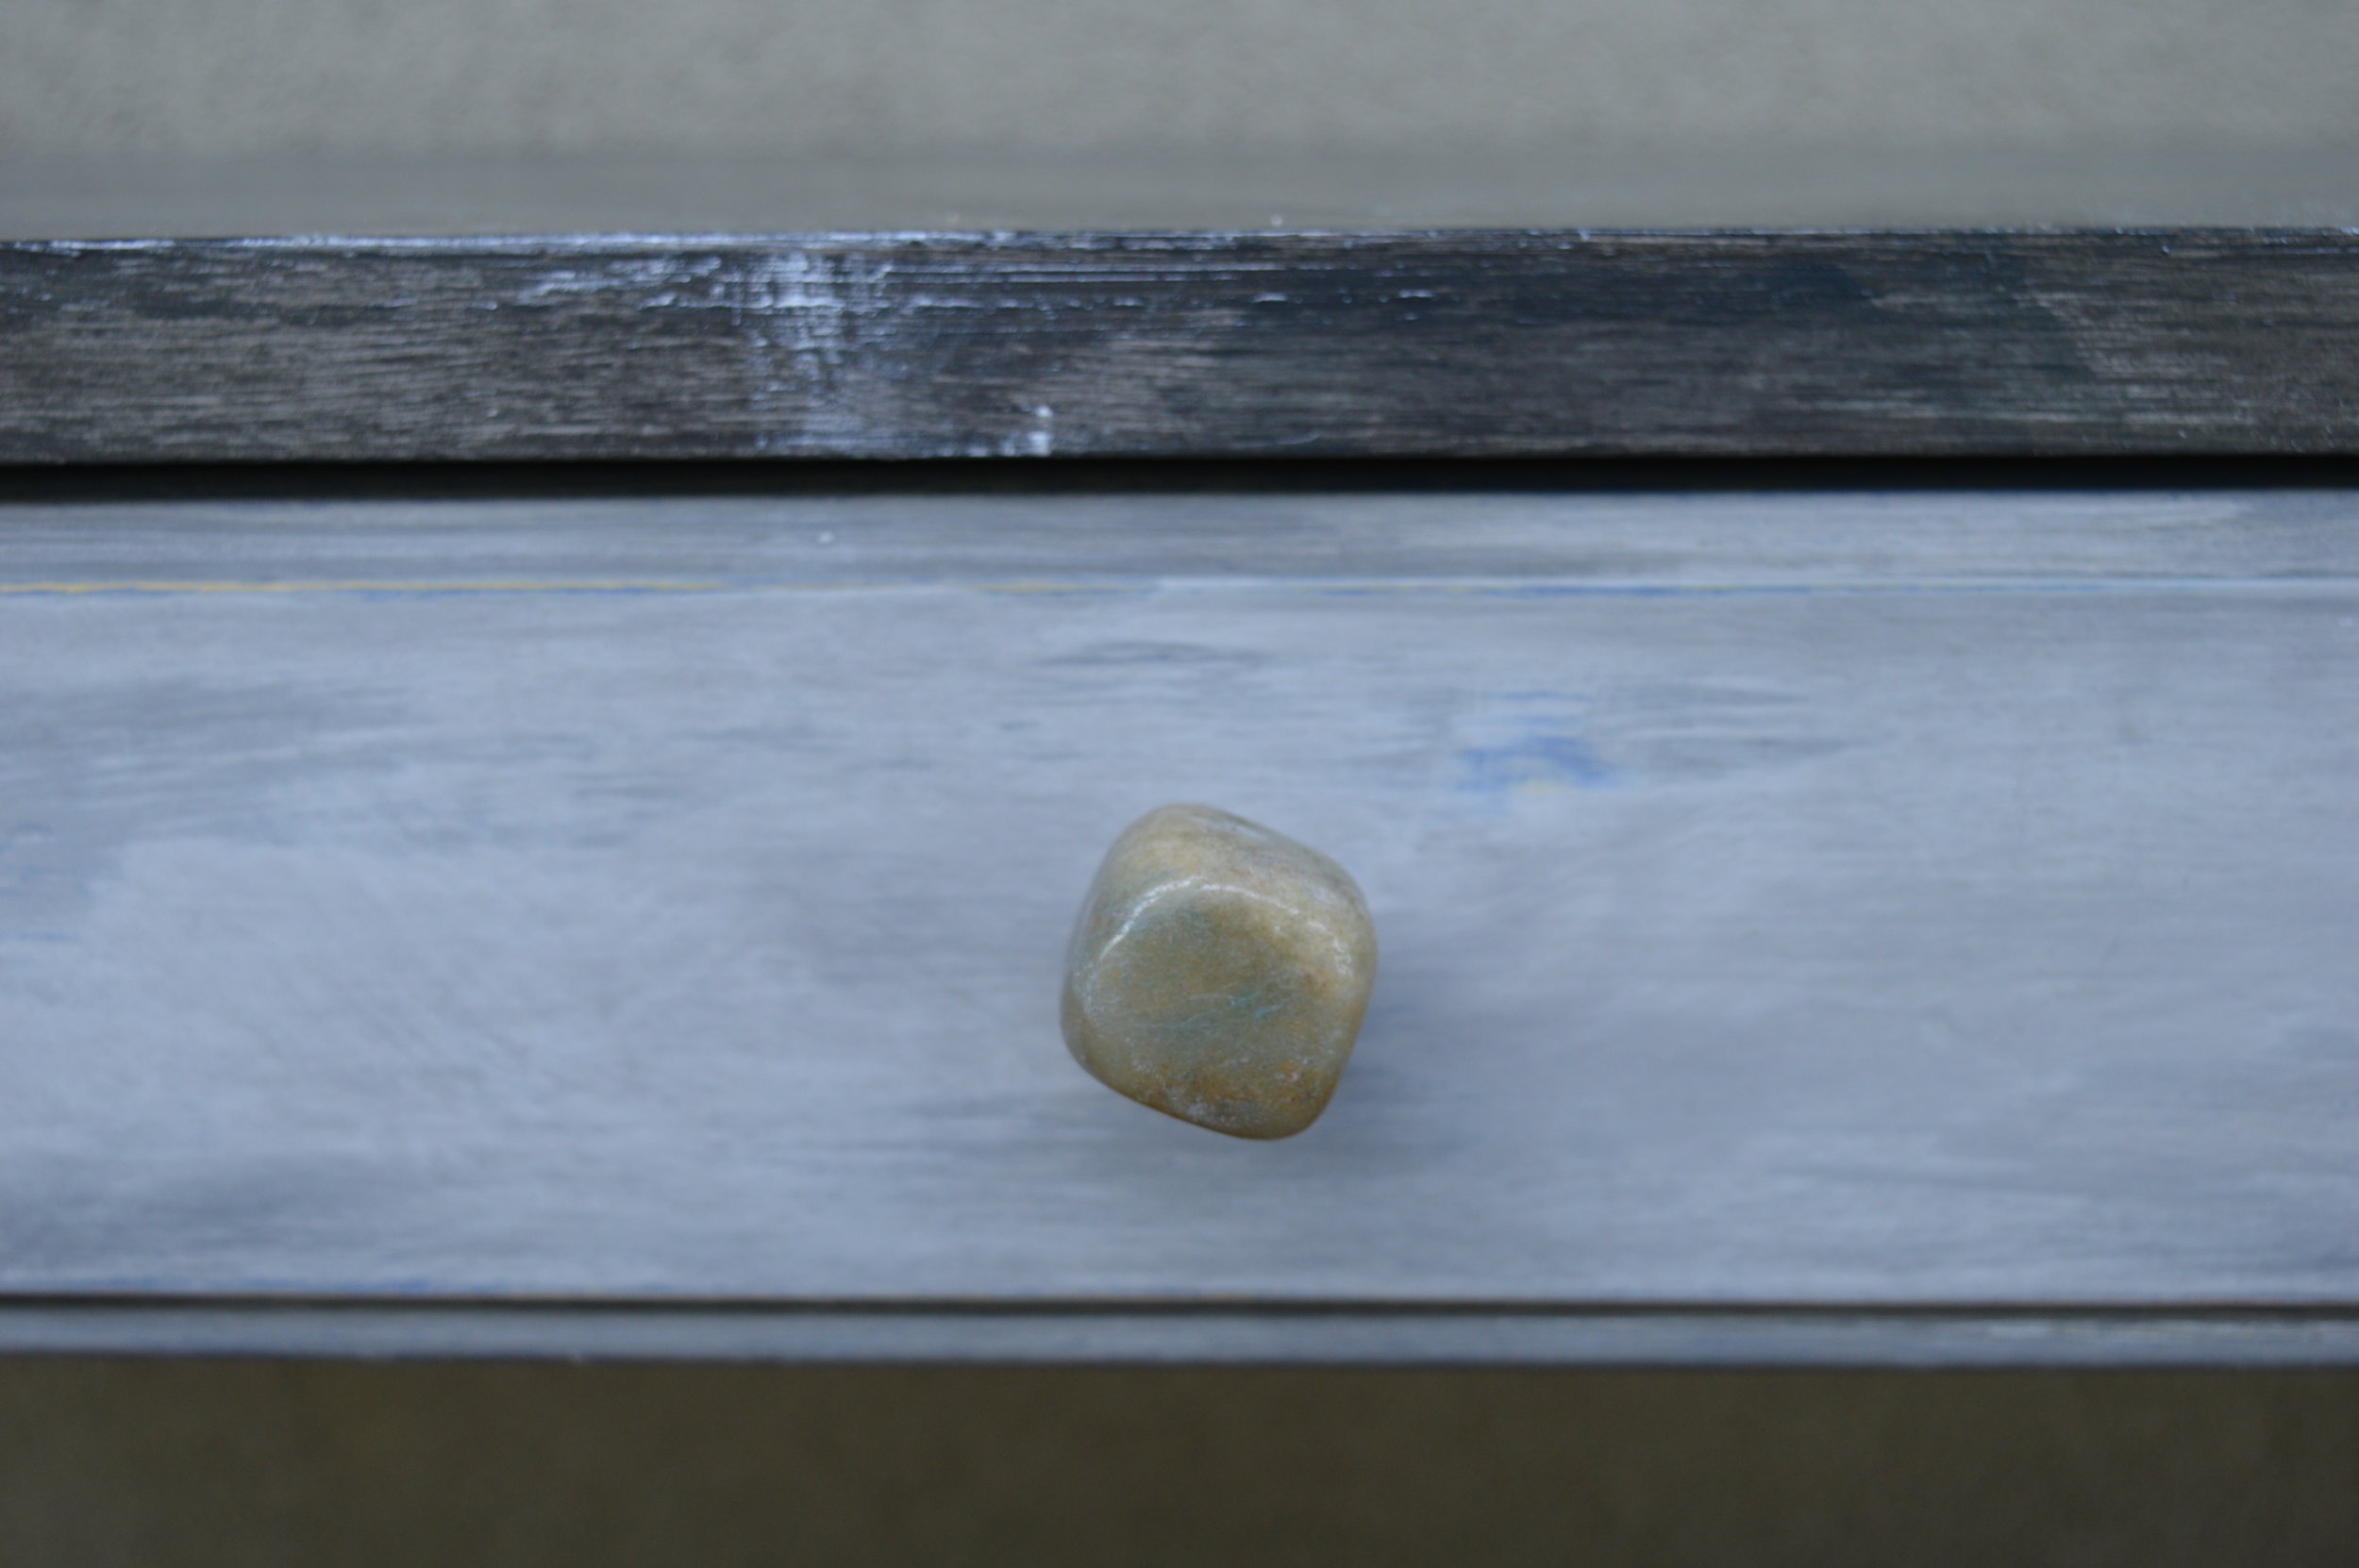
Check out our finished project! We couldn’t be happier with the quality and look of the Efex mouldings that we chose. We also replaced the knob with a stone one, to go with the faux stone effect in the top.


How to Open the New Chalk Paint® Litre Tin Lids
Have you bought an updated litre of Chalk Paint® but not been sure how to open the lid easily? Using these tips it should be a breeze for you.

Hello! Happy February. Our 2019 is in full swing, how about yours? Part of our new year has been an introductory to the updated packaging for the new Chalk Paint® litres. Have you tried the ‘global’ Annie Sloan paint yet? In case you’ve missed it, Chalk Paint® recently got a tiny update on the amount of clay in the formula, and therefore will be a little bit thicker in feeling going forward. We’ve been LOVING how creamy it is, and dare we say we didn’t know how it would ever possible for Chalk Paint® to get any better than what it’s been (since it’s so dreamy)… but it has. Our students and customers have been loving the update too.
The other part of that update is that the large tins will be transitioning over to litres from quarts, so you’ll be getting a tiny bit more bang for your buck as well. Opening the litre lids is a little bit of a learning curve, so we decided to highlight the best ways to open the lids without mangling them. All in all, they will be easier to press shut with just your hands going forward (instead of hammering them shut, eek).
Opening the tin
Ease the tin opener between the top of the lid and the edge of the tin.
Apply slight pressure and lift upwards.
Turn the tin a few degrees and repeat the motion. You will feel the air tight seal break and hear a “pop” noise.
Continue turning the tin until you have covered the whole circumference of the lid before attempting to pry the lid completely off.
Be as gentle and light handed as possible.
Following these steps will prevent the lid buckling or damaging the tin.
Closing the tin
To secure the lid after use, set in place on the top of the tin.
Place both palms on the lid and apply pressure down until you here a “pop”.
*The Wax, Lacquer, and Chalk Paint® tins are all the same, so you can use this method with every Annie Sloan tin. All metals are susceptible to some bending and denting if not handled gently.
If you haven’t made it to the ‘new’ formulated colors yet, visit us to get a quick painting demo to try it for yourself!
Happy Painting :)

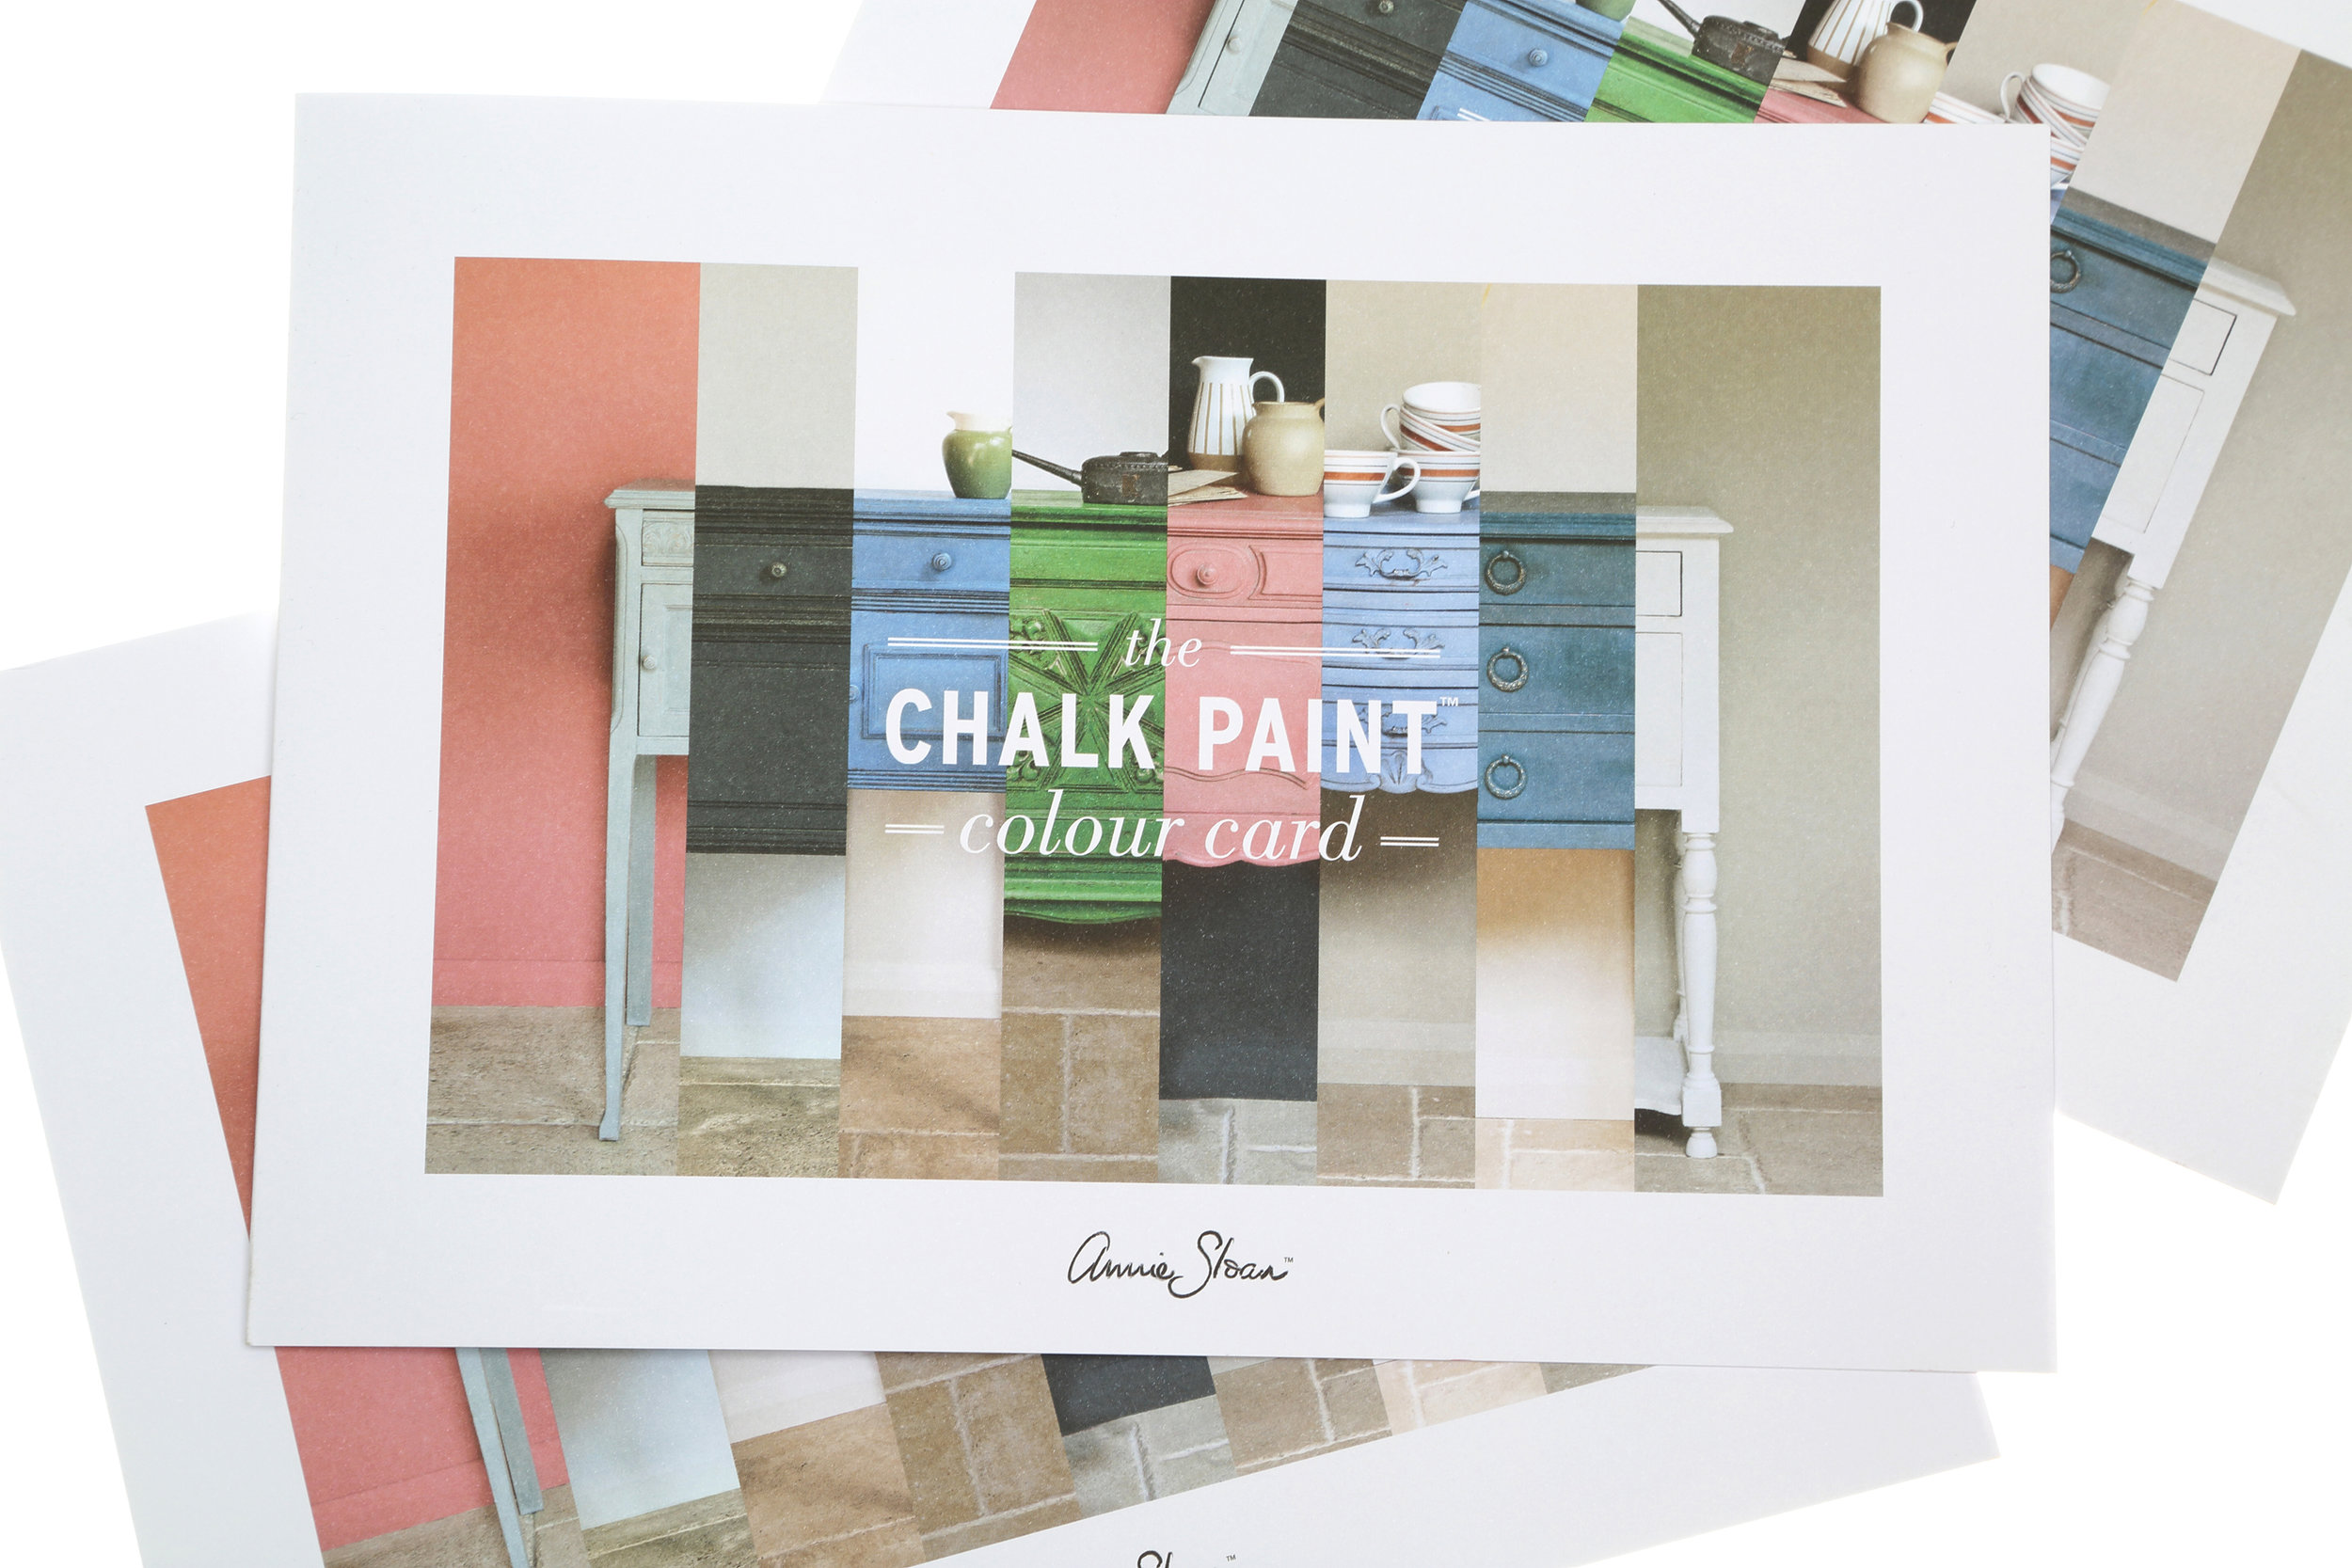
What are the Differences Between the Three Chalk Paint® Whites?
Learn what the differences are between the now three colors of whites in the Chalk Paint® line!
Happy New Year and welcome back everyone. We’re moving into our 2019 with all the best intentions, and are getting some awesome new product additions in-stock. Some are the new Chalk Paint® by Annie Sloan colors… which includes a ‘new’ white— the color ‘Original’ which has been included in Annie’s European collection for some time now and is just new to us. We’re thrilled to finally have it though!

Due to the fact that ‘Original’ has some creamy, warm undertones, and that the global ‘Old White’ has thus always been a bit cooler than what we’ve had in the USA, Annie has now adjusted the ‘Old White’ to be consistent with the global coloring as well. So what are the differences between the three Whites now, and what do they look like? For starters, we always have waxed samples at our Shop & Studio for you to view in real life, but here is a fabulous educational diagram:
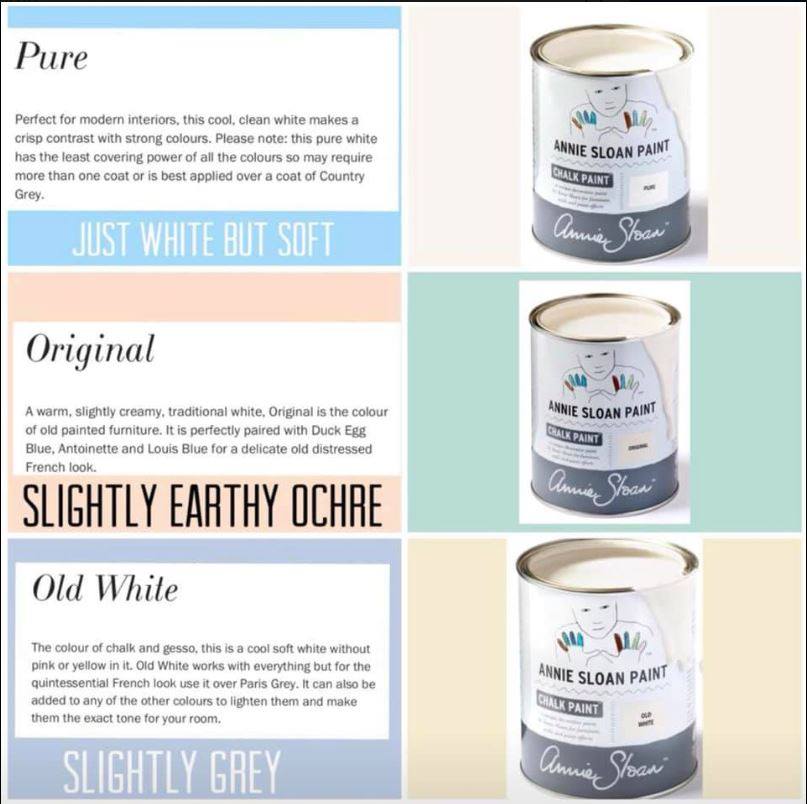
While there is not much difference in the new colorations versus the old, we definitely suggest you visit us to see samples in-person. If you’re trying to paint a piece to coordinate with some other previous whites, you may find that the ‘Original’ is the most similar to what your old ‘Old White’ used to be and may coordinate best.
Another major plus in ensuring the colors are 100% consistent throughout the globe is that there’s been a small update to the paint’s consistency as well. We find that the paint is even more luscious and creamy. Pop in for a demo with the new paint as well!