Arielle Austin Teaches a Guest-Class- 'Abstract Process Painting'
Arielle Austin, an abstract artist/ painter from ATX, joined us to host a class at our Shop & Studio.
First off, if you’re not familiar with Arielle Austin, please go visit her website! This Saturday 9.15.18, Arielle hosted a guest-class at our Shop & Studio location called Abstract Process Painting. This class stepped away from our more common DIY interior finishing classes, to focus on working with abstract fine art processes on canvas.
Arielle is based out of Austin, continuing her art practice here after moving from LA. She works primarily with paint, paper, and dried flowers. And she had been brainstorming to teach a class for a while. Hence Abstract Process Painting was born! Arielle’s intention with the class was to create a safe space for students to create and share, without judgement, apprehension, or pre-conceived notions.
Students explored their processes while letting their emotions and creativity flow. Arielle’s class was a breath of fresh air, without emphasis on the end result— rather, students focused on the journey of creating and developing their own creative language.
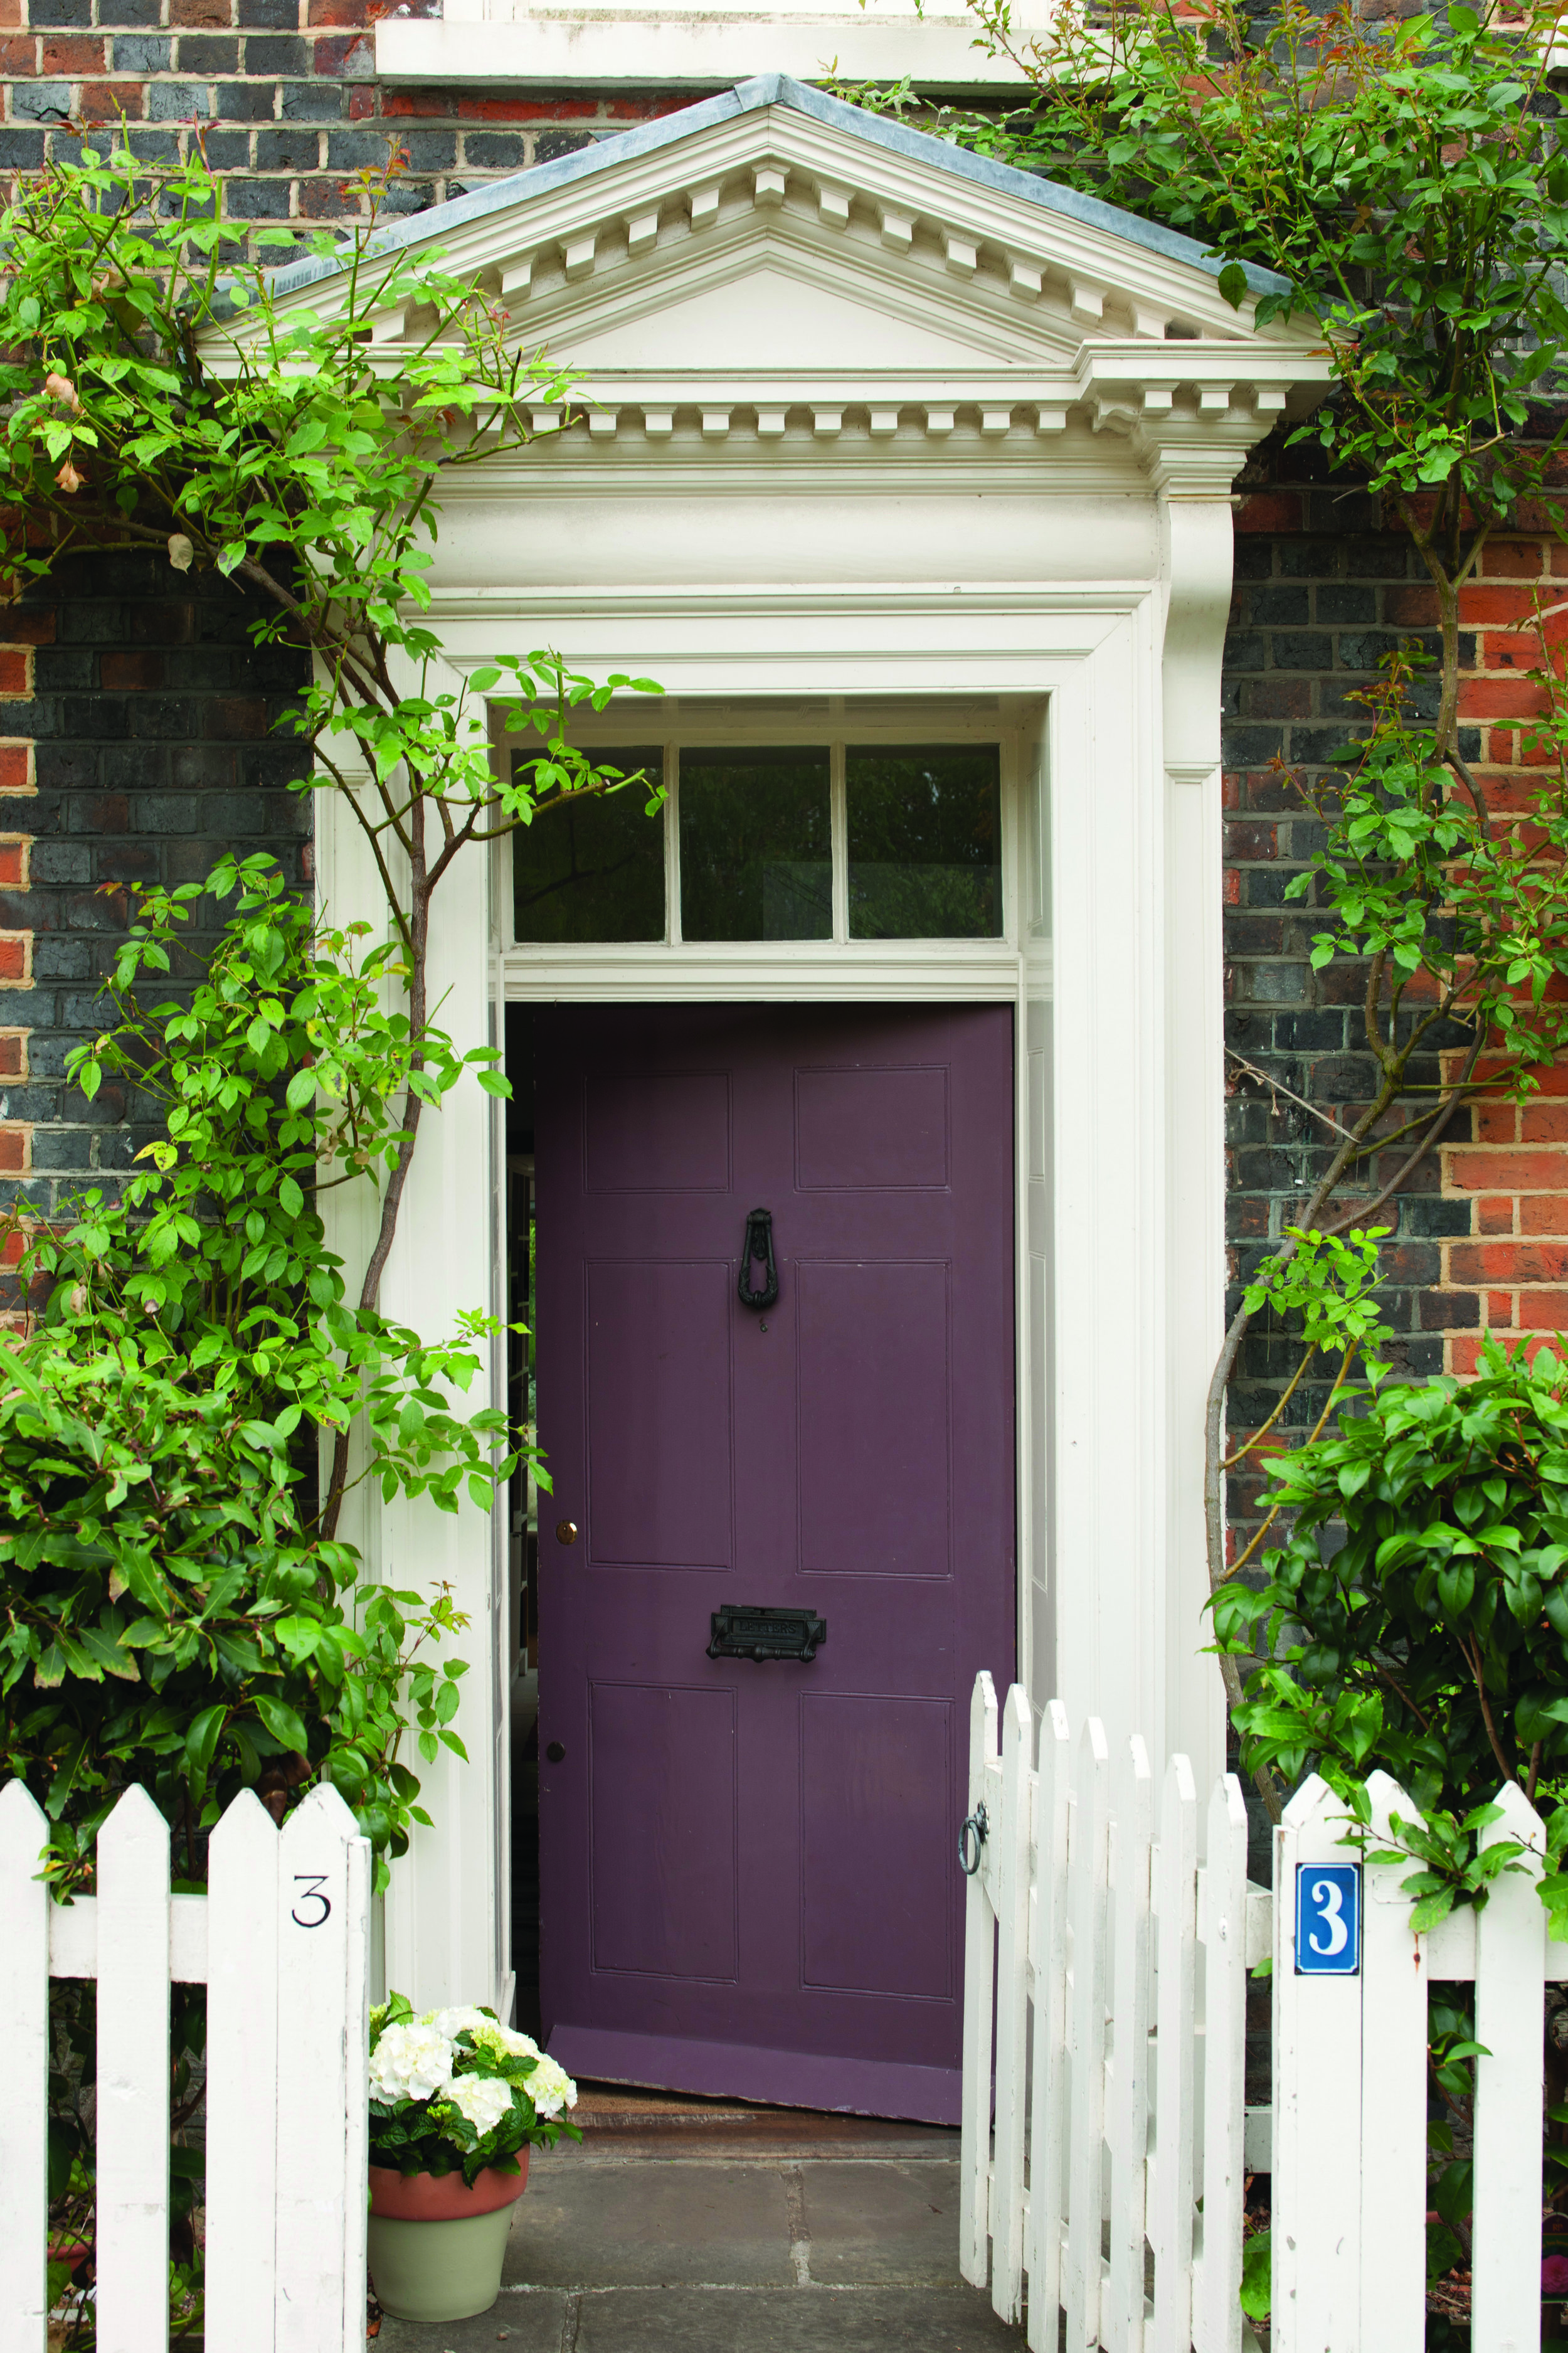
How to Paint Your Front Door with Farrow & Ball®
Some great tips and tricks for painting your front door with F&B paints!
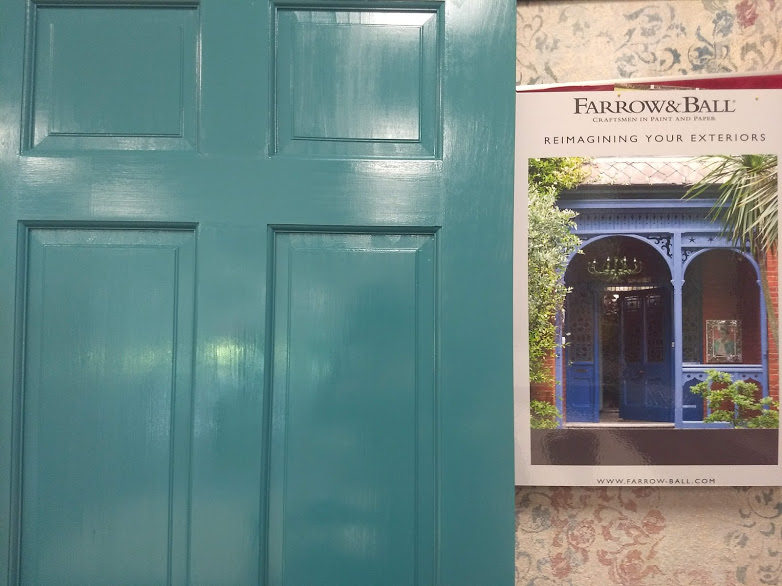
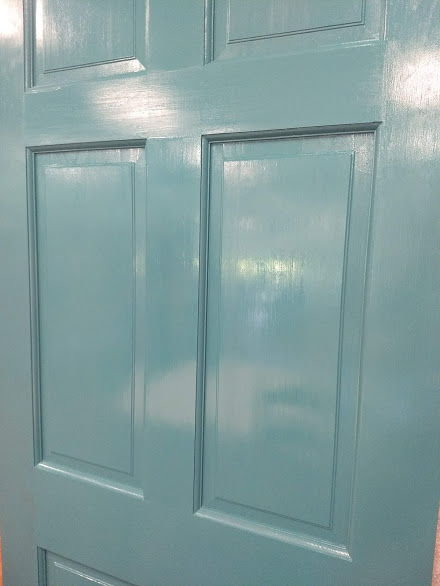
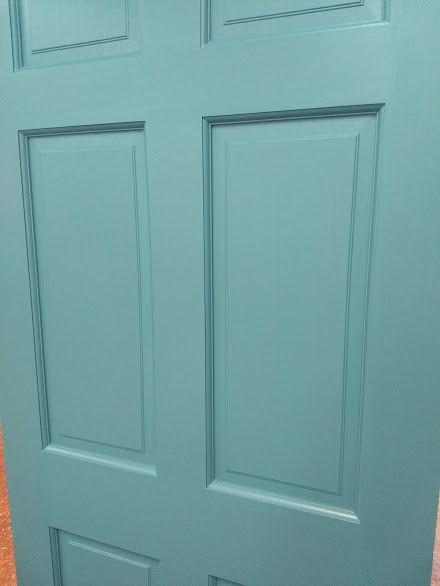
We were joined last week by Ben McCabe from Farrow & Ball® for two free demo sessions on how to paint your front door, which was helpful for not only door projects but also for any projects in which someone might use F&B exterior-grade paints. In case you missed it, we have a little recap for you! The luscious color featured on our large door and smaller demo sample doors is Vardo, in case you want to replicate the look.
First off, why work with Farrow & Ball® paints? F&B has been around since the 1940s and is well known in the design and home-improvement community for their durability and eco-friendly paint properties, as well as for their fabulous colors and sheen levels. Their paints have more pigment and paint solids in their recipes so more solid coating and color is left behind once the paint dries, which is best for longevity and wear. Also their paints are water-based containing no acrylic or latex.
For exterior projects we always go with their exterior-grade paints, which are the Exterior Eggshell (20% sheen), Exterior Masonry (2% sheen), and Full Gloss (95% sheen)... and Exterior Eggshell and Full Gloss are for those exterior metal and wood projects. For wear and longevity we also always follow their recommended primer + paint process. We choose the correct primer for the job (please visit our F&B Primer Guide Page) and add one coat, then apply 2 coats of the correct paint for the job. This will ensure the paint adheres correctly and stays true to color, per their warranty on exterior-grade paints.
Here are some great tips specific to painting doors with the paint:
- Always make sure to thoroughly stir the paint up from the bottom before using-- do not machine-shake the paint cans like you would with other brands of paint at the hardware store. Machine shaking is too vigorous for the paint and pigments and may result in an uneven appearance.
- If you can take your door off the hinges and bring inside to work, that's great! But that's not always possible. If you can't, tarp and tape around the walls and floor to protect from paint splatter. While paint dries you may also hang a plastic sheet in front of the door to protect from pollen and debris (do not wrap the door though of course).
- If working during hot times of the year, work during the cooler parts of the day for ease and maximum paint and primer performance. If humid, you may need to extend dry times to wait until the next day for the next paint coat, especially for Full Gloss.
- Normal recoat time for primer is 2 hours, and normal recoat times for exterior grade paints are 4 hours (extend for humidity).
- Use the right tools! For paneled doors like we worked on in the demos, use smaller brushes for the panel frames, then medium brushes for the flat panel fronts and the trim around them. Use rollers for longer continuous parts of the trim or for flat doors.
- We recommend starting on the panel frames, then working toward the flat panel fronts. After those are completed, we recommend doing all horizontal parts of trim (not including the very bottom panel of the door), then doing the vertical trim in small pieces in the center of the door. Next we recommend painting one of the long trim pieces on the side of the door, then the very bottom horizontal piece, then the remaining vertical side trim piece. *Piecing out a paneled door into smaller sections ensures you don't disturb places that are a little tacky and drying, and also help ensure even visible sheen especially on Full Gloss.
- For flat doors just keep a wet edge, working from one side to the next using the proper roller.
- F&B paints are self leveling, wow! But we always love to 'lay off' the paint in a continuous stroke per section. We do this with the proper sized brush for that section which doesn't have much paint added to it (it's okay if there's some leftover paint in the brush from earlier strokes, just not newly added paint).
- If you mess up or leave a weird texture, or something gets in your paint, just let it dry properly per recoat time. Gently sand out whatever is undesirable, then paint back over the section that it's in for a paneled door... for flat doors, if it's tiny you may try to do a tiny spot-treat, however it's most likely you'll need to do another coat after sanding it out.
- No topcoats needed over the paint when working with F&B exterior-grade paints.
- Always clean and prep your door before painting over it with F&B paints. Clean off gunk and let thoroughly dry. For pre-existing doors, no need to strip off the finish. If painting over an old gloss, make sure to just sand down the gloss a bit (before cleaning so you can wipe off everything at once). For new wood doors make sure to give a scuff sand with 150 grit sandpaper, even if the door feels smooth to you!
Stop by our Shop & Studio for color samples, demos, tips, and more!
Give Your Furniture That Worn in Jeans Look KXAN Studio 512 (8/24/2017)
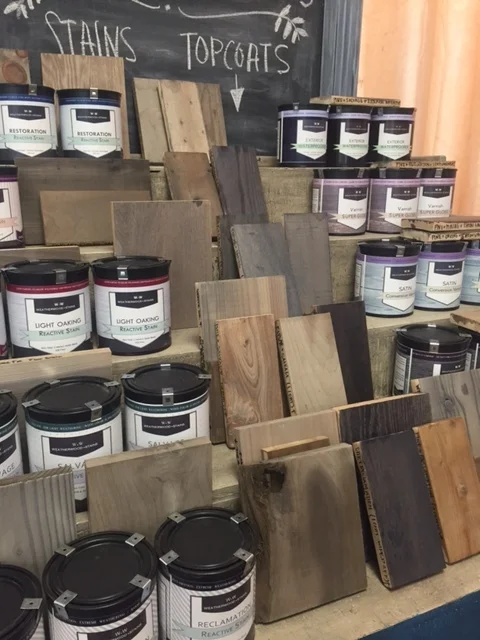
We joined KXAN's Studio 512 for a Weatherwood Stains demonstration. We taught viewers to use Weatherwood Stains and Topcoats for non-toxic and user-friendly aged wood looks for both indoor and outdoor projects.
Check out our Weatherwood FAQs for more info about using Weatherwood Stains.
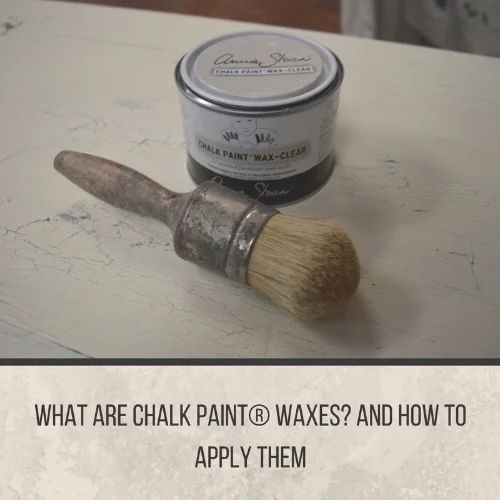
What are Chalk Paint® Waxes and How to Apply Clear Wax
We want to teach you the quintessential waxing technique for Chalk Paint® Waxes- watch the demo videos with Clear Wax.
Have you worked with Chalk Paint® waxes? Waxing is a crucial step to finishing your work and creating a durable surface to seal the decorative paint. We're constantly perfecting our technique, and because we know there are many questions (as well as misconceptions) about it, we're off to task to share our tips with you! Feel free to also pop on over to our Chalk Paint® FAQs page.
The waxes come in four types: Clear, Dark (brown), White, and Black. They can be protective AND decorative at the same time. Waxes:
- are completely non-toxic when dried and cured, and even suited for 'child-safe' applications.
- should be at a slightly-melted crisco or butter-at-room-temp texture (sit in a sunny window or warm environment if they feel a bit firm to work with).
- fill the pores of a surface painted with Chalk Paint® decorative paint and cure to leave behind a hard surface that has bonded to the paint.
- in the case of Clear and White Waxes, are applied directly to the painted surface.
- in the case of the Dark and Black waxes, are applied over a wiped-back layer of Clear Wax (so you can control their depth)- the exception to the rule can be over Graphite since it's such a dark color to begin with.
- can be mixed together to create mid-tones like beige and grey.
- can be tinted with a drop of paint for an extra pop, if you need an exciting green or pink wax for example.
- can be layered up to 2-3 coats total for extra durability for heavy-traffic surfaces like cabinets and dining table tops (wiping back thoroughly and waiting 24-48 in between coats).
- dry within 24-48 hours for each coat, however need to be gently-used until they finish curing.
- cure and reach full hardness within a period of 2-4 weeks, depending on how many coats have been applied and humidity (again, gently use your surface depending on its usage- you can probably put your dishes back inside your cabinets, however that kitchen table will need to wait a bit longer to be ready for your dinner party!).
- are water-resistant.
- are interior-grade only.
- once fully dried and cured provide a brilliantly durable surface, which is easily maintained by wiping food spills, dirt, and dust away with a damp cloth or mild soap and water at most- we've also gotten crayon, marker, sharpie, highlighter, and other stubborn marks off by cleaning with more wax, which pulls it right up and out of the surface.
- are as durable as polycrylic-type topcoats when applied correctly and let to fully cure before heavy use.
- can be buffed to a soft satin sheen, or left relatively matte in finish.
Using wax brushes to apply all waxes ensures we don't apply too much or unevenly, and also prevents as much wasting of wax as possible. Here are some in-depth video demos of a preferred technique that works for most surfaces:
Part 1: Using Your Wax Brush to Apply Clear Wax
Part 2: Wiping Your Excess Wax Back, Finishing Up
And here's a concise recap of the waxing process to conclude:
Remember, patience is key when allowing topcoats to fully dry and cure during a DIY process. When you buy new furniture, topcoats have been allowed to fully cure before being put on a sales floor. We do have other topcoats with the same durability for different finish sheens (such as semigloss), for exterior projects, and others that might cure a tad bit sooner for heavy-traffic areas (ex; if you work with wax for your coffee table just keep in mind that you need time to let it cure). For all topcoats on tables we do recommend using placemats, coasters, etc. anyway to protect the finish as long as possible (nothing is completely iron-clad y'all). However we do say 'trust the wax!' because you can't beat it over hand-painted finishes, and can easily spot repair it if unexpected damages do occur.
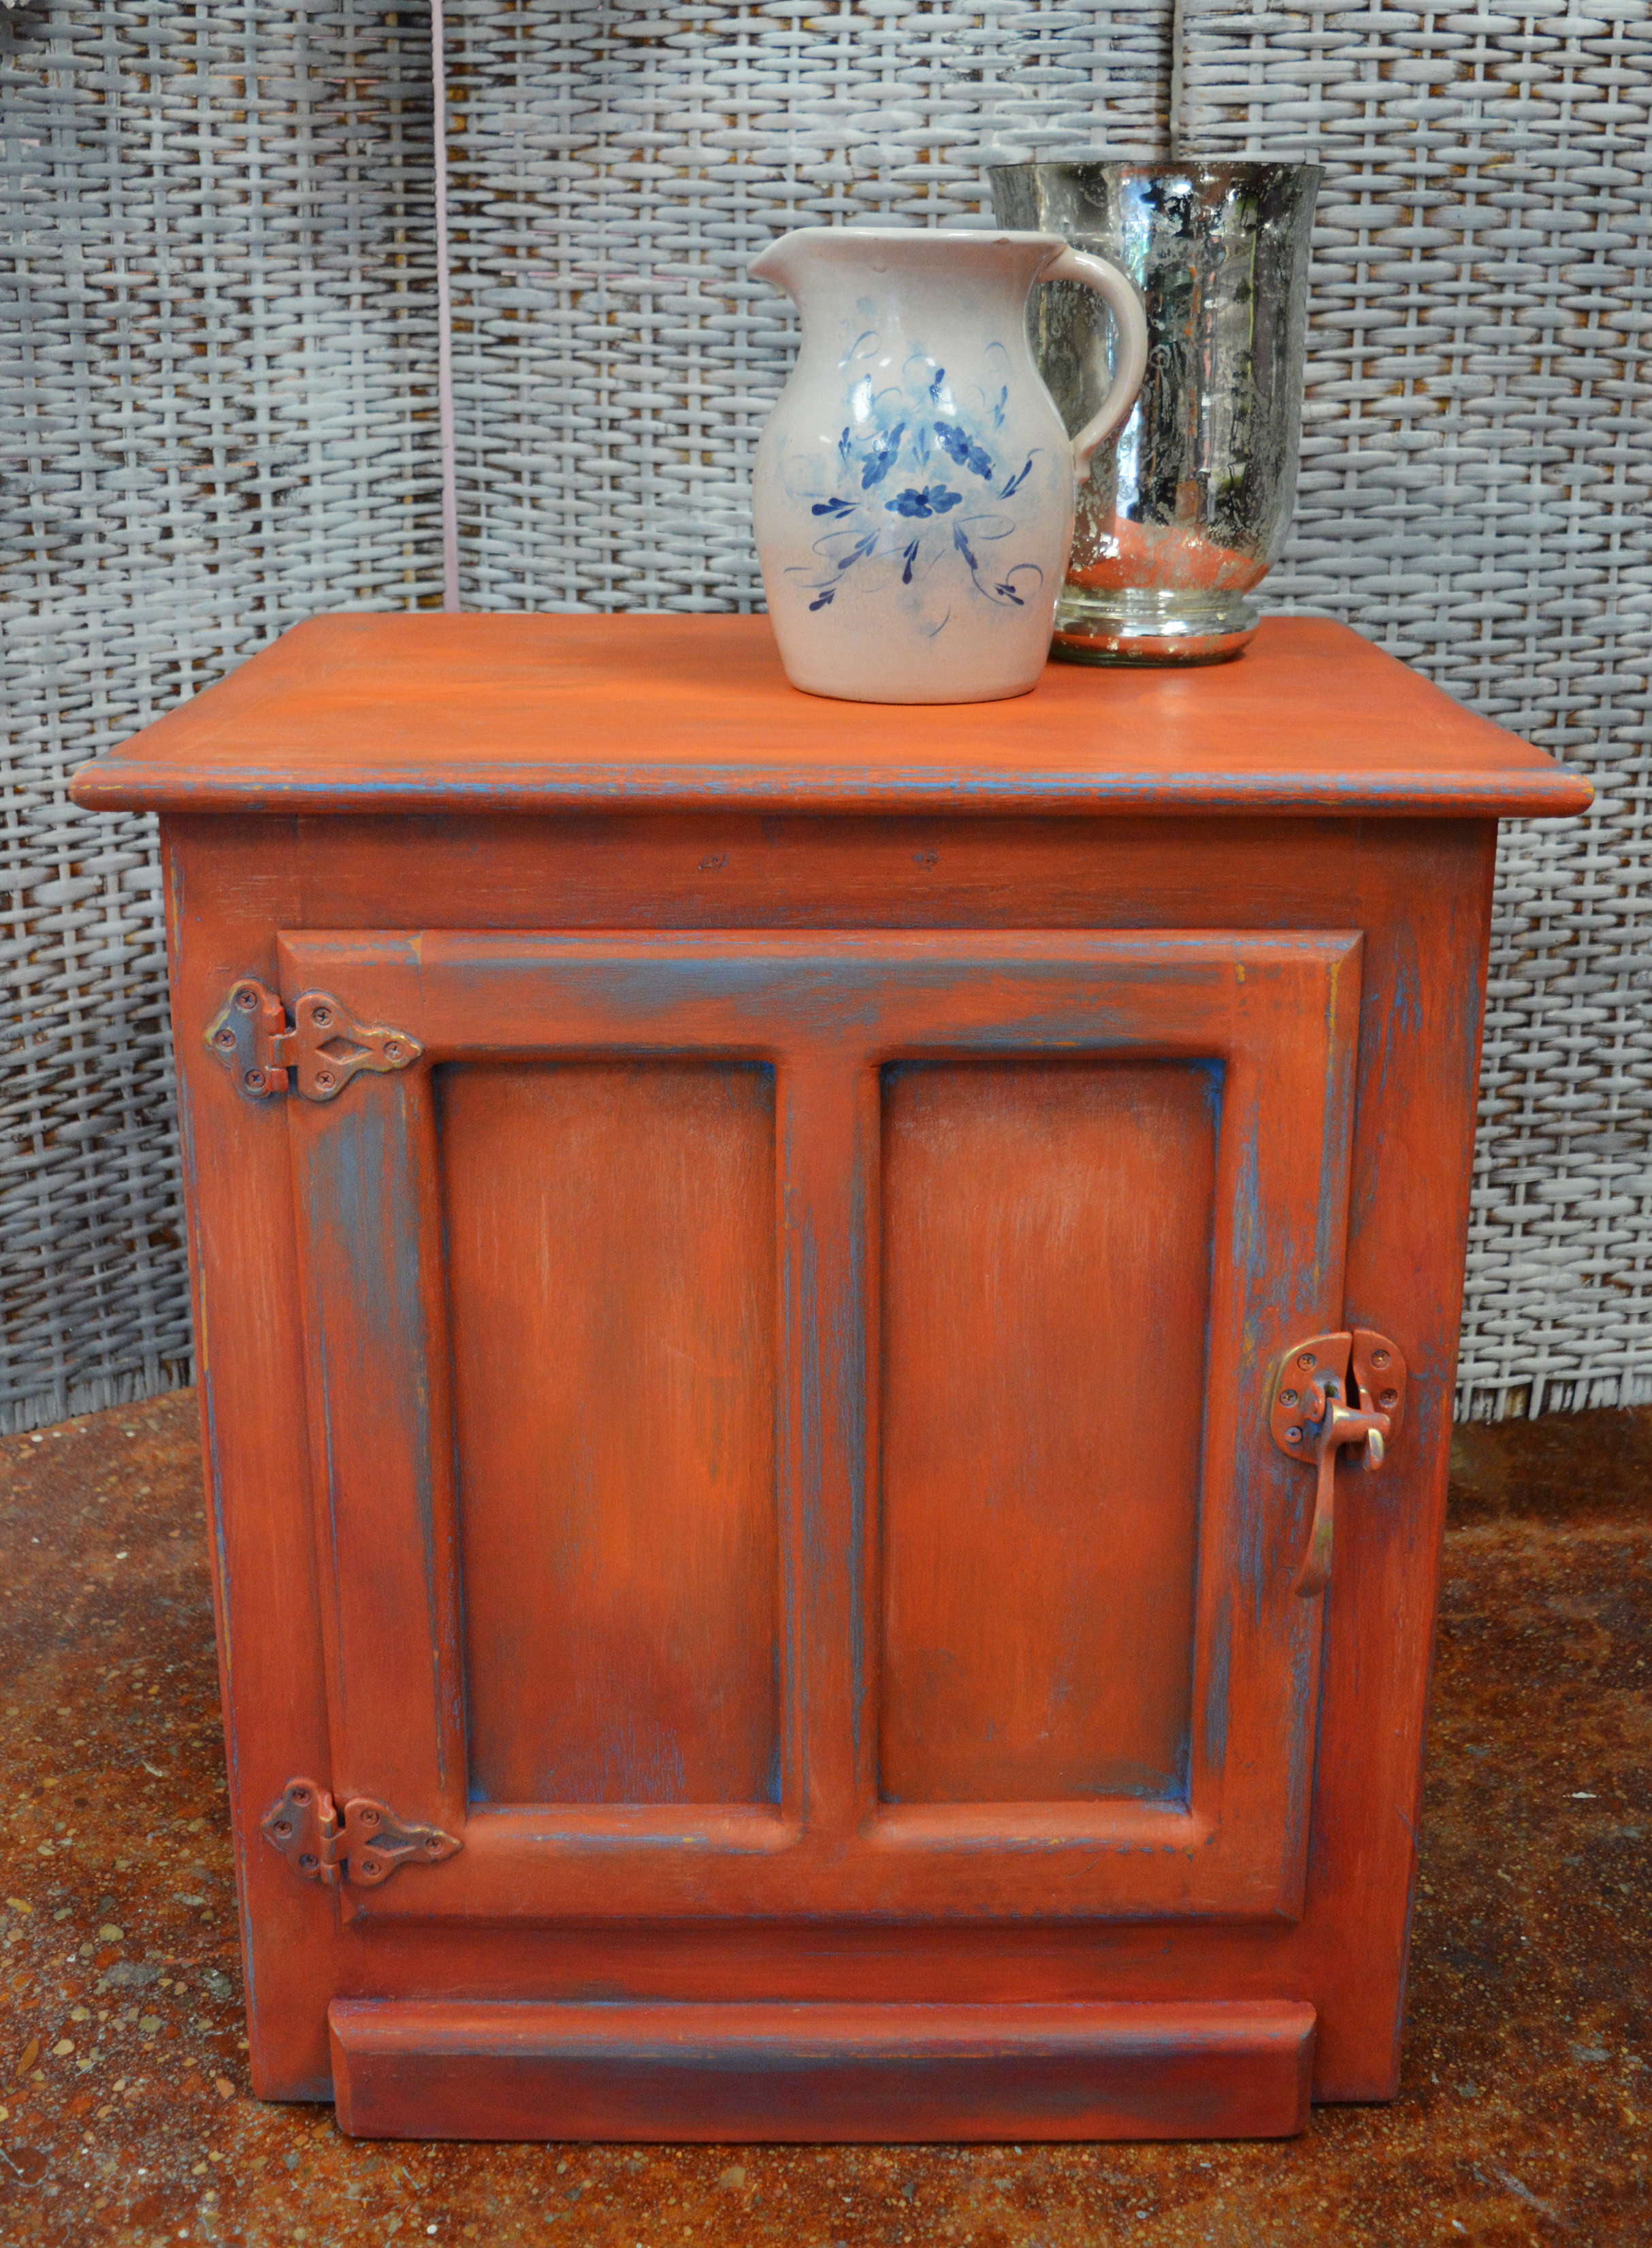
Before & After: 'Persimmon' + Greek Blue Cabinet
A pop of color is just what this little cabinet needed...
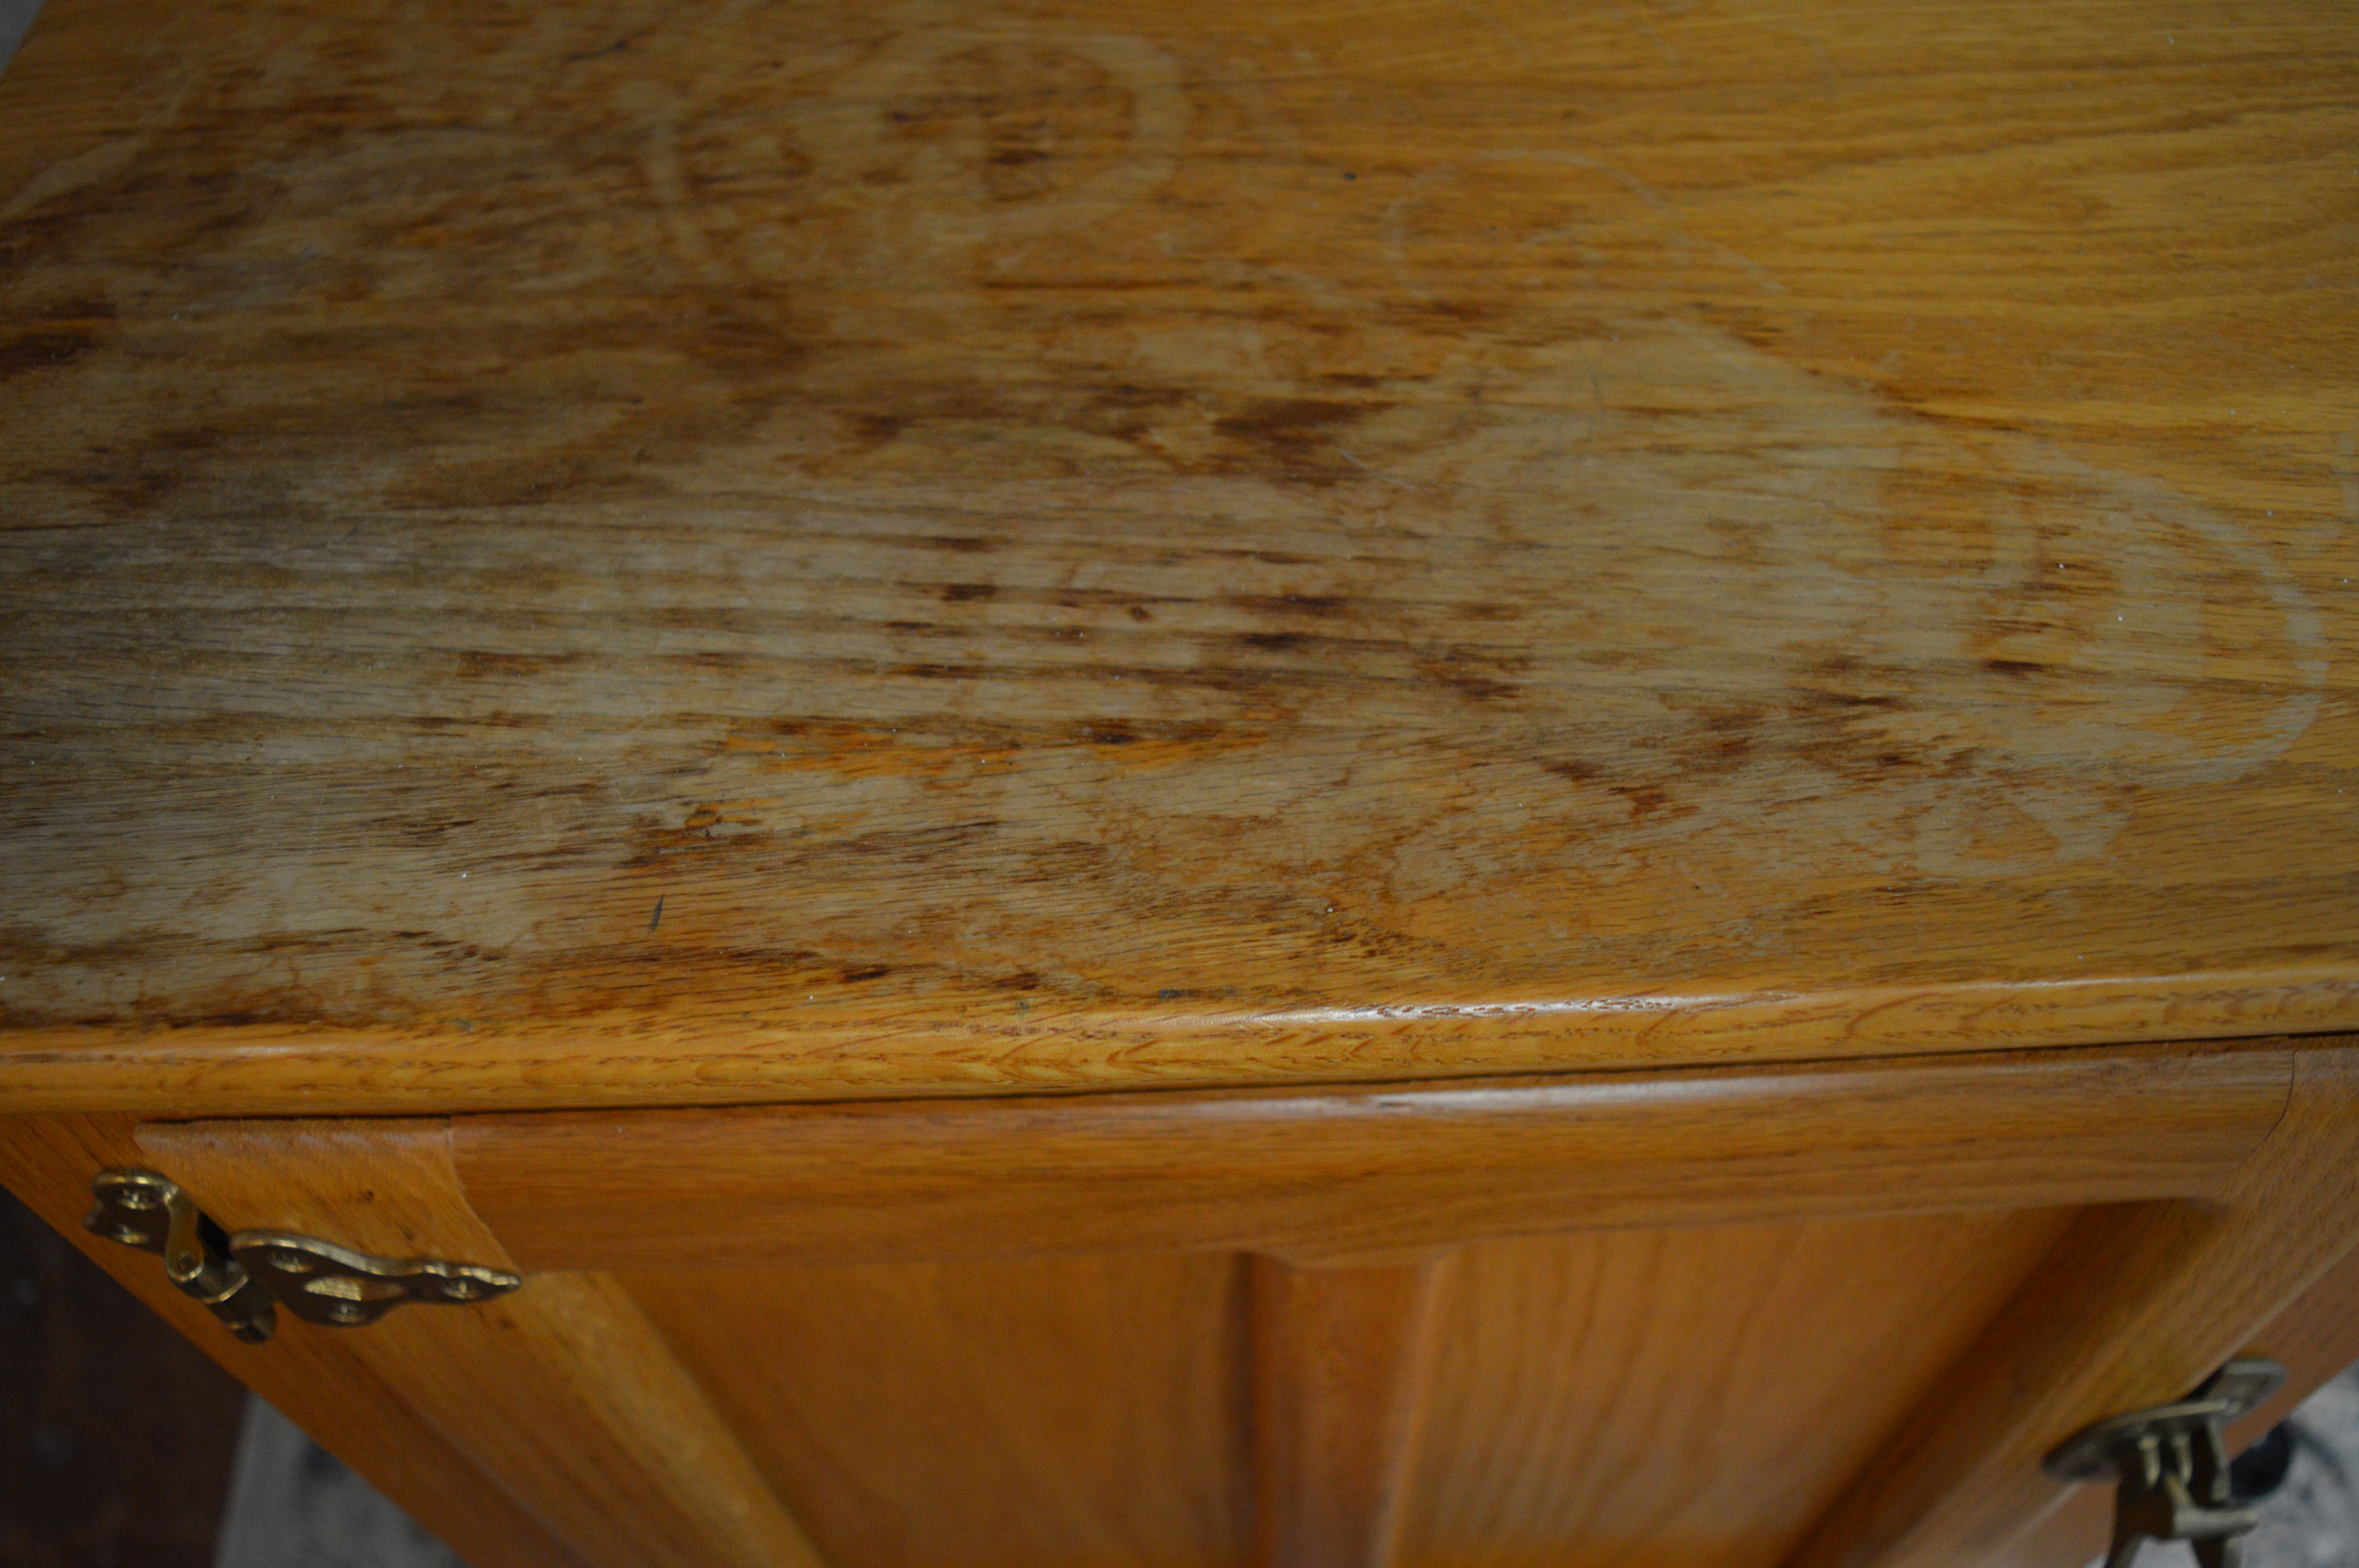
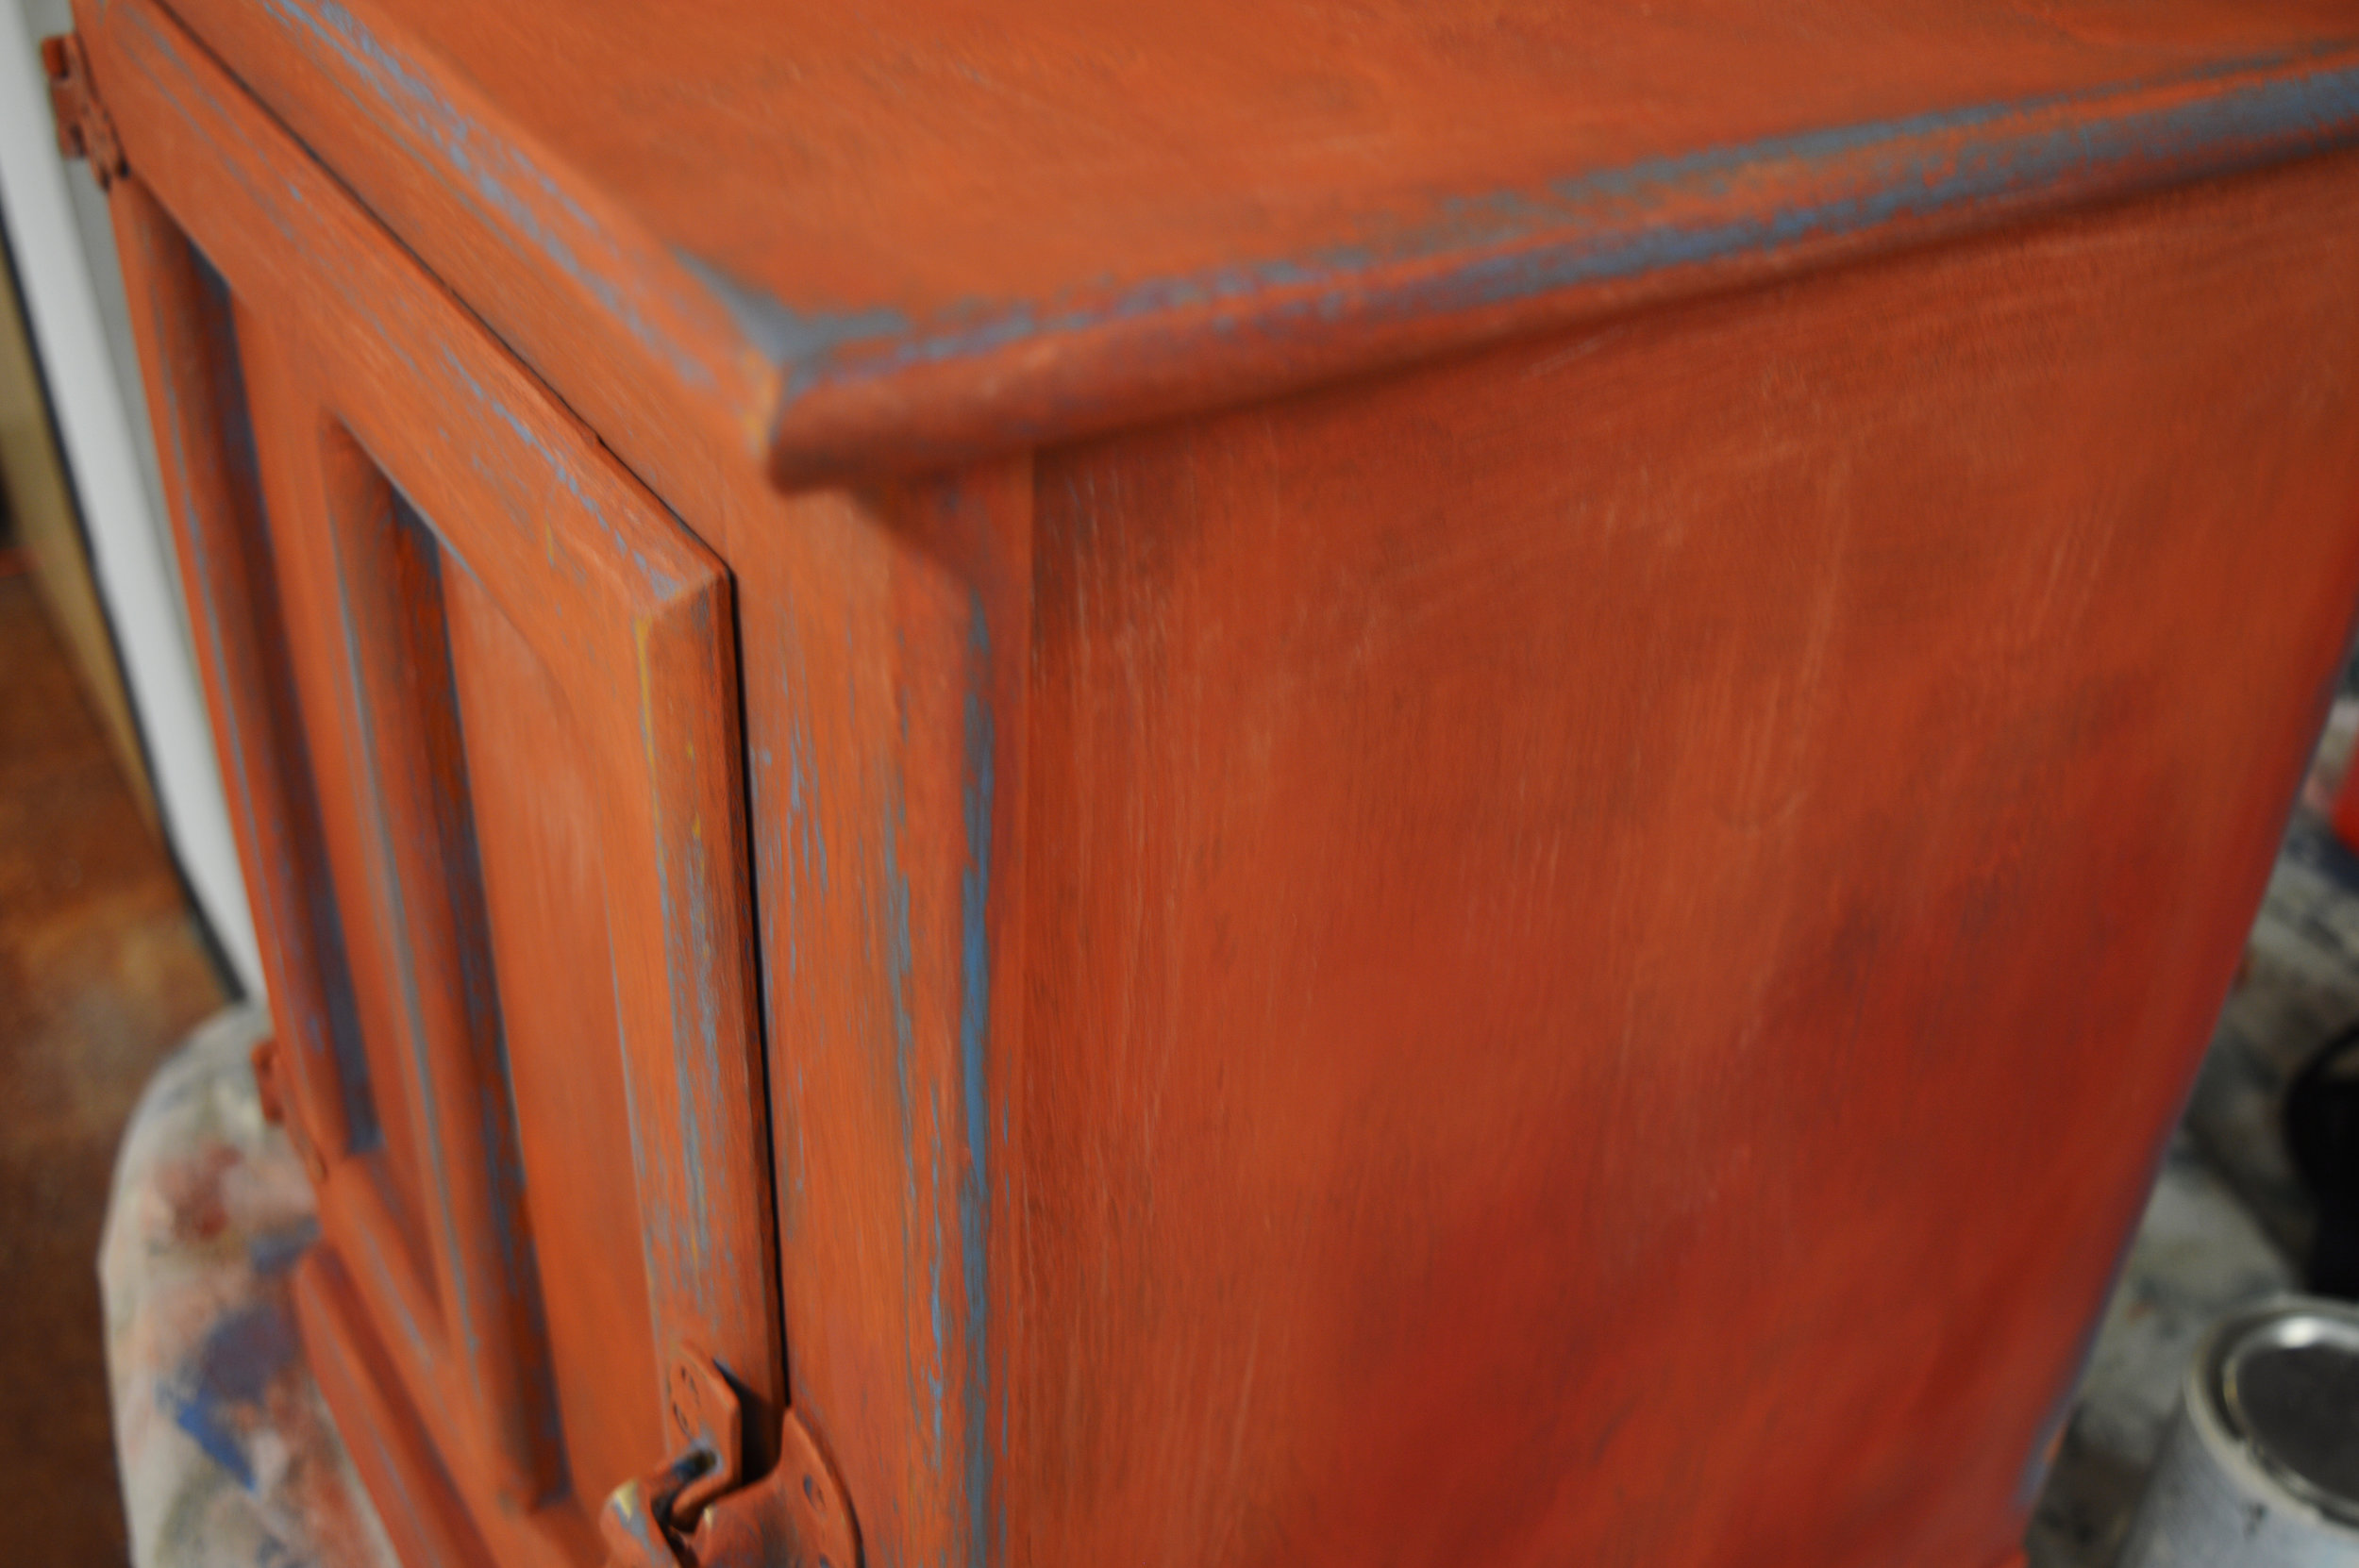
For us furniture and interior painters, we know that projects often go in 'inspiration stages,' during which choosing the color can be the hardest part! We had a little boxy cabinet that was hanging around the studio just waiting to be painted, that we knew should have a pop of color and texture. We were a little stuck... until we remembered a piece that we had been previously been inspired by, by Leslie Stocker. Using Chalk Paint® decorative paint in Greek Blue, Barcelona Orange and Emperor's Silk blended together, and Old White accents, we created a finish that we absolutely LOVE! The idea was to combine opposite colors from the color wheel for a distinct look (such a great design technique for you to explore on future projects).
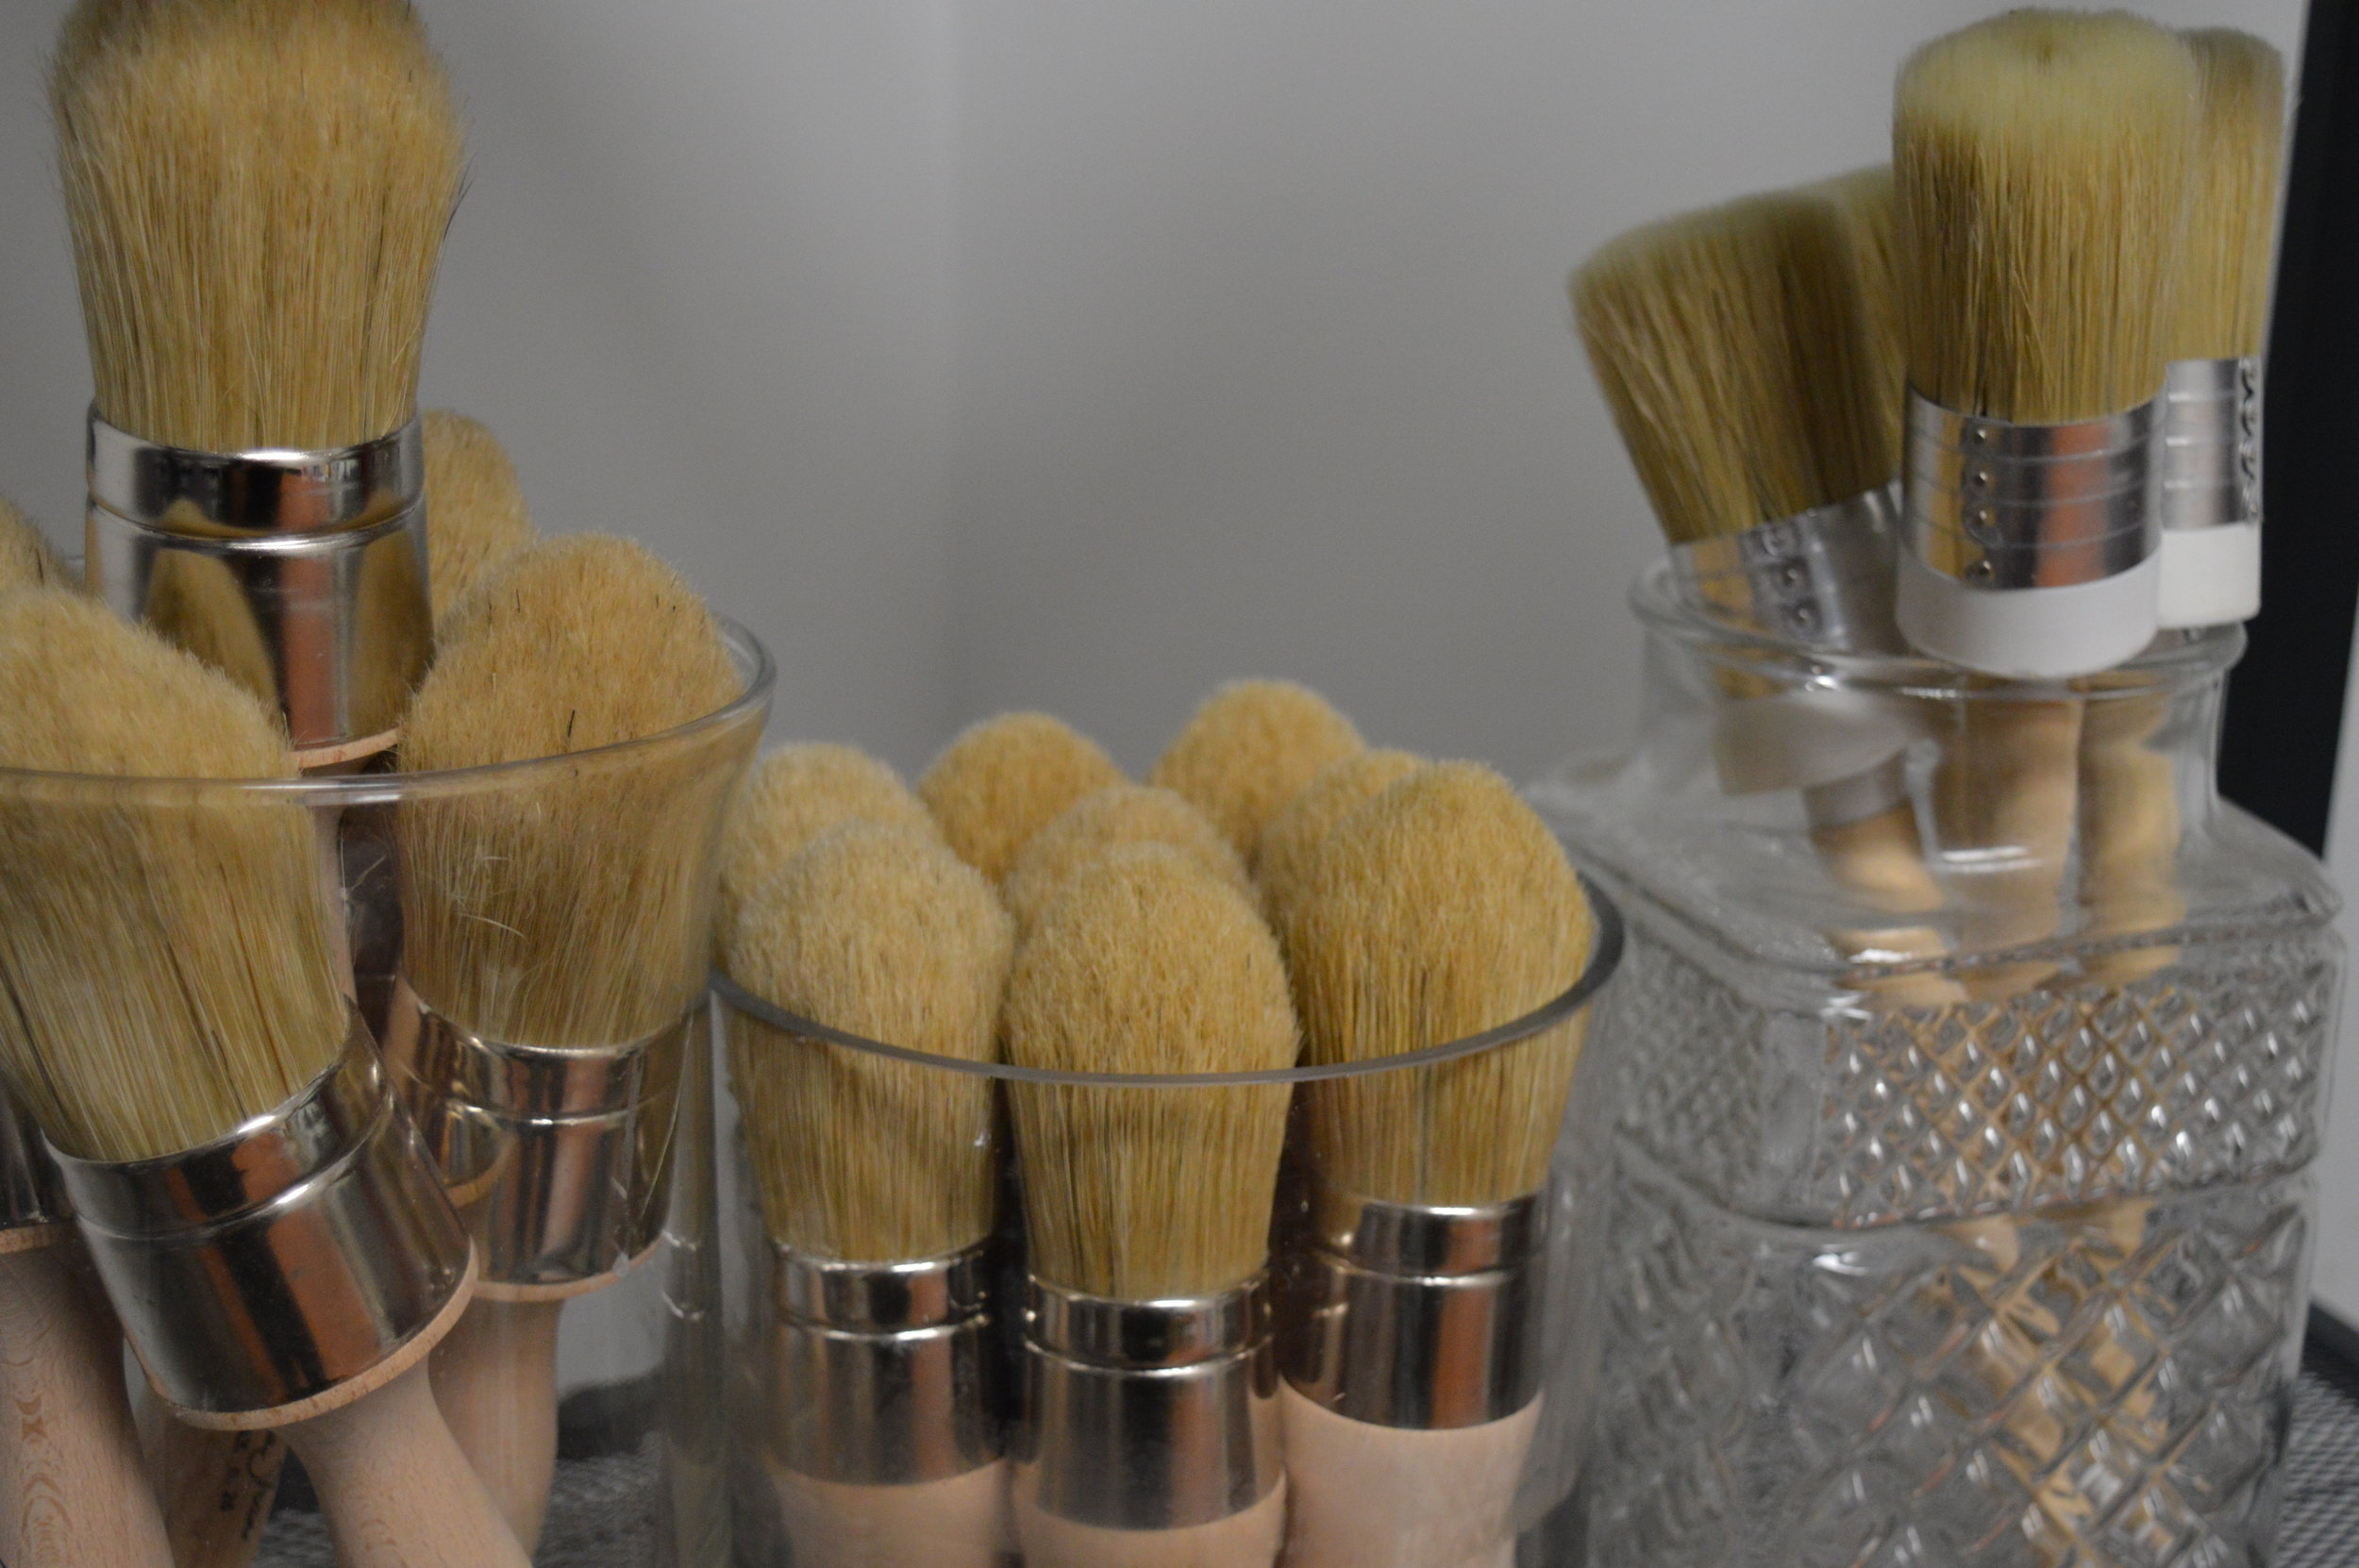
As usual, we cleaned the piece down first. Then we base-coated with Greek Blue, applying it thickly and essentially glopping it on for texture with our medium no. 12 Natural Round Brush. This brush helps create anything from barely-there texture to thick hills and valleys! We also waited for some paint to dry for 10-15 minutes and then brushed back and forth over it to pull up even more texture, and then let dry. We wanted the texture to hide some of the water damage to the varnish on the very top.
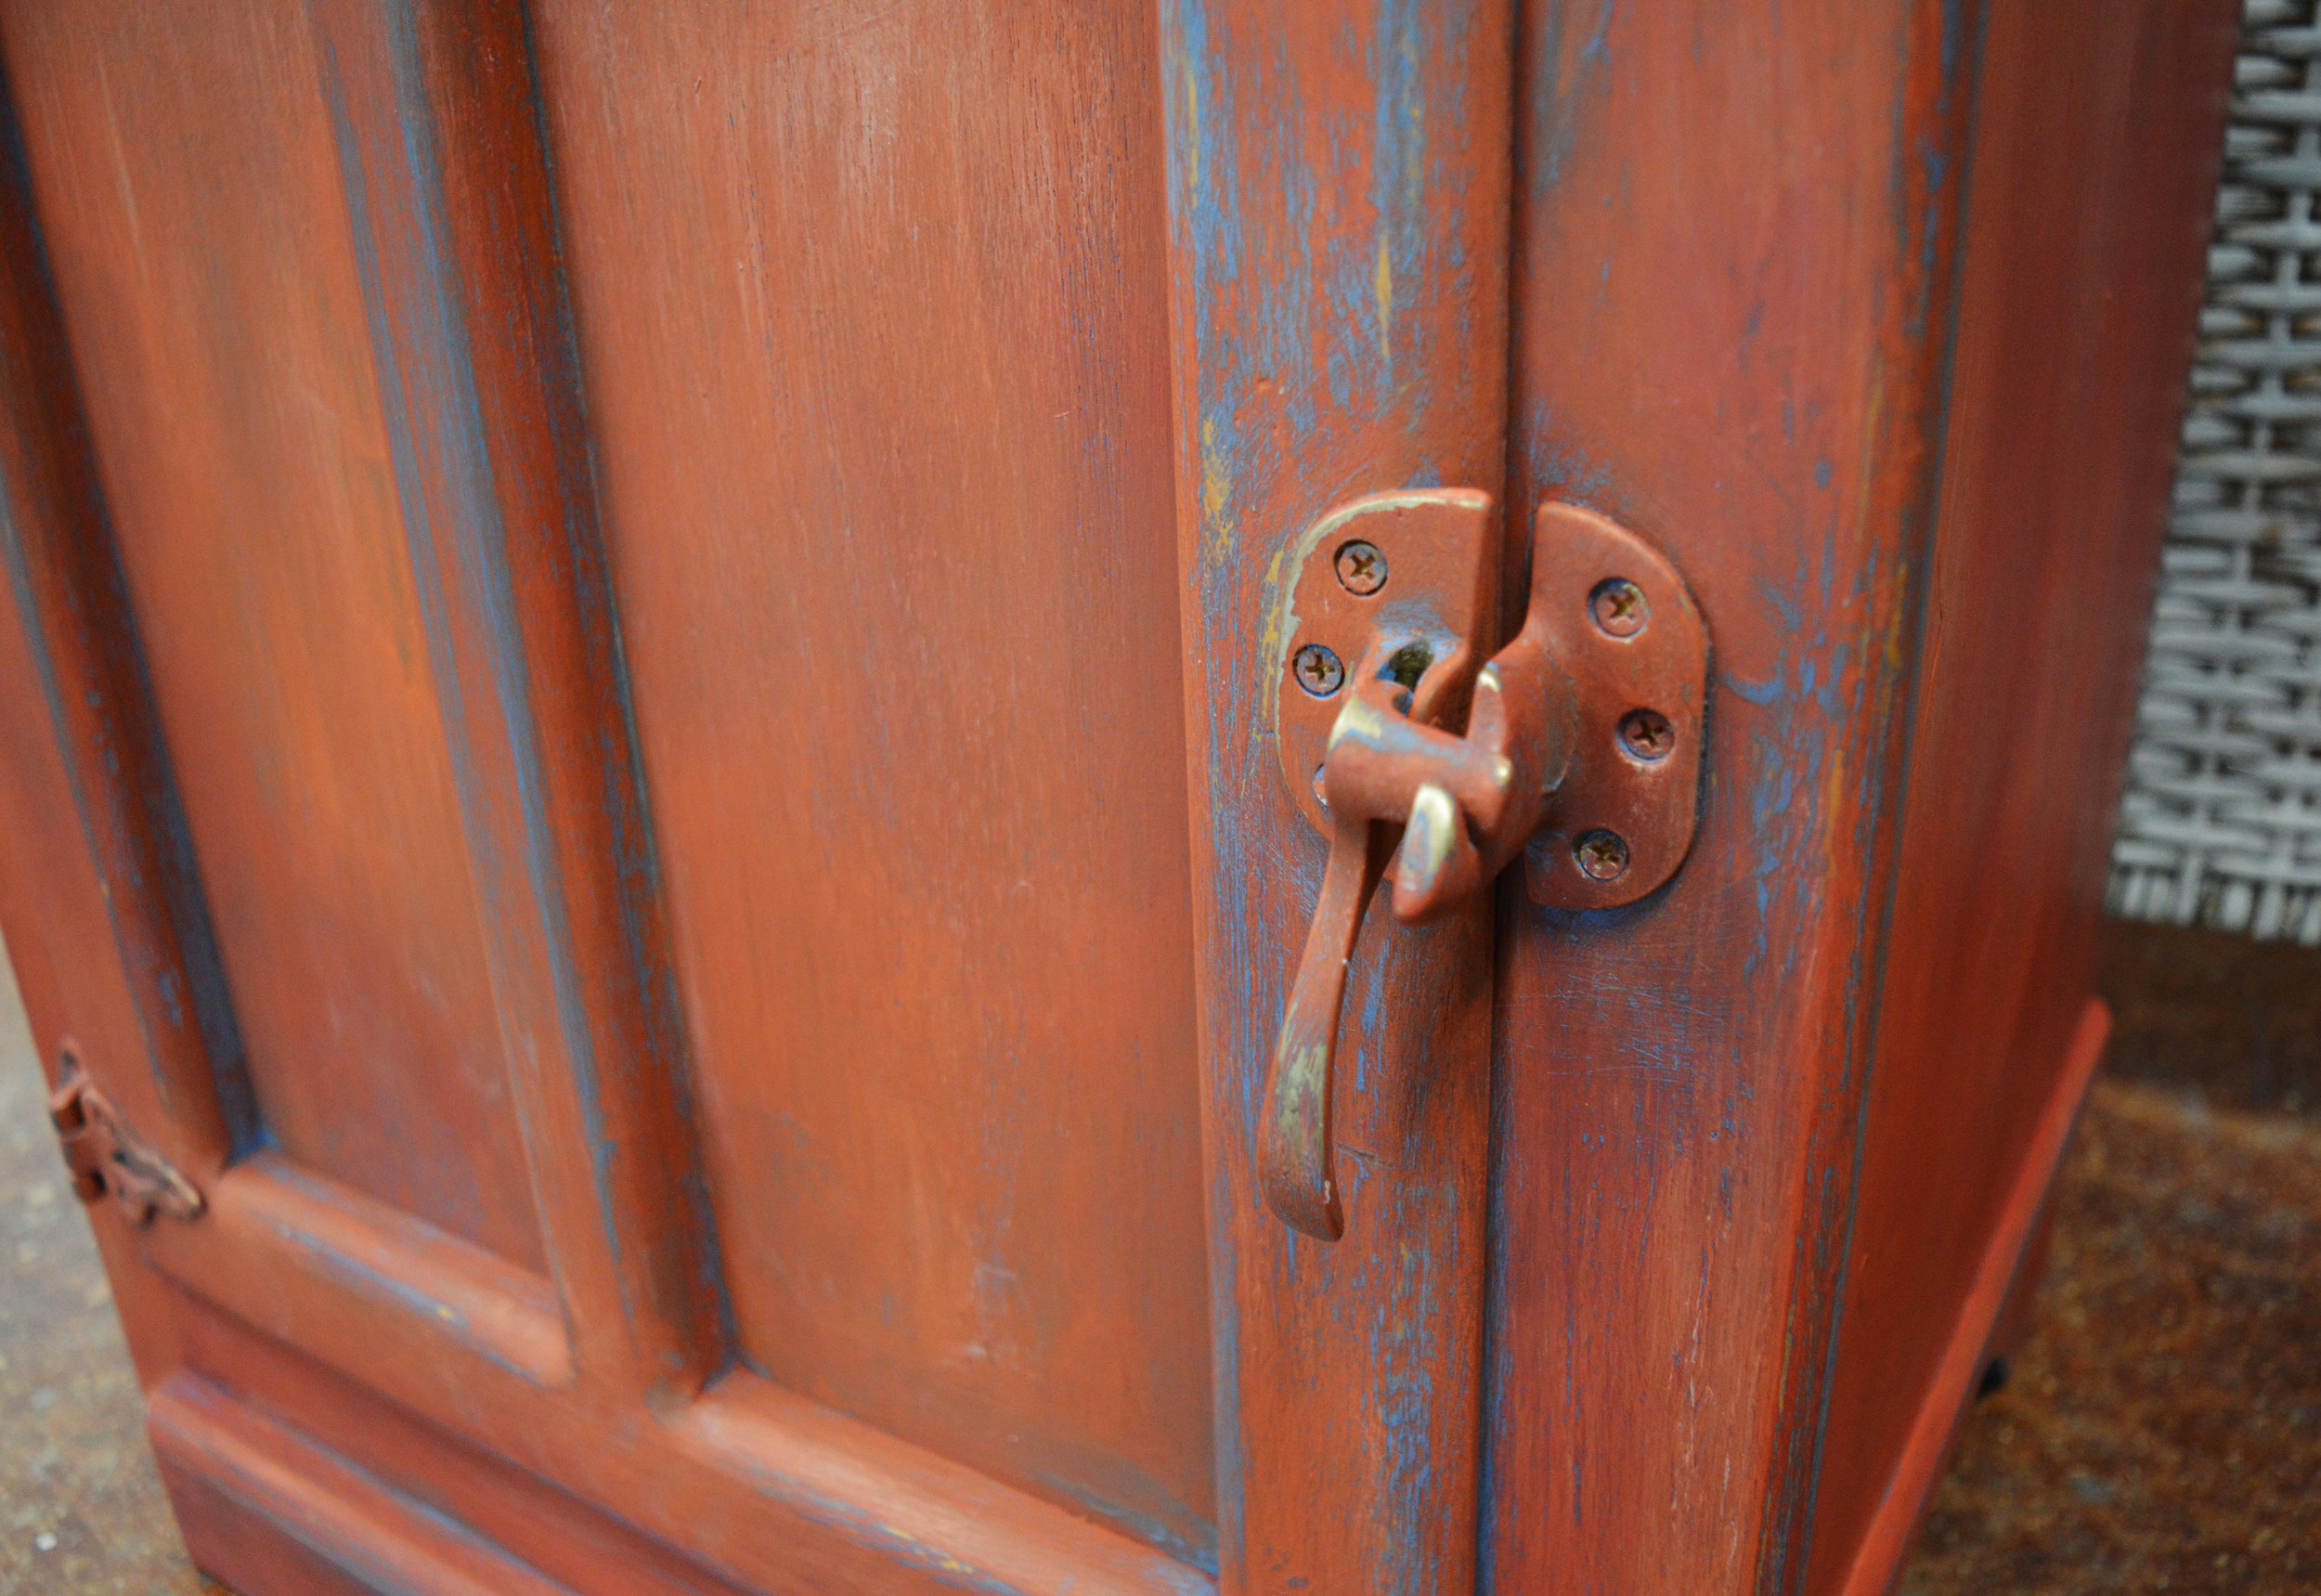
Barcelona Orange and Emperor's Silk were applied next simultaneously with two different brushes, blending together on the surface while wet. The more texture and visible layering, the better! We let some of the Greek Blue show through still in corners and strategic spots, and once the 'Persimmon' tone dried, some Old White was dry brushed over raised edges for accents. The goal was a look of an aged color patina. We even painted right over the hardware!
Then the distressing happened in a natural manner on edges and raised areas that might have aged with the piece if it was truly old (see our previous blog on tips for distressing). We went a bit heavier in areas right along the front and near the handle. Both 100-grit sandpaper and dampened edge of scrubbing sponge were used. And then we applied Chalk Paint® Clear Wax to finish.
We're delighted with the results and might replicate them in our own home! For now though this little piece packs a punch, and is at the shop waiting for its new home. Stop by to see it in person!


