How to Paint Your Front Door with Farrow & Ball®
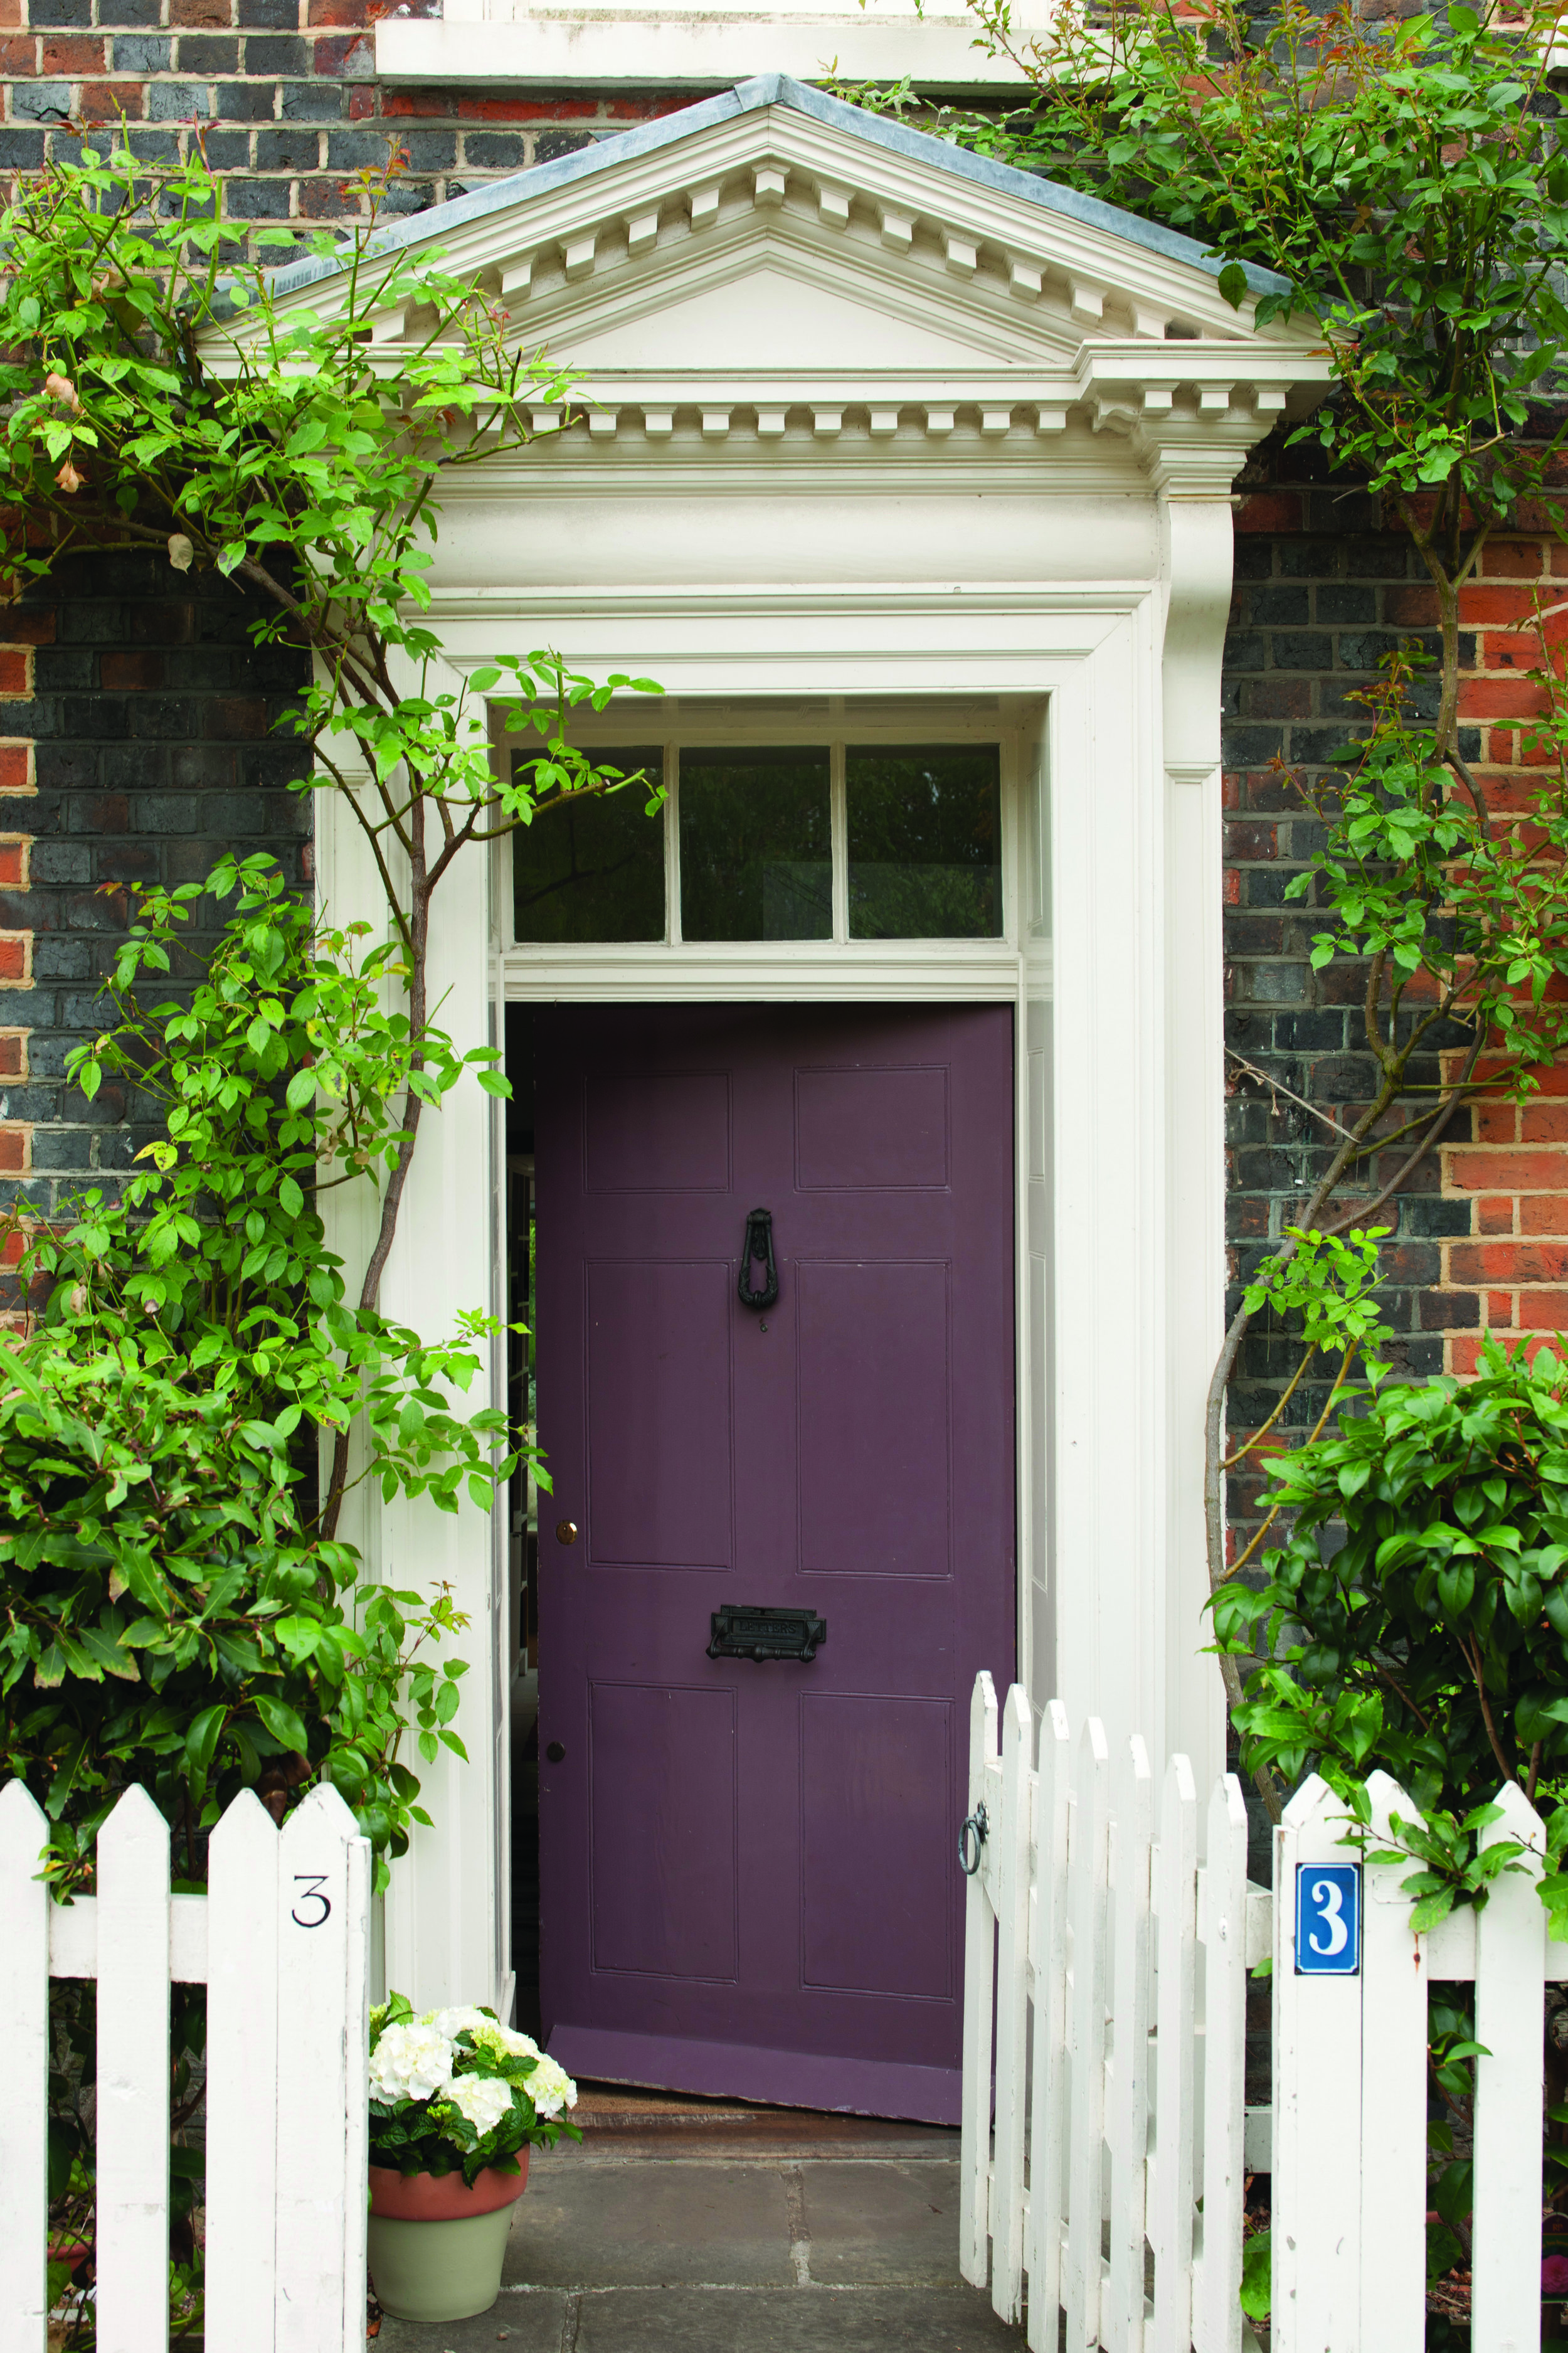
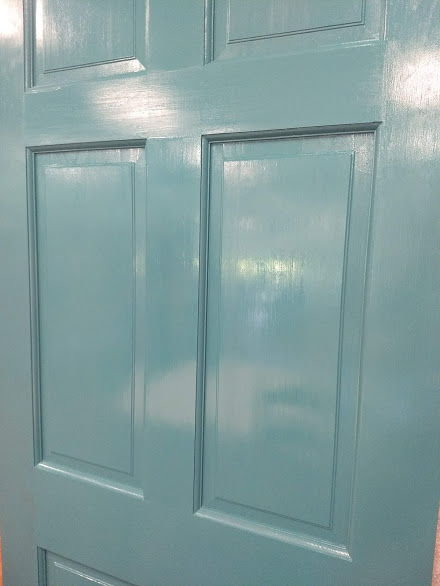
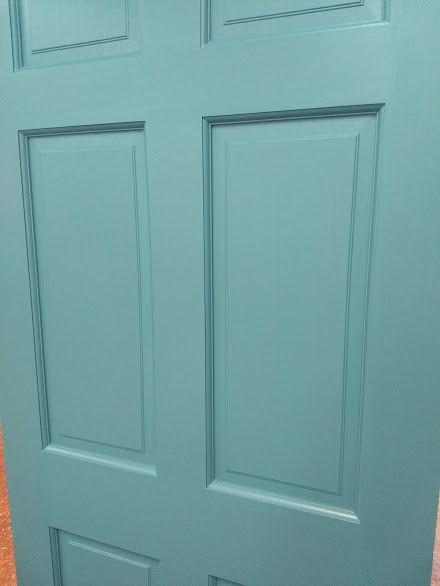
We were joined last week by Ben McCabe from Farrow & Ball® for two free demo sessions on how to paint your front door, which was helpful for not only door projects but also for any projects in which someone might use F&B exterior-grade paints. In case you missed it, we have a little recap for you! The luscious color featured on our large door and smaller demo sample doors is Vardo, in case you want to replicate the look.
First off, why work with Farrow & Ball® paints? F&B has been around since the 1940s and is well known in the design and home-improvement community for their durability and eco-friendly paint properties, as well as for their fabulous colors and sheen levels. Their paints have more pigment and paint solids in their recipes so more solid coating and color is left behind once the paint dries, which is best for longevity and wear. Also their paints are water-based containing no acrylic or latex.
For exterior projects we always go with their exterior-grade paints, which are the Exterior Eggshell (20% sheen), Exterior Masonry (2% sheen), and Full Gloss (95% sheen)... and Exterior Eggshell and Full Gloss are for those exterior metal and wood projects. For wear and longevity we also always follow their recommended primer + paint process. We choose the correct primer for the job (please visit our F&B Primer Guide Page) and add one coat, then apply 2 coats of the correct paint for the job. This will ensure the paint adheres correctly and stays true to color, per their warranty on exterior-grade paints.
Here are some great tips specific to painting doors with the paint:
- Always make sure to thoroughly stir the paint up from the bottom before using-- do not machine-shake the paint cans like you would with other brands of paint at the hardware store. Machine shaking is too vigorous for the paint and pigments and may result in an uneven appearance.
- If you can take your door off the hinges and bring inside to work, that's great! But that's not always possible. If you can't, tarp and tape around the walls and floor to protect from paint splatter. While paint dries you may also hang a plastic sheet in front of the door to protect from pollen and debris (do not wrap the door though of course).
- If working during hot times of the year, work during the cooler parts of the day for ease and maximum paint and primer performance. If humid, you may need to extend dry times to wait until the next day for the next paint coat, especially for Full Gloss.
- Normal recoat time for primer is 2 hours, and normal recoat times for exterior grade paints are 4 hours (extend for humidity).
- Use the right tools! For paneled doors like we worked on in the demos, use smaller brushes for the panel frames, then medium brushes for the flat panel fronts and the trim around them. Use rollers for longer continuous parts of the trim or for flat doors.
- We recommend starting on the panel frames, then working toward the flat panel fronts. After those are completed, we recommend doing all horizontal parts of trim (not including the very bottom panel of the door), then doing the vertical trim in small pieces in the center of the door. Next we recommend painting one of the long trim pieces on the side of the door, then the very bottom horizontal piece, then the remaining vertical side trim piece. *Piecing out a paneled door into smaller sections ensures you don't disturb places that are a little tacky and drying, and also help ensure even visible sheen especially on Full Gloss.
- For flat doors just keep a wet edge, working from one side to the next using the proper roller.
- F&B paints are self leveling, wow! But we always love to 'lay off' the paint in a continuous stroke per section. We do this with the proper sized brush for that section which doesn't have much paint added to it (it's okay if there's some leftover paint in the brush from earlier strokes, just not newly added paint).
- If you mess up or leave a weird texture, or something gets in your paint, just let it dry properly per recoat time. Gently sand out whatever is undesirable, then paint back over the section that it's in for a paneled door... for flat doors, if it's tiny you may try to do a tiny spot-treat, however it's most likely you'll need to do another coat after sanding it out.
- No topcoats needed over the paint when working with F&B exterior-grade paints.
- Always clean and prep your door before painting over it with F&B paints. Clean off gunk and let thoroughly dry. For pre-existing doors, no need to strip off the finish. If painting over an old gloss, make sure to just sand down the gloss a bit (before cleaning so you can wipe off everything at once). For new wood doors make sure to give a scuff sand with 150 grit sandpaper, even if the door feels smooth to you!
Stop by our Shop & Studio for color samples, demos, tips, and more!


