
What are Chalk Paint® Waxes and How to Apply Clear Wax
We want to teach you the quintessential waxing technique for Chalk Paint® Waxes- watch the demo videos with Clear Wax.
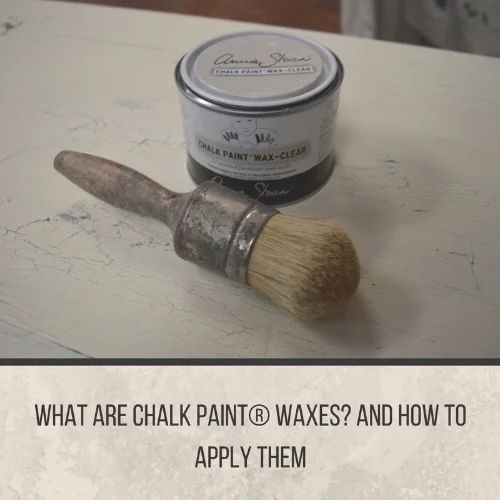
Have you worked with Chalk Paint® waxes? Waxing is a crucial step to finishing your work and creating a durable surface to seal the decorative paint. We're constantly perfecting our technique, and because we know there are many questions (as well as misconceptions) about it, we're off to task to share our tips with you! Feel free to also pop on over to our Chalk Paint® FAQs page.
The waxes come in four types: Clear, Dark (brown), White, and Black. They can be protective AND decorative at the same time. Waxes:
- are completely non-toxic when dried and cured, and even suited for 'child-safe' applications.
- should be at a slightly-melted crisco or butter-at-room-temp texture (sit in a sunny window or warm environment if they feel a bit firm to work with).
- fill the pores of a surface painted with Chalk Paint® decorative paint and cure to leave behind a hard surface that has bonded to the paint.
- in the case of Clear and White Waxes, are applied directly to the painted surface.
- in the case of the Dark and Black waxes, are applied over a wiped-back layer of Clear Wax (so you can control their depth)- the exception to the rule can be over Graphite since it's such a dark color to begin with.
- can be mixed together to create mid-tones like beige and grey.
- can be tinted with a drop of paint for an extra pop, if you need an exciting green or pink wax for example.
- can be layered up to 2-3 coats total for extra durability for heavy-traffic surfaces like cabinets and dining table tops (wiping back thoroughly and waiting 24-48 in between coats).
- dry within 24-48 hours for each coat, however need to be gently-used until they finish curing.
- cure and reach full hardness within a period of 2-4 weeks, depending on how many coats have been applied and humidity (again, gently use your surface depending on its usage- you can probably put your dishes back inside your cabinets, however that kitchen table will need to wait a bit longer to be ready for your dinner party!).
- are water-resistant.
- are interior-grade only.
- once fully dried and cured provide a brilliantly durable surface, which is easily maintained by wiping food spills, dirt, and dust away with a damp cloth or mild soap and water at most- we've also gotten crayon, marker, sharpie, highlighter, and other stubborn marks off by cleaning with more wax, which pulls it right up and out of the surface.
- are as durable as polycrylic-type topcoats when applied correctly and let to fully cure before heavy use.
- can be buffed to a soft satin sheen, or left relatively matte in finish.
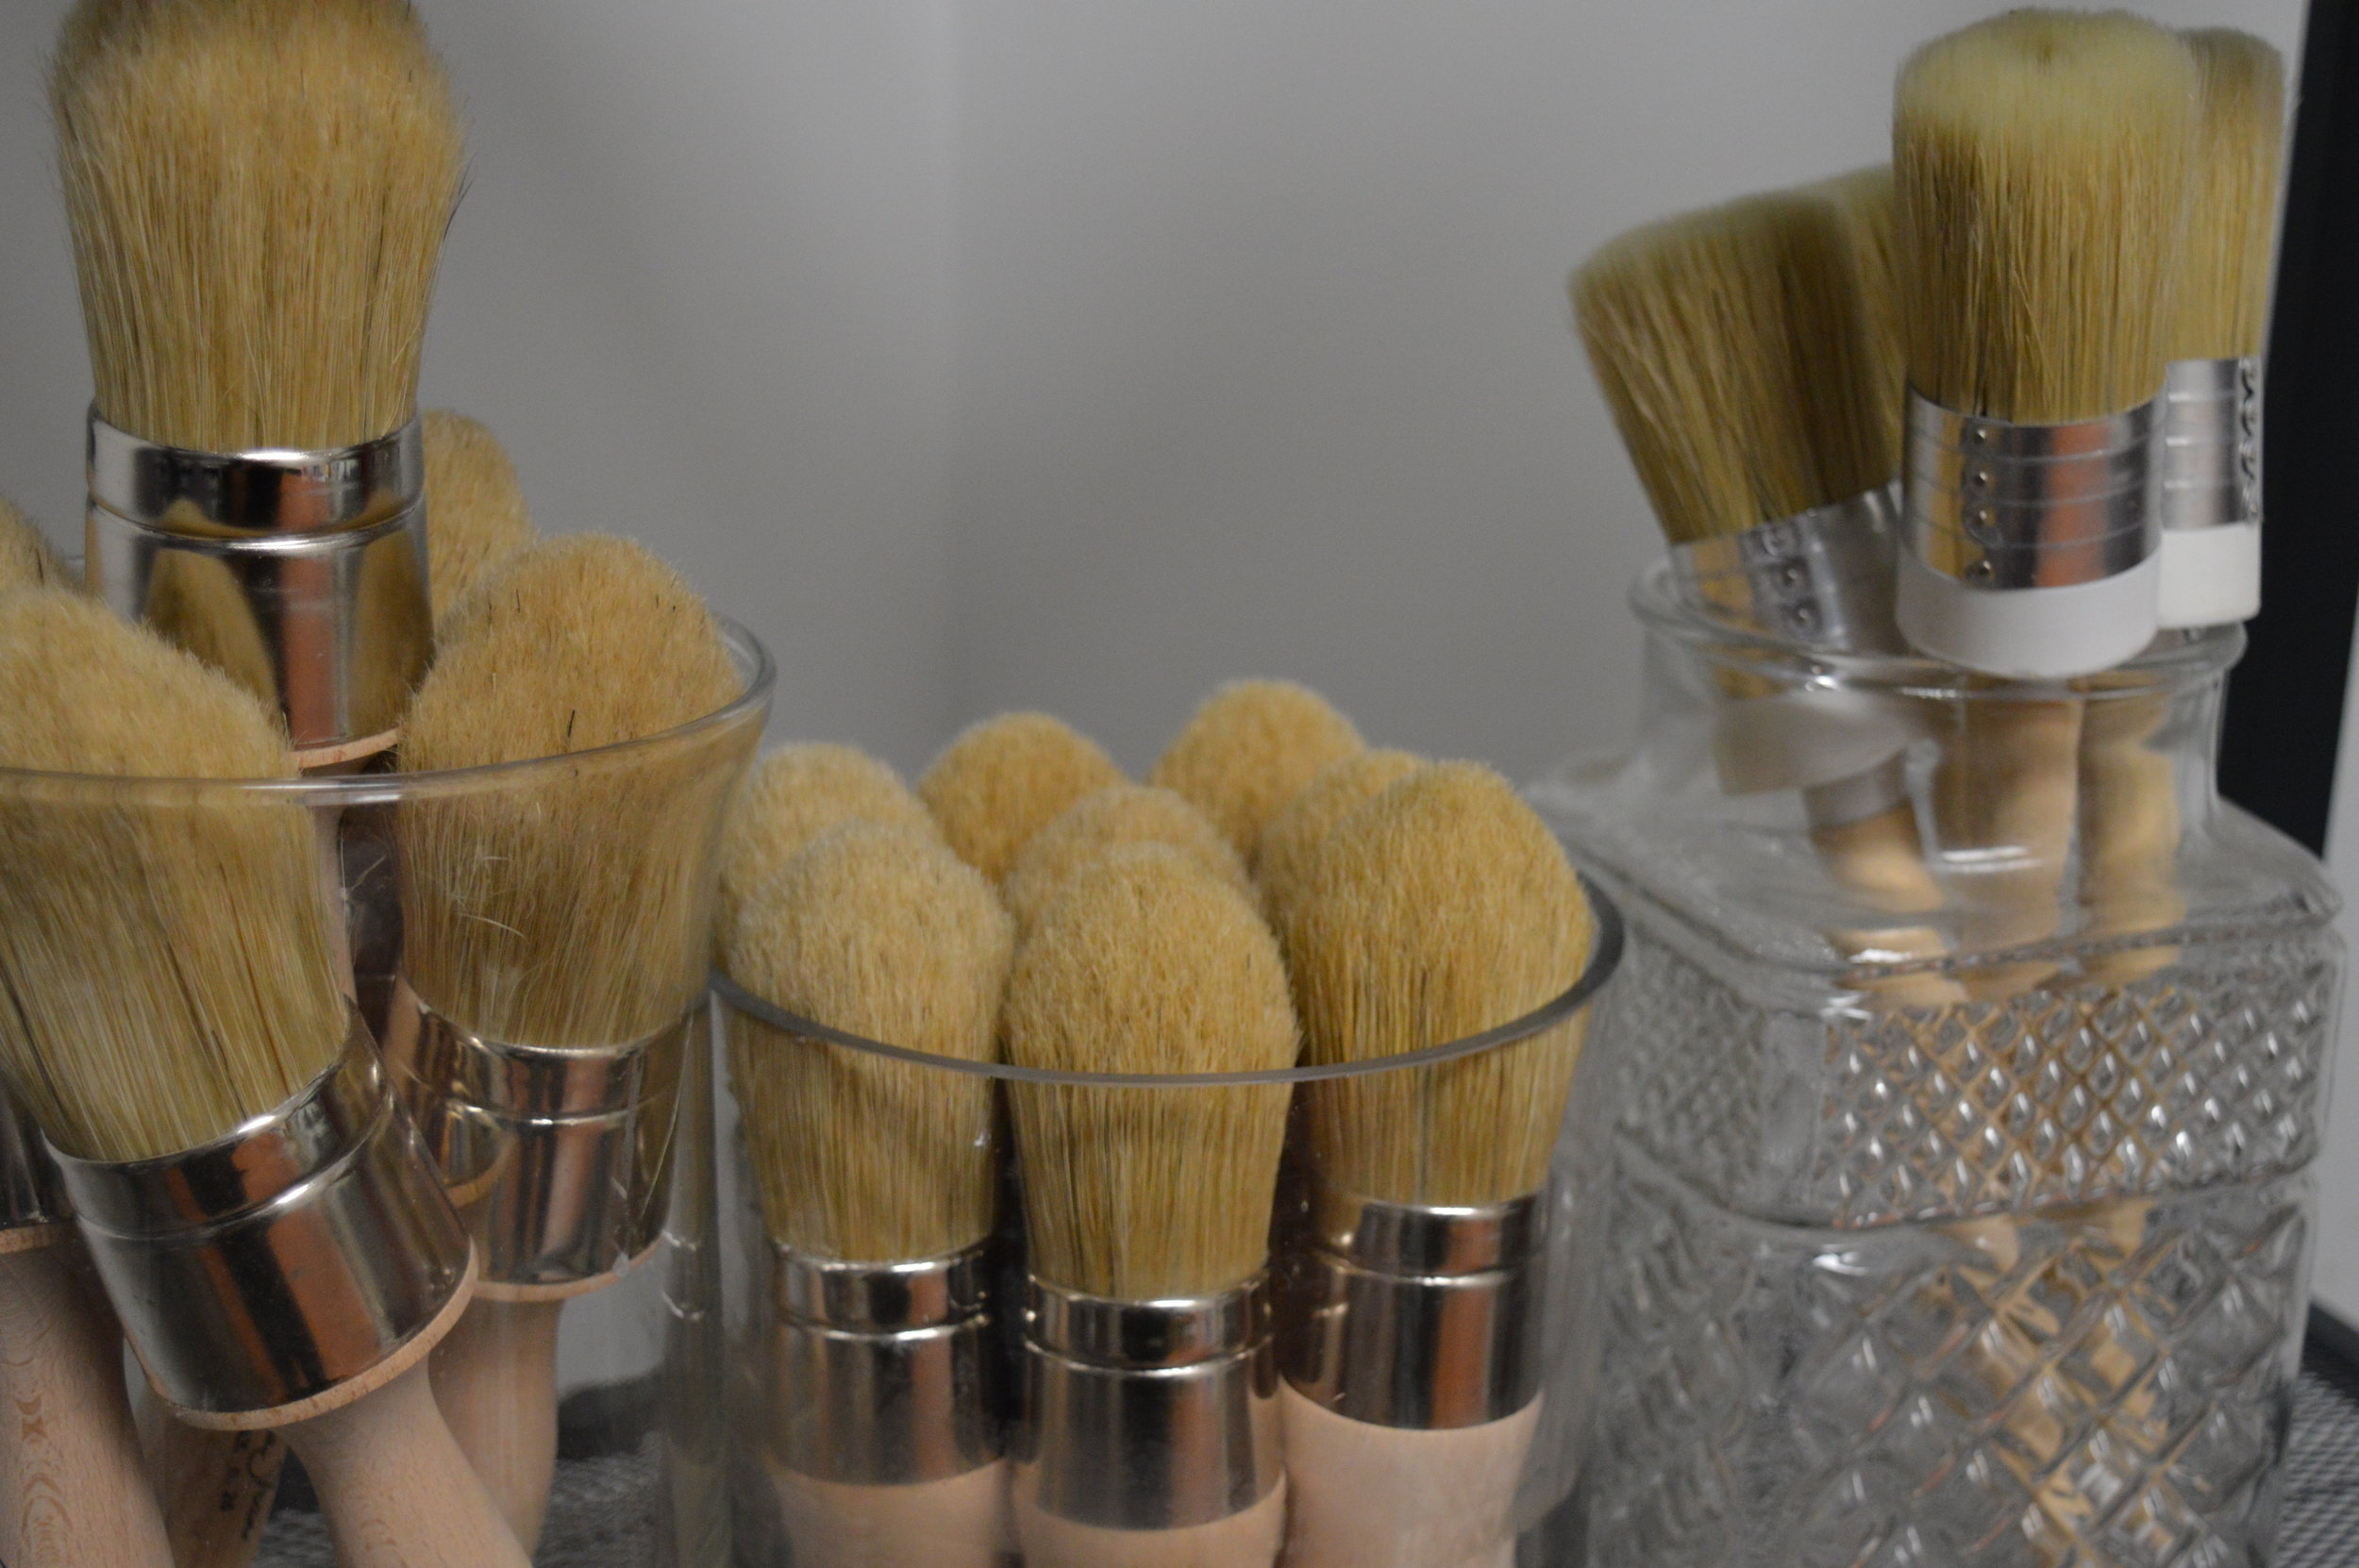
Using wax brushes to apply all waxes ensures we don't apply too much or unevenly, and also prevents as much wasting of wax as possible. Here are some in-depth video demos of a preferred technique that works for most surfaces:
Part 1: Using Your Wax Brush to Apply Clear Wax
Part 2: Wiping Your Excess Wax Back, Finishing Up
And here's a concise recap of the waxing process to conclude:

Remember, patience is key when allowing topcoats to fully dry and cure during a DIY process. When you buy new furniture, topcoats have been allowed to fully cure before being put on a sales floor. We do have other topcoats with the same durability for different finish sheens (such as semigloss), for exterior projects, and others that might cure a tad bit sooner for heavy-traffic areas (ex; if you work with wax for your coffee table just keep in mind that you need time to let it cure). For all topcoats on tables we do recommend using placemats, coasters, etc. anyway to protect the finish as long as possible (nothing is completely iron-clad y'all). However we do say 'trust the wax!' because you can't beat it over hand-painted finishes, and can easily spot repair it if unexpected damages do occur.

Create An Upcycled + Floral Mother's Day Gift Under $75! + GIVEAWAY!
We have a step-by-step tutorial to create the BEST Mother's Day Gift, which has upcycled and floral elements, for under $75! Enter our Mother's Day Giveaway while you're at it!
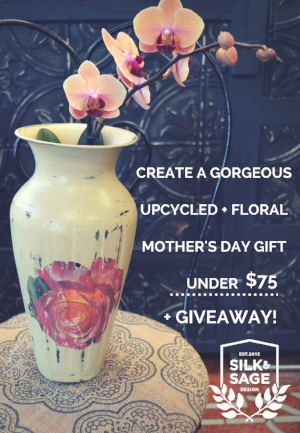
With Mother's Day right around the corner, we wanted to share a great idea for a simple gift that looks fabulous, and will make Mom feel special. Being involved in the creation of your gift makes it heartfelt, and with our tutorial you can create something similar for under $75! Of course these are general guidelines, so feel free to expand or simplify as much as you want! We'll also get into our Giveaway down below...
You'll need:
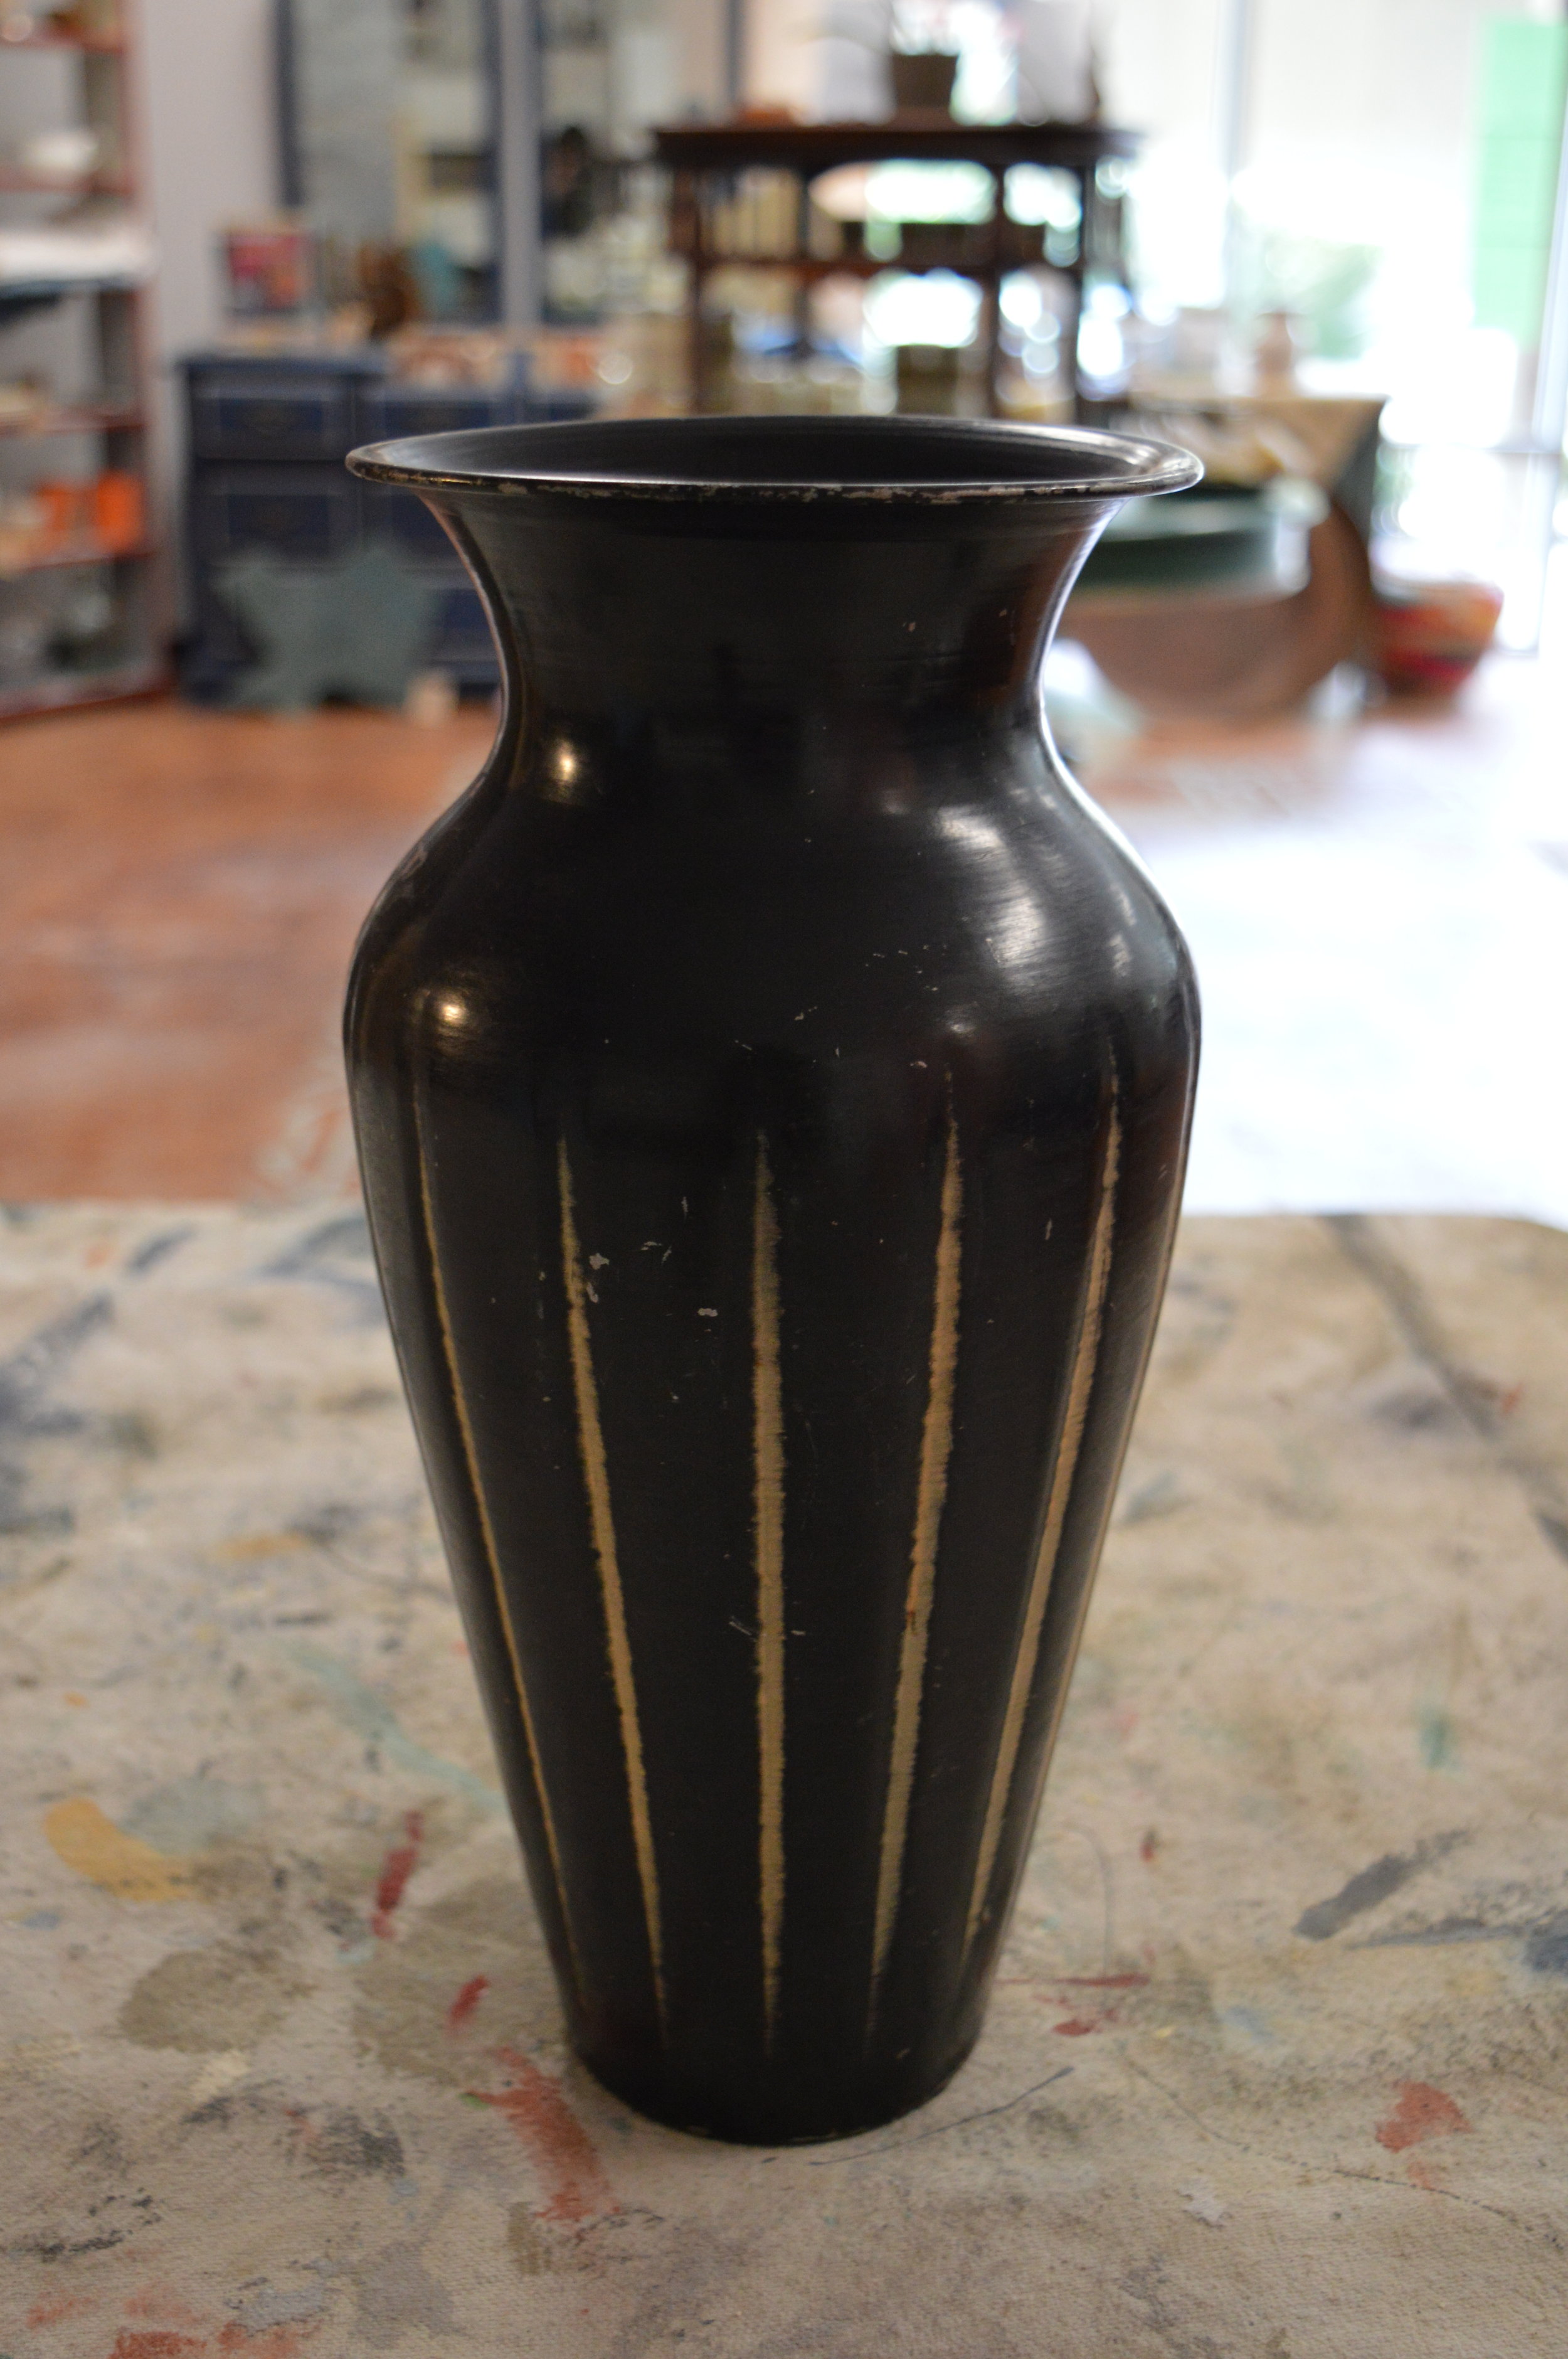
- One vase or container that's metal, glass, ceramic, wood- $0-$5 (We chose a thrifted find for $5, but you may have something at home already that can be upcycled.)
- Chalk Paint® decorative paint Project Pot color of choice- $15 (We chose Versailles for it's sagey-French appeal.)
- Sandpaper sheet or dampened textured scrubby sponge- $0 (Cost depends on whether you have some at home already or need to buy some. Use that dampened sponge to distress to save on cost!)
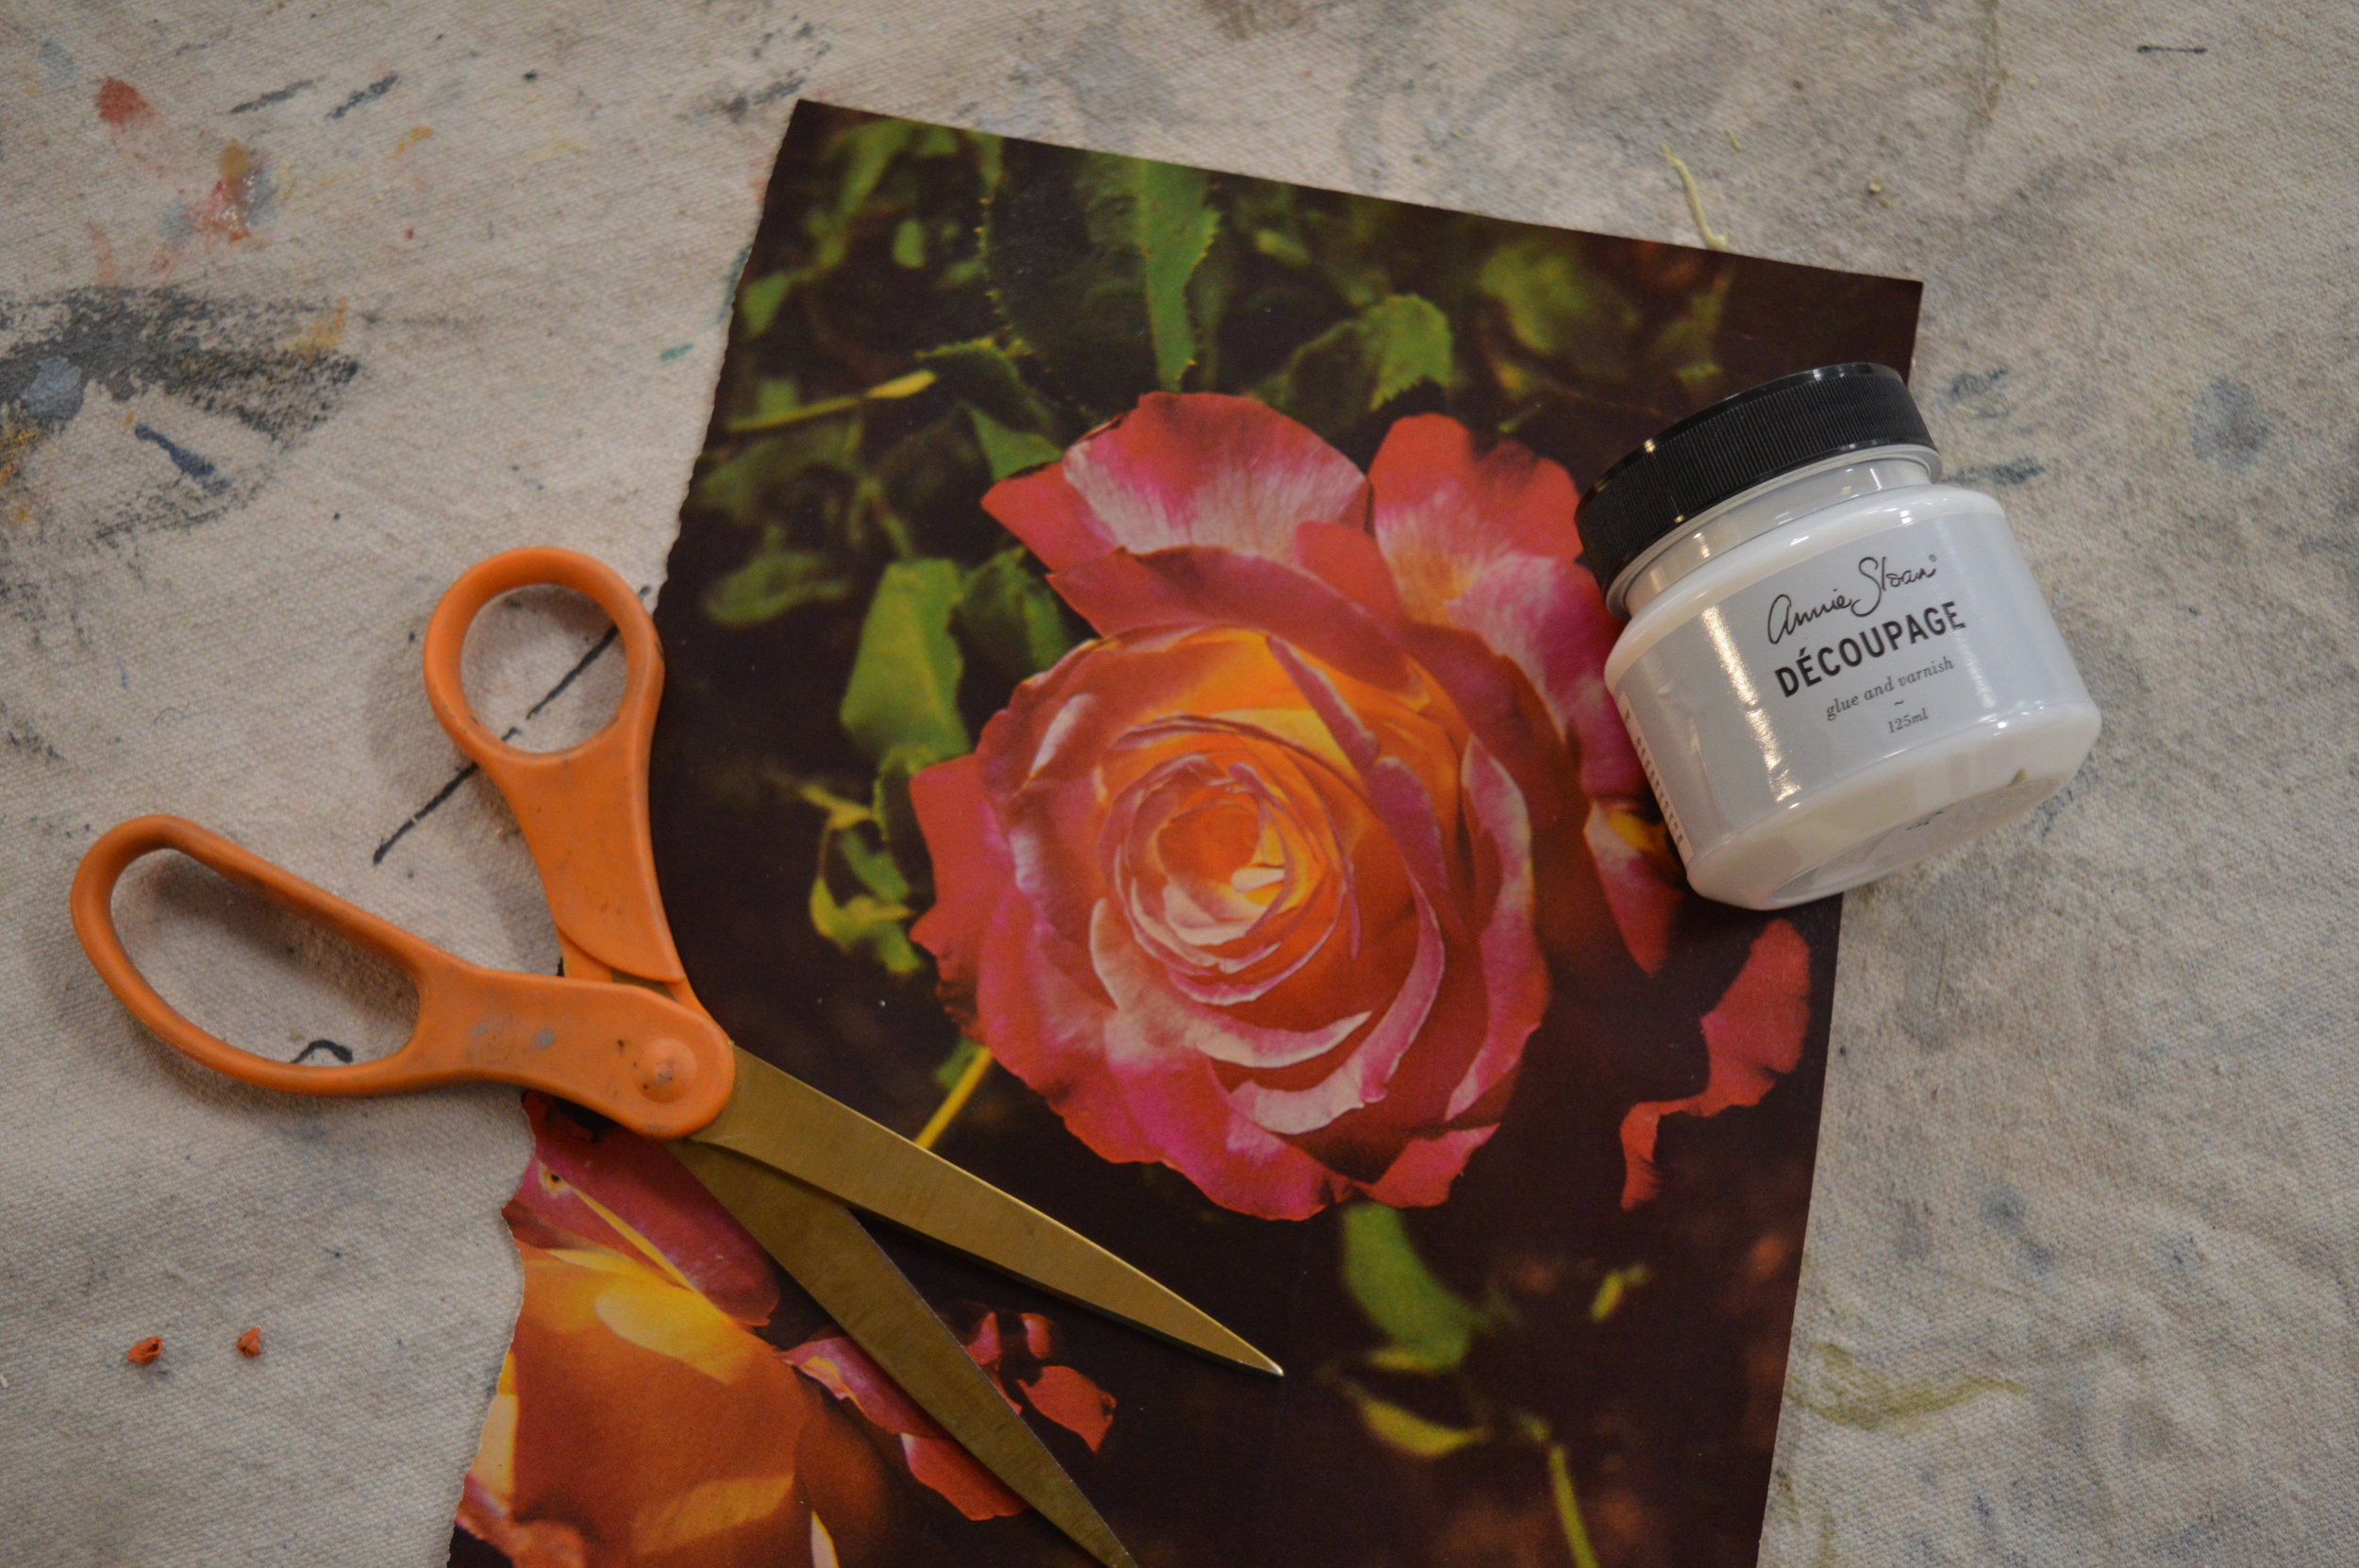
- Magazine, paper, newspaper, thin fabric, or tissue paper cutout- $0 (Almost everyone has something at home already that has a cool image on it that can be cut out!)
- Scissors- $0 (Again, almost everyone has a pair of scissors at home or a pair that can be borrowed from a friend or family member.)
- Chalk Paint® Image Medium / FKA Decoupage Varnish- $20.50 (This item is a bit of a splurge, however it lasts through many uses and does decoupage and image transfer in the best way, without smudging inks from printed images- however if it isn't friendly to your budget, you may forgo this part of the project!)
- Small Paintbrush- $0-$15 (Most individuals have a brush at home, however we have a range of brushes from $3 to $15 in the shop that would suit a small project well.) We chose our Annie Sloan Small Flat Brush
- Orchid, plant, or floral arrangement- $16 (We visited our neighbor, Freytag's Florist on West Anderson Ln. in Austin, for a mini Orchid so that Mom can continue to grow her gift! Shop local and sustainable- find your own favorite neighborhood florist!)
Here are the steps:
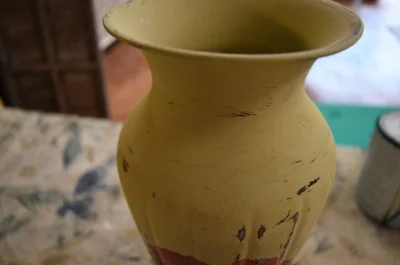
1. Apply your Chalk Paint® decorative paint color to your vase or planter surface- you may need a second coat if desired. For 'normal' surfaces, give a couple hours dry time between coats, or give 12-24 hours dry time between coats for shiny and slick metal or glass surfaces. The color we chose for our project is Versailles for its sagey-French appeal!

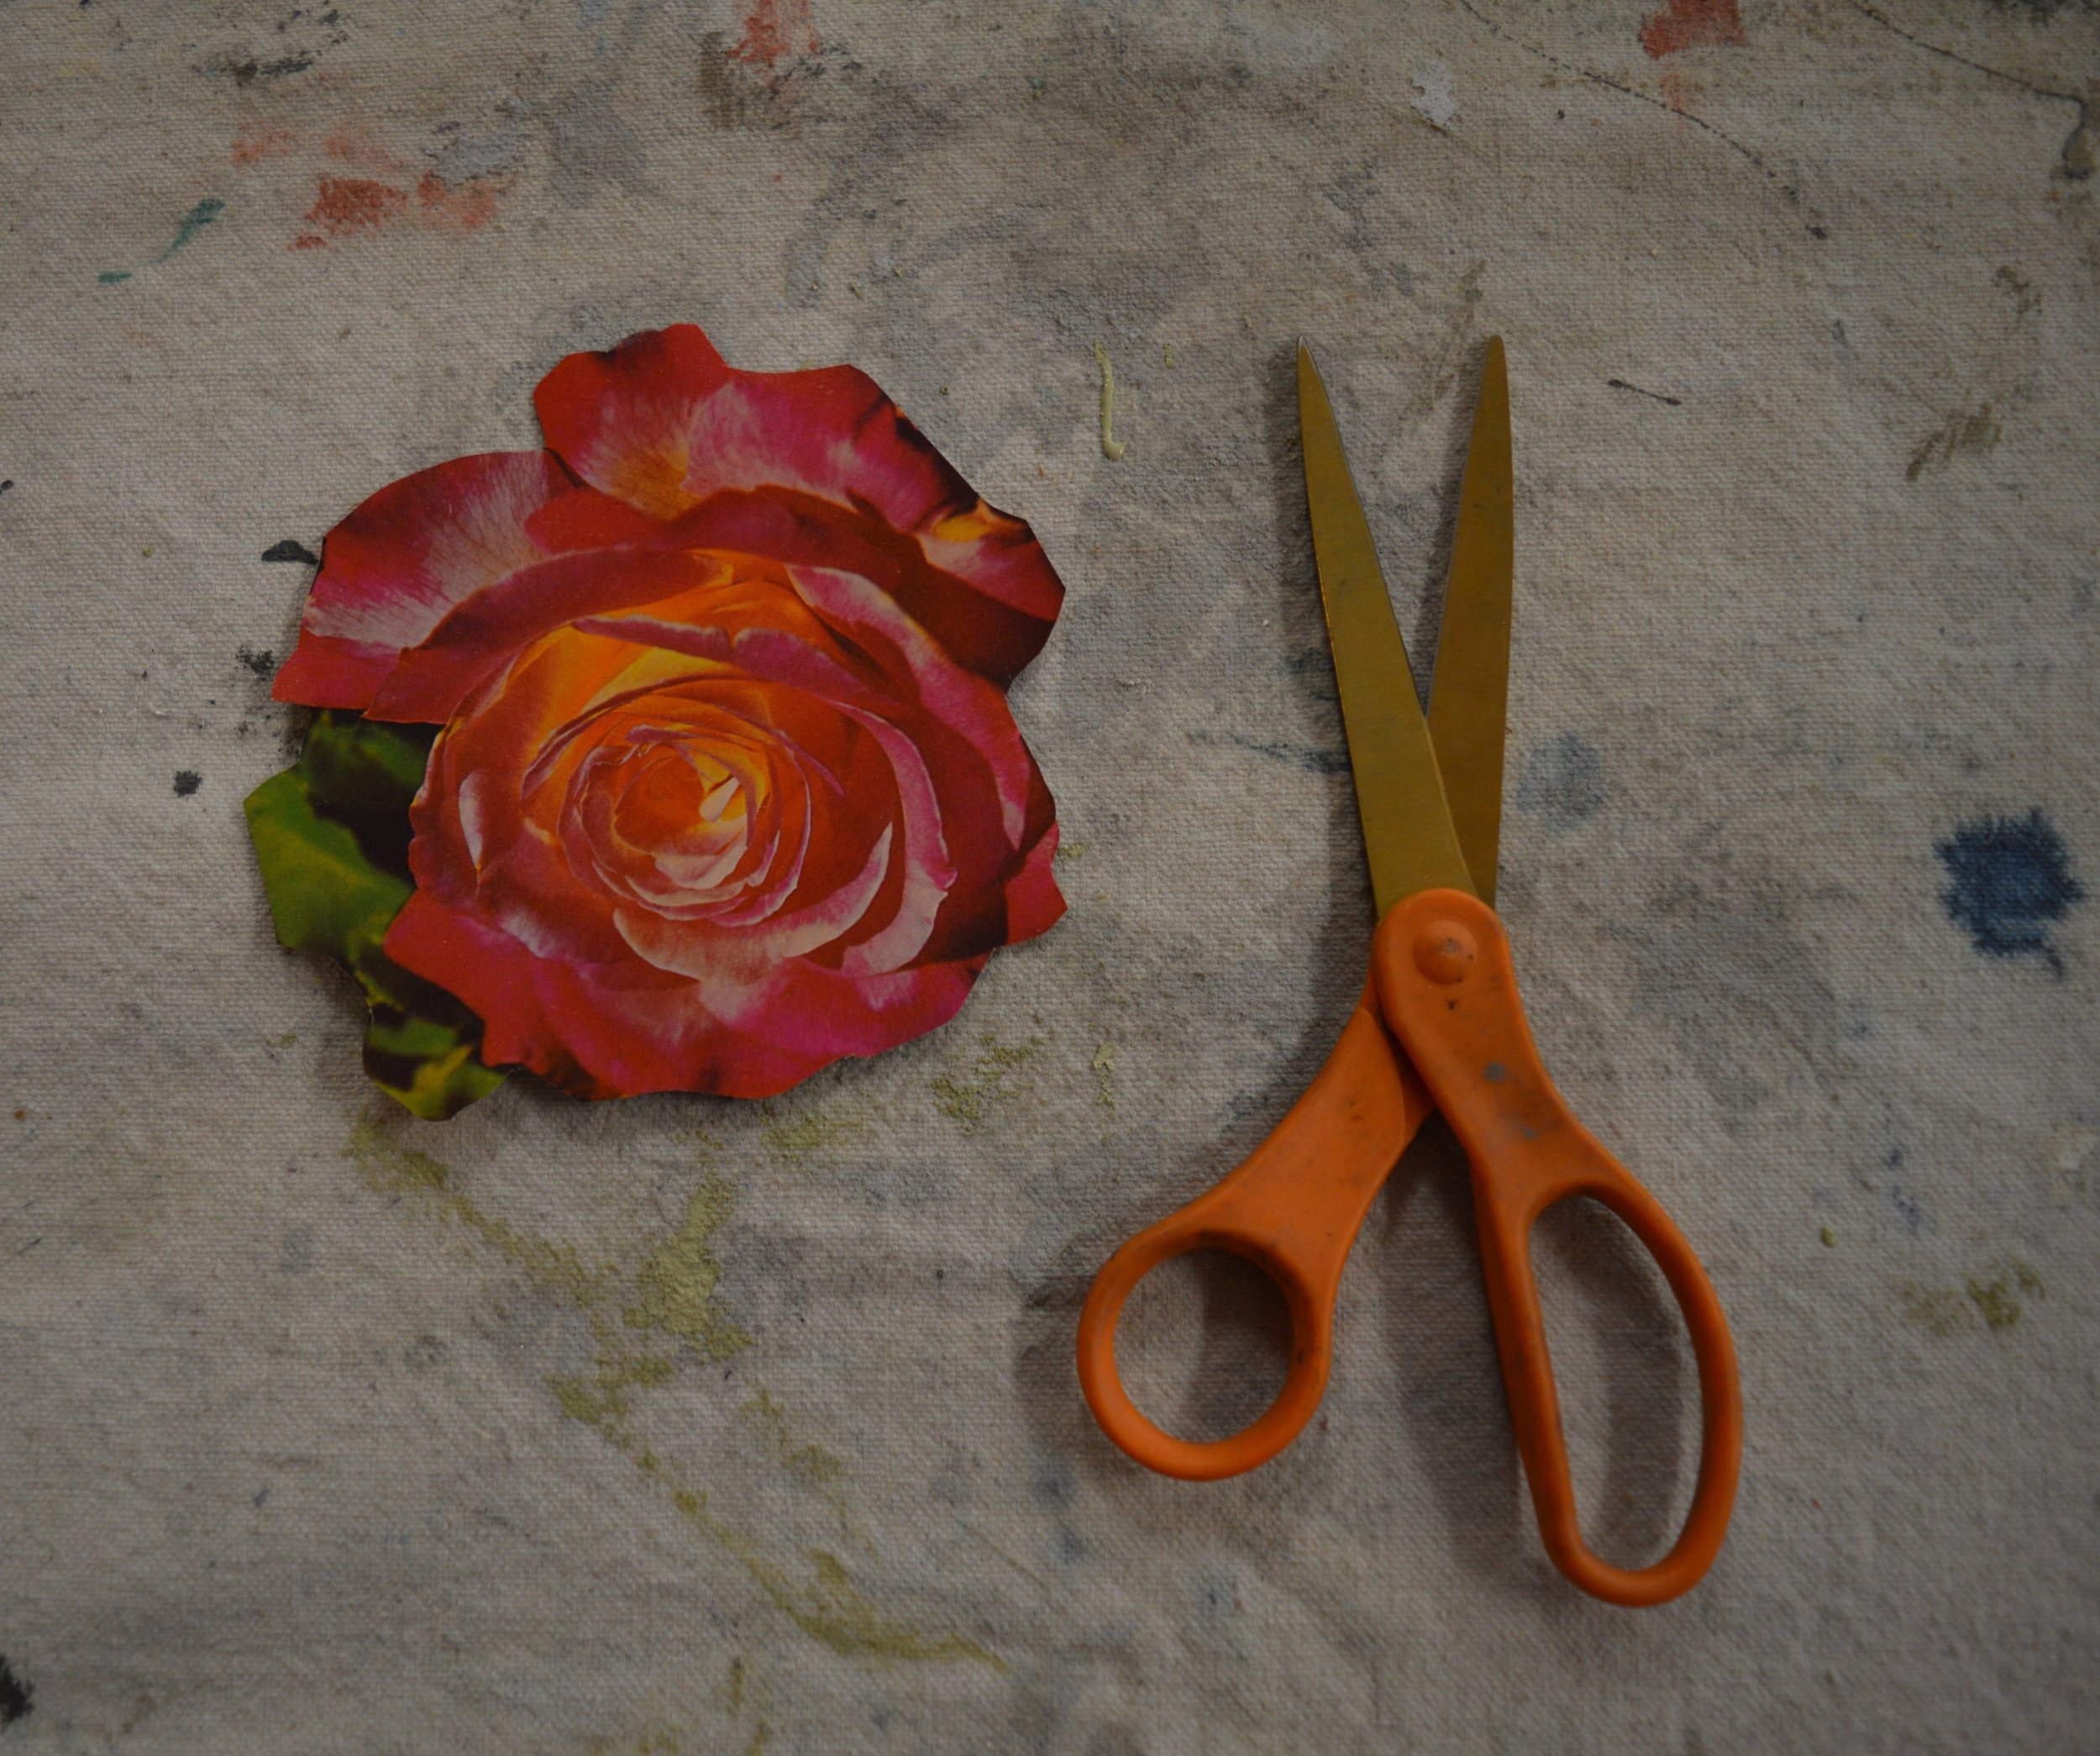
2. While waiting for paint to dry, cut out your image for decoupage. Try to choose something that has a generally defined outline, as opposed to something that will have tons of tiny intricate details to make it easier to cut out. We love using images from old books, magazines, newspapers, giftwrap, and even thin fabrics or tissue paper. Get crafty my friends!
3. Add a second coat of paint as needed, with the applicable dry time for your kind of surface.
4. Once dry, distress through the paint using medium grit sandpaper or a dampened scrubby sponge until you achieve a lightly aged look. Distressing looks natural over edges and raised areas.
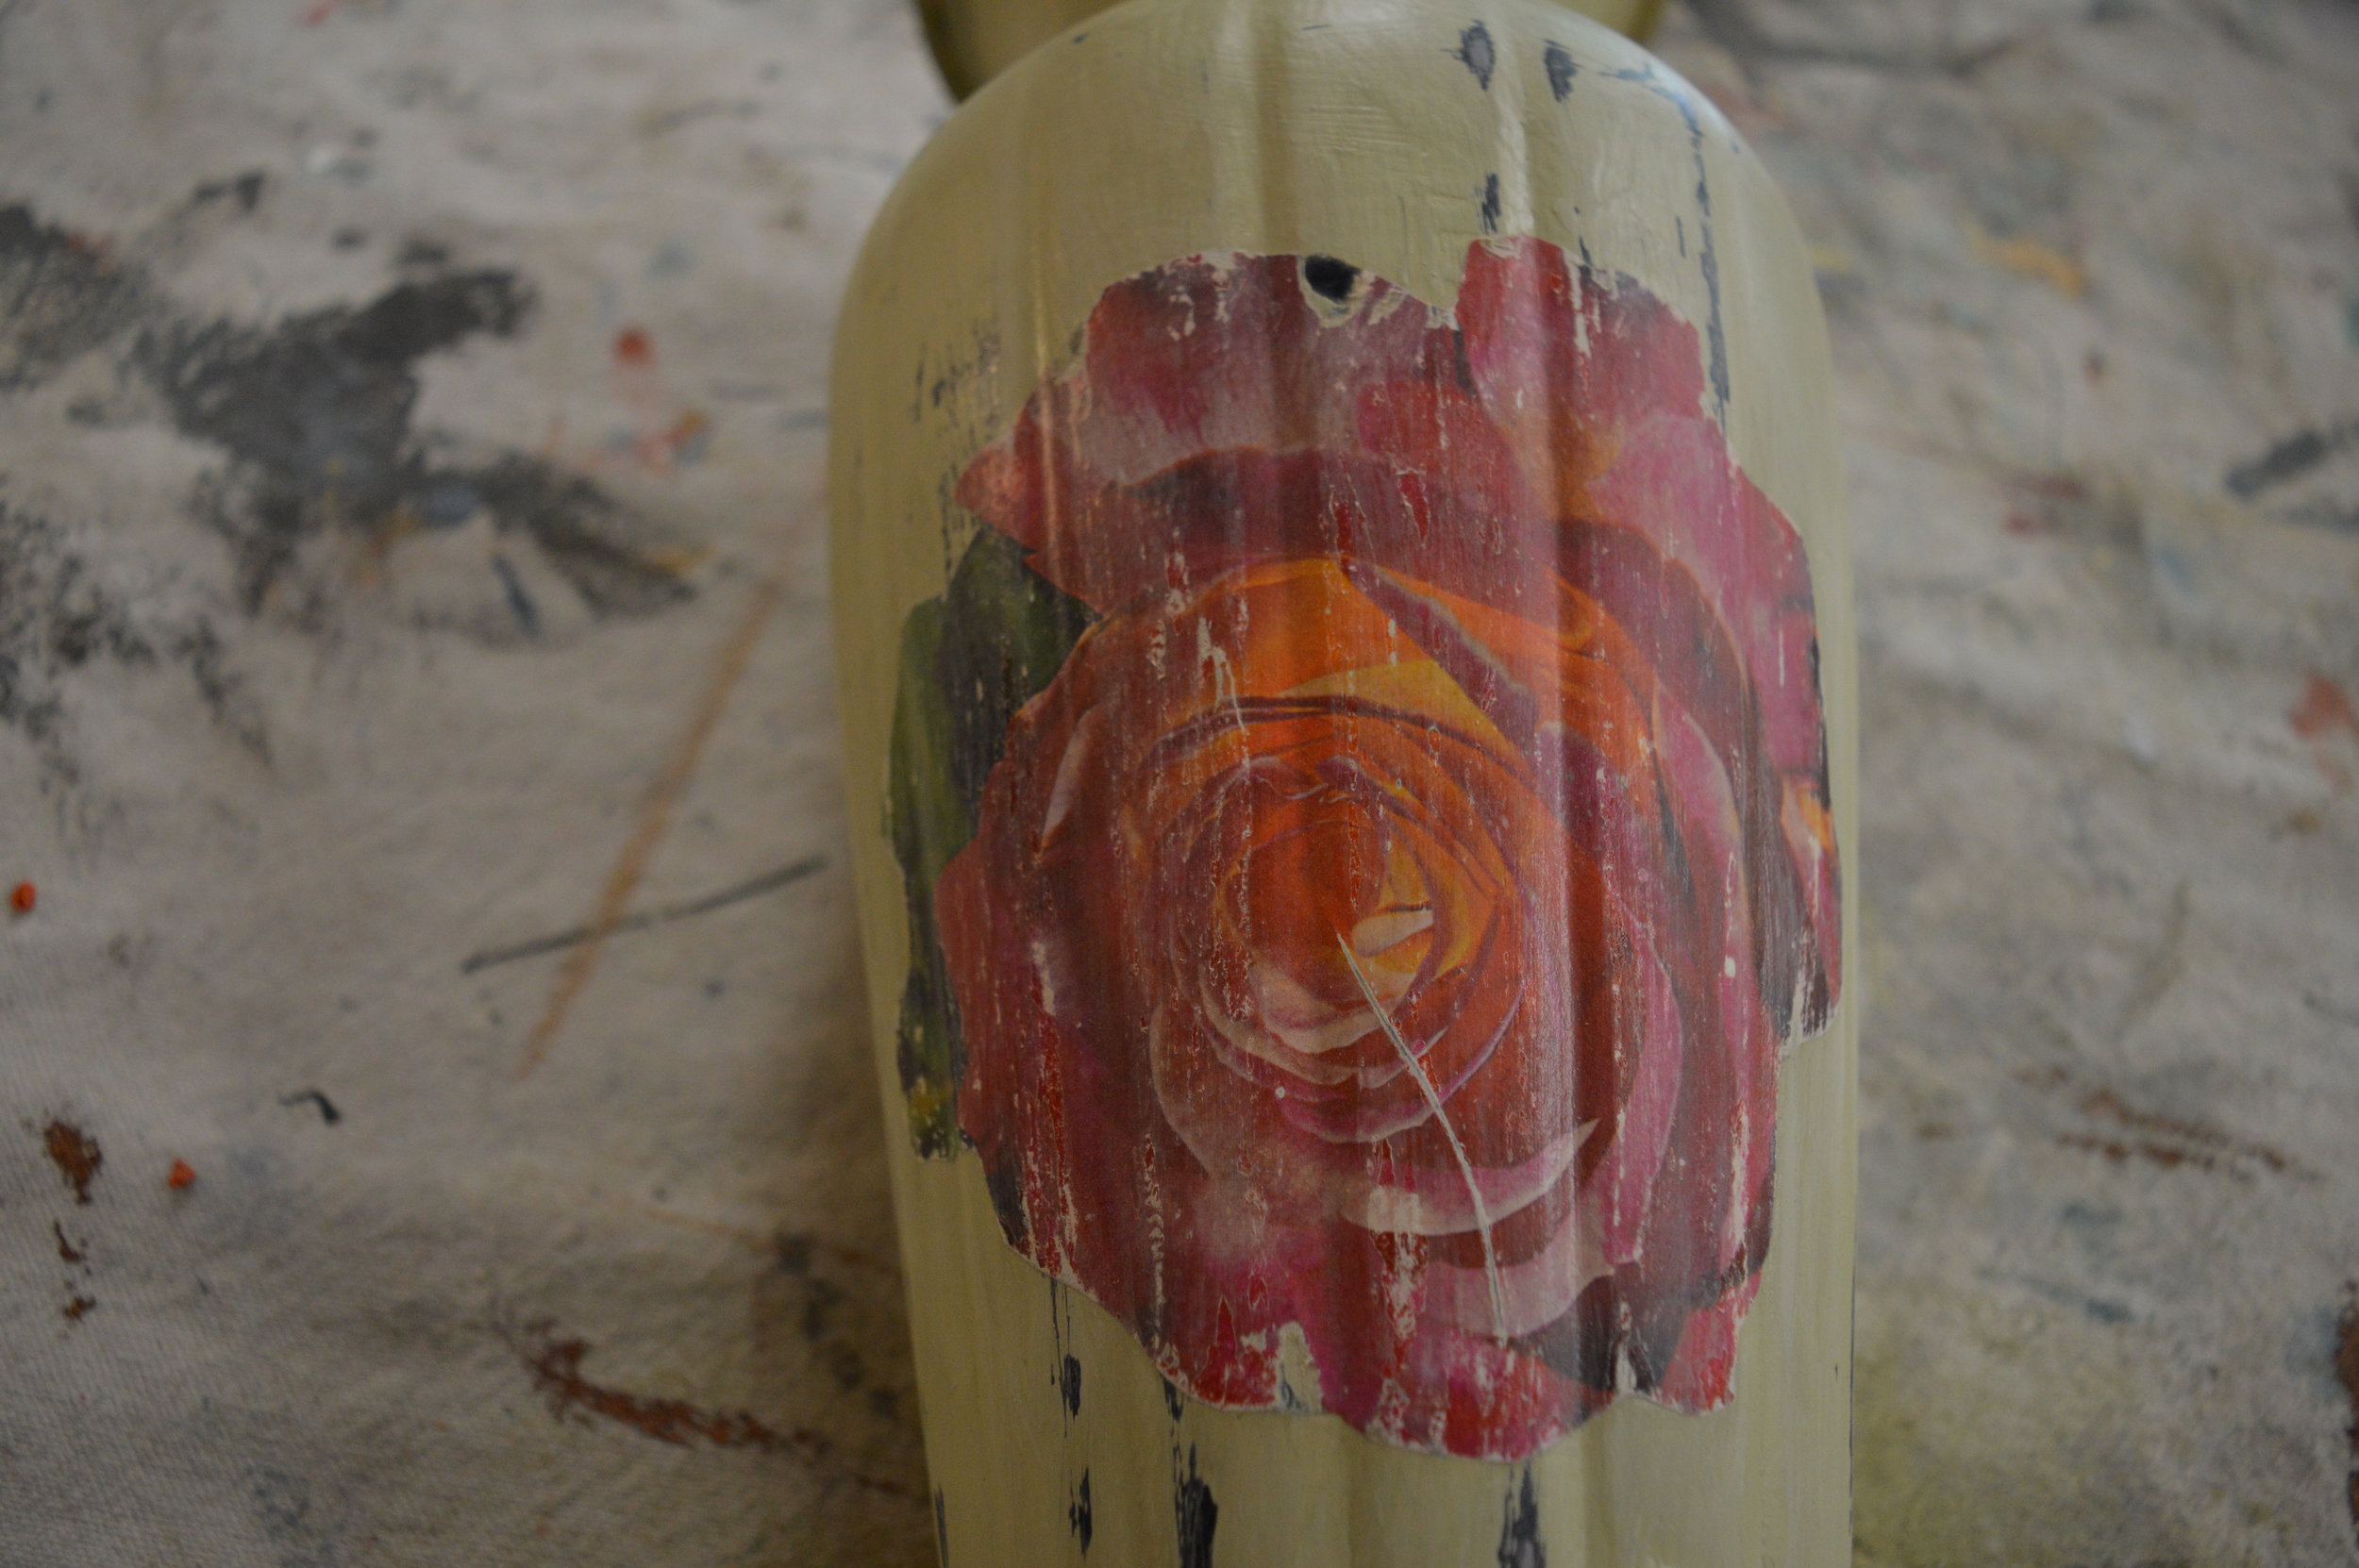
5. Apply the Chalk Paint® Image Medium (formerly known as Decoupage Varnish) to the backside of your image, and gently press the image down onto your vase surface with one corner, and slowly press the entire image down while working out air bubbles. Apply a thin coat of your Image Medium over the cutout and let it dry. Decoupage isn't so difficult, we promise!
6. Apply 2-3 thin coats of the Image Medium total for durability. We used the Medium as a varnish over the whole vase surface as well. You may also sand the image edges down to make it feel less raised and to distress and fade the image.

7. Add your plant or flower arrangement of choice to complete the gift. We chose a lovely mini orchid from Freytag's Florist on West Anderson Ln. in Austin, so that it could be a sustainable gift that keeps growing (we added little rocks below the orchid in the vase for good drainage- always make sure to plant with proper conditions based on what you choose, and to include care instructions!). Mom can also change the planter or vase up as needed as the plant grows, and continue to repurpose the planter or vase. Remember to visit your own local florist!
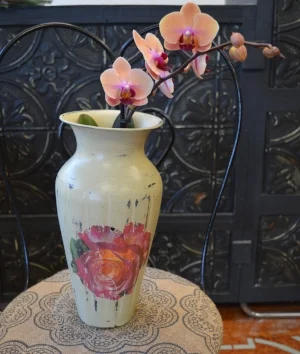
The result is something truly special. Doesn't it feel great to make a gift? This is absolutely a project that can be completed within a couple of days (even within one day depending on materials used). Share your own results with us, and if you're in or near Austin stop by our Shop & Studio at 2700 W. Anderson Ln, Ste 228 for all Chalk Paint® supplies. Otherwise find your local stockist here.
Watch our tutorial video to visualize the process!

And now for our GIVEAWAY! We are excited to announce that one lucky person can win the very same decoupage vase that we created for the tutorial. To be entered to win, please complete all steps below:
What Is Chalk Paint® and Why Do We Like It So Much? (How to Paint With Chalk Paint®)
We clear up some questions about Chalk Paint® decorative paint, and talk about its benefits and how to apply paint to furniture.

We get daily questions on what Chalk Paint® is, and what it can be used for-- which is a great thing! The more questions the better, and the better that we can help you with your projects. However with so many types and brands of paint out there in the world, it's easy to feel overwhelmed with choices. Besides talking about what Chalk Paint® is and why we recommend it, we'll also talk about why it stands out from imitation paint lines.
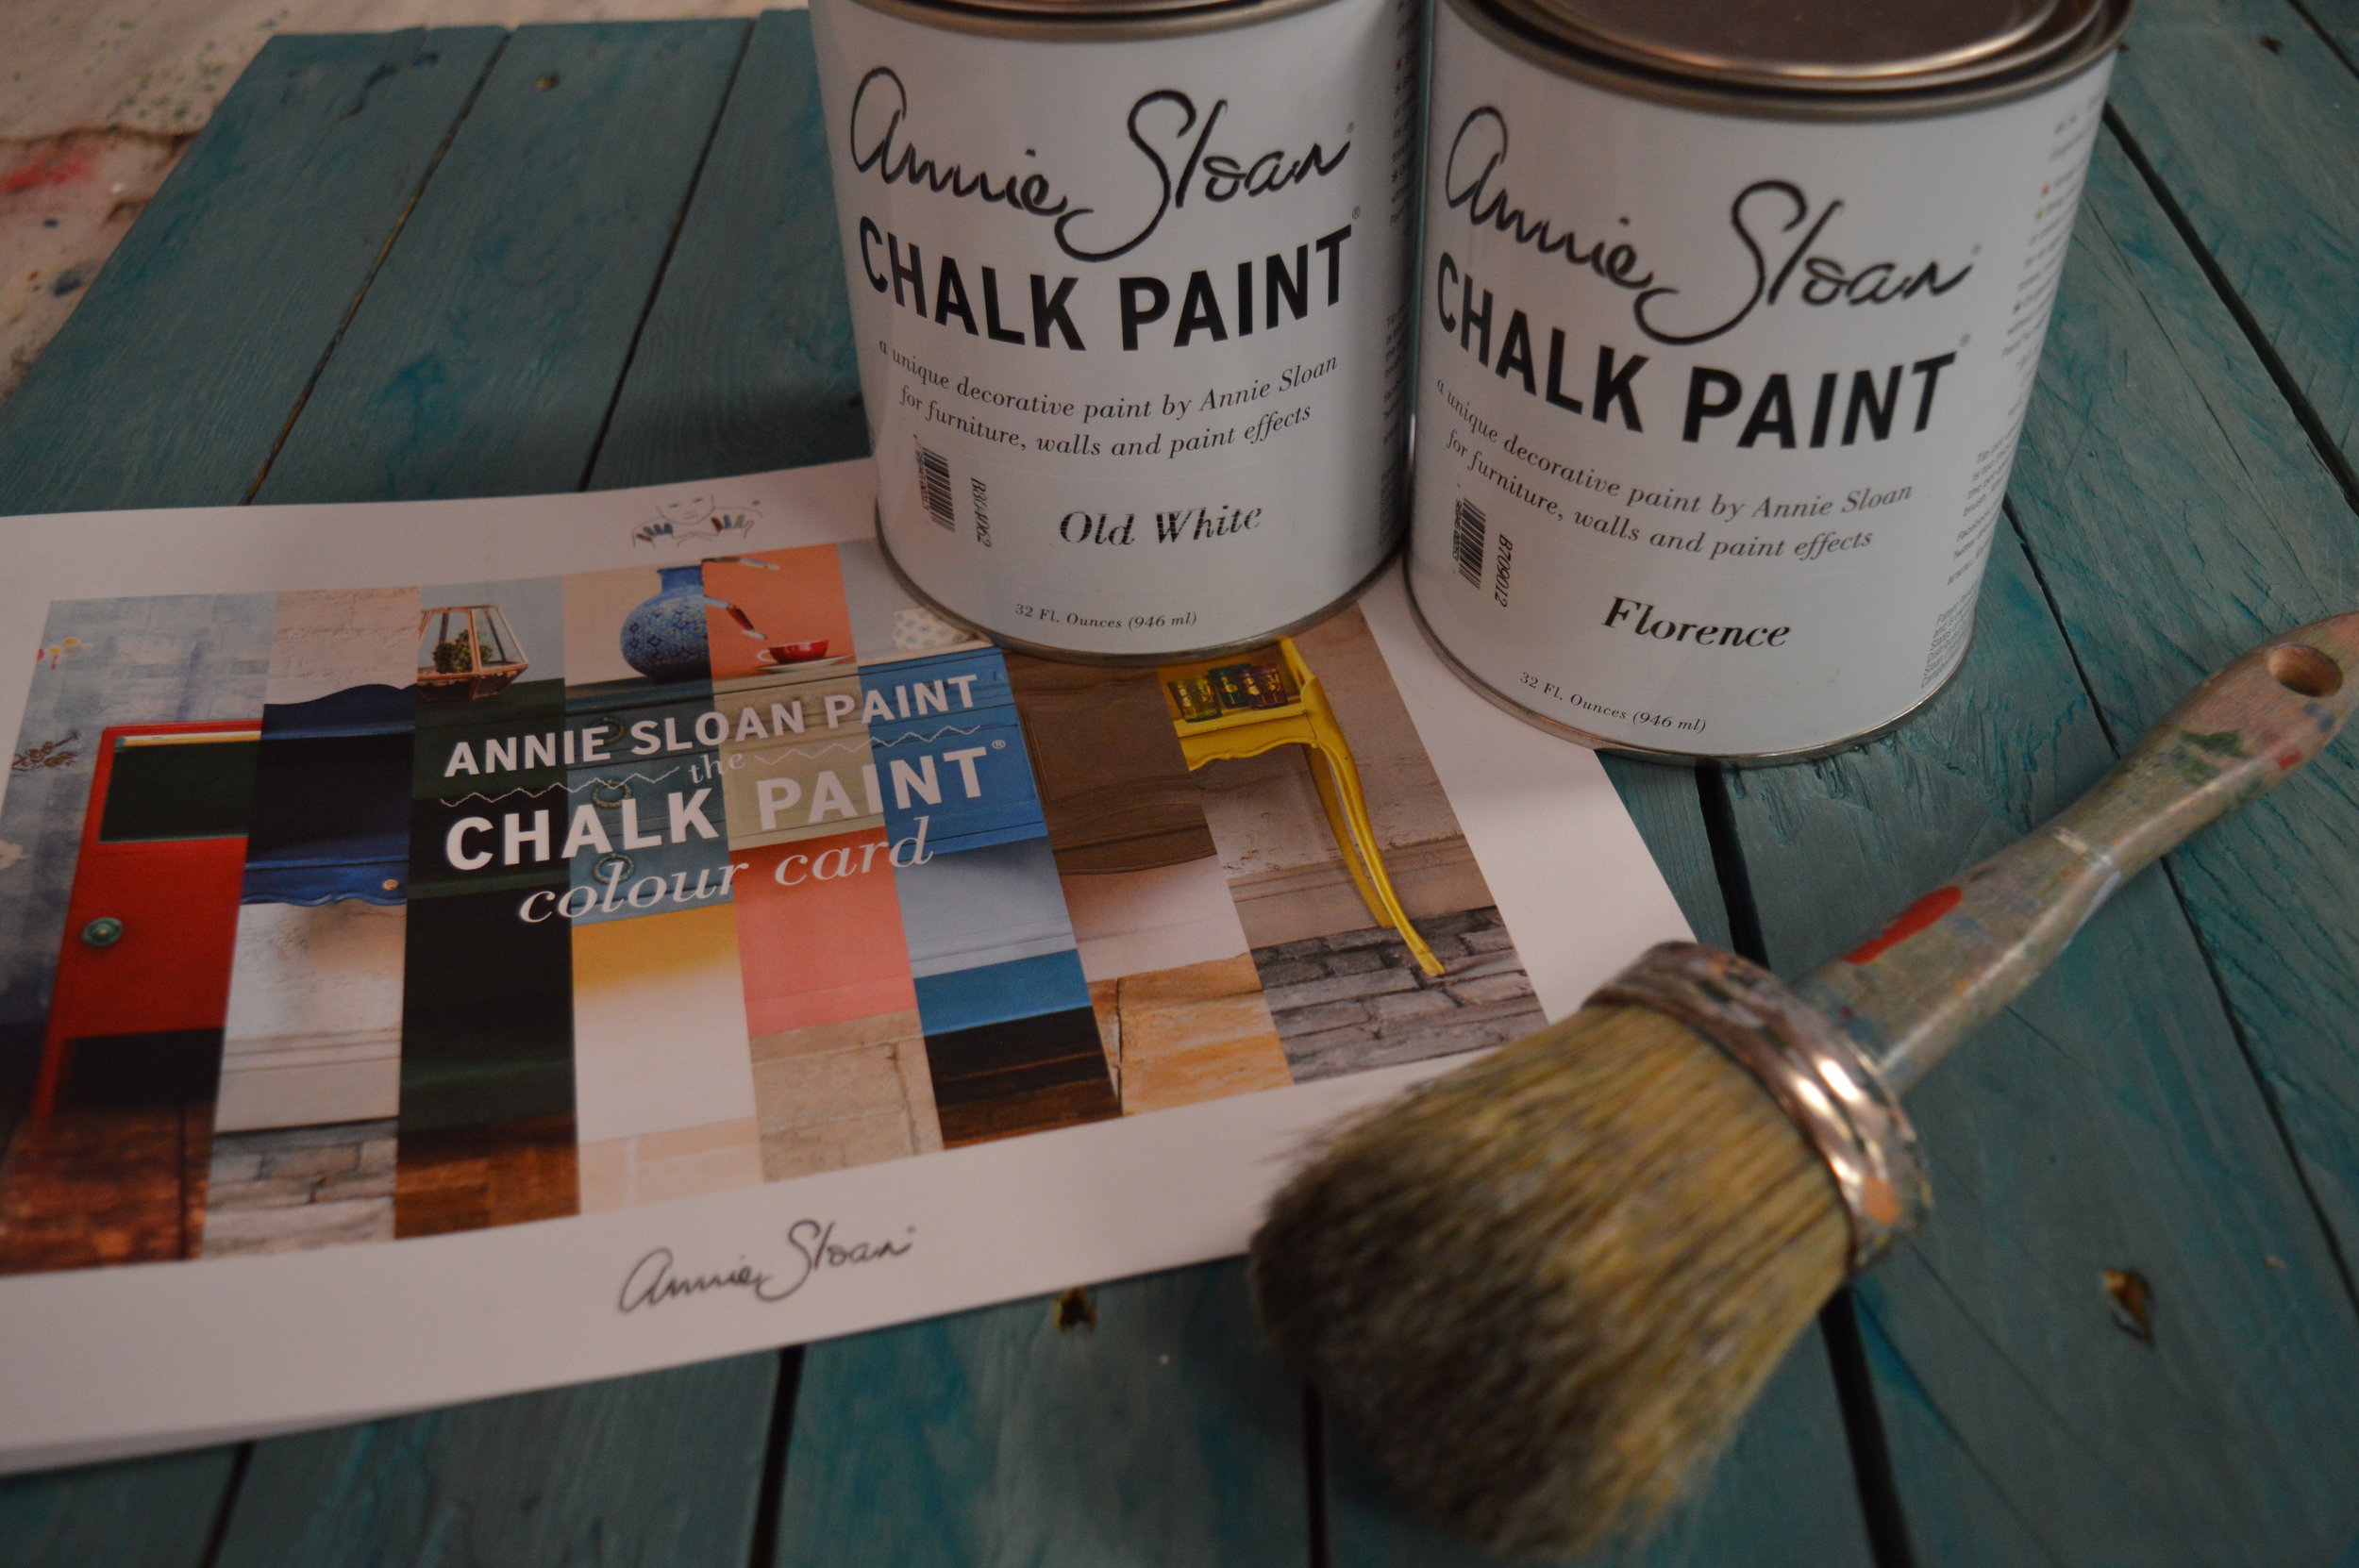
When we opened up our shop, we made the commitment to stock reputable, eco-friendly brands that anyone can work with (you heard that right, anyone!). Our stock is curated so to speak, with high-quality yet accessible options, and Chalk Paint® is one of those. Well then, what is it? Chalk Paint® is the brand founded by Annie Sloan in 1990, focusing on painting with one's own style and with a minimal-prep process. Chalk Paint® decorative paint is water-based and comes in 35 GORGEOUS colors in the USA, and Chalk Paint® waxes come in 4 colors/styles. Why is 'chalk' in the name? Well, that speaks to how the paint feels when it first dries in that it's super dry and porous, causing it to absorb its wax seal well.

How cool is it that the Color Cards come with swatches printed with REAL paint? These are very informative and accurate in helping you make your color choices, giving information about the history behind color names too.
Chalk Paint® decorative paint, waxes, lacquer, and other items are:
- low and no-VOC, and absolutely lead free
- non-toxic and eco-friendly
- certified 'Toy Safe' in the UK where the line was invented
- able to create silky smooth, modern finishes
- able to create highly textured finishes (like distressed or 'shabby-chic' looks)
- cleaned up with soap and water off brushes
- applied with a brush or roller (depending on technique)
- able to be sanded
- highly customizable, changeable, and able to be painted over to keep upcyclng
- little or no prep prior to painting- never needing to strip (prep can depend on your surface, and some techniques might require certain kinds of prep)
- able to hide surface flaws
- fixable for any unintended mistakes during the painting and waxing process
- suited for interior and exterior projects
- able to be mixed and layered with plasters, gilding leaf and waxes, crackle serums, and MORE
- suited for furniture, flooring, walls, decor, painted upholstery, stenciling
- applied to wood, metal, veneer, laminate, plaster, stone, brick, concrete, fabric, manufactured finishes (like from Ikea and Pottery Barn), glass, and MORE


Totally transforming a piece of furniture or space is still a process. This paint is not a miracle, but does help you to leave room for your design intuition to come through with playfulness, without having to worry about absolute perfection or "will this even stick to my surface?!". What's hand-painted has character, and can uplift any old piece and space!
Watch our little video demonstrating the absolute basics of applying your favorite color!

Also, there is only one Chalk Paint®. There are many alternate 'chalky-finish' or 'chalk-type' paints on the market, and there are recipes to 'make your own,' however none of these options are the same as Chalk Paint®, and they are usually acrylic or latex with additives. They do not have the same properties. Let's face it- if you're painting with an acrylic or latex, it's still just acrylic or latex (and all that plaster of paris mixing in 'make-your-own' recipes is actually quite toxic to breathe in, yuck!). There is a reason why we carry and use the Annie Sloan brand after trying many styles throughout the years. When we work with it, we are trying to get our look (or your look if we're helping you to customize your project), not just a matte/flat 'chalky' finish.
What we do encourage is that your DIY creative process be about learning new skills while leaving room for your own creativity to come through- and to make connections with others! Happy Painting xo

Our Segment on Studio 512
That time we stopped by KXAN's Studio 512 for some fun with Miss Mustard Seed's Milk Paint...
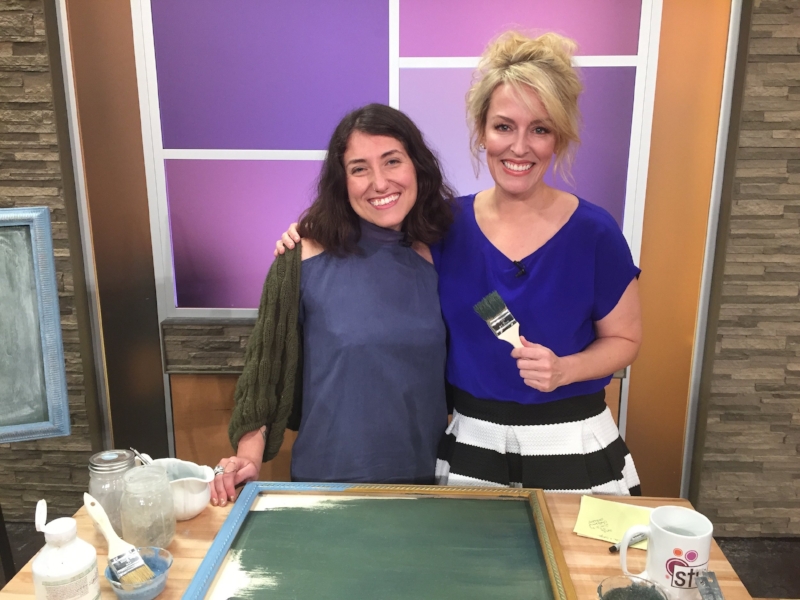
Recently we had the chance to stop by Austin's local news station KXAN's Studio 512 segment to demo our 'Vintage' Chalkboard Class. We worked with Miss Mustard Seed's Milk Paint to create a usable chalkboard (usable if you write on it with real chalk, that is!) with a vintage look. What a fun time for us and the host Amanda! We were a but nervous going in, but always love to teach you so that helped dispel any butterflies. Here are some takeaways from the experience and the whole Milk Paint process:
- Being prepared is fabulous, because nothing will go exactly as planned. This is true in everyday life, for special events (like this video segment we did) AND in the DIY project realm.
- Milk Paint always starts at a 1:1 ratio of equal parts powder to water, and then you can add more of one ingredient or the other as needed- some days and working environments are more dry than others and you may need more water (which is why being prepared just in case is the best!)
- A great rule of thumb is to mix an equal part Bonding Agent in with your Milk Paint mix when painting over highly slick or manufactured surfaces (like the frame we used in the demo), to help that paint adhere.
- Quick projects like these are fun times to share with others, including with children (especially since it cleans up easily with soap and water and is non-toxic).
Sign up for your own date of 'Vintage' Chalkboards for a DIY take-home project as a way to learn some essentials about using Miss Mustard Seed's Milk Paint! And don't forget to watch the video segment. Happy Painting!

Our Brush Guide for Your Projects!
Our guide to choosing the best brushes for your projects when at our Shop & Studio!
What's the right brush to choose for your project? We've put together our simple, handy Brush Guide for selecting the best brush when at our Shop and Studio.
Annie Sloan Flat Brushes- Great for minimized brushstrokes when applying Chalk Paint® decorative paint, high-quality synthetic brushes in two different sizes.
Annie Sloan Pure (Natural) Bristle Brushes- Natural hair brushes will always possess slight texture, so you can create both subtle and enhanced texture with this brush that comes in three different sizes. Each hold a lot of paint to extend your brushstrokes when using Chalk Paint® !
Artisan Enhancements® 45mm Topcoat Brush- As a blend of fine natural and synthetic bristles, this brush is intended to minimize brushstrokes when applying liquid topcoats that otherwise might exaggerate the appearance of strokes (like glosses). They also extend brushstrokes well by holding a lot of paint, which also makes them a favorite for applying Miss Mustard Seed's Milk Paint.
Artisan Enhancements® European Wax Brush- This lightweight wax brush is great for starting, and is versatile due to size and length of handle. Its bristlehead is flexible yet slightly firm for ideal wax application.
Annie Sloan Wax Brushes- These pointed brushes are of the highest quality, allowing you to wax in tight corners and carvings. They come in two different sizes of both bristleheads and handles, so choose the best based on the size of your project and comfort for grip! Made in Italy.