Painting Over Metal
Have you ever tried to paint over metal or glass? Was it successful or unsuccessful? Pinterest and the rest of the blogosphere are saturated with photos of DIY painted mason jars and similar items, and if you're lucky you'll get an accompanying tutorial! But not always.
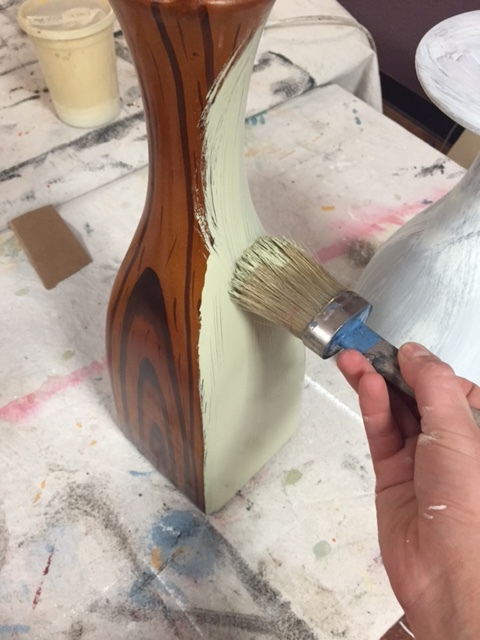
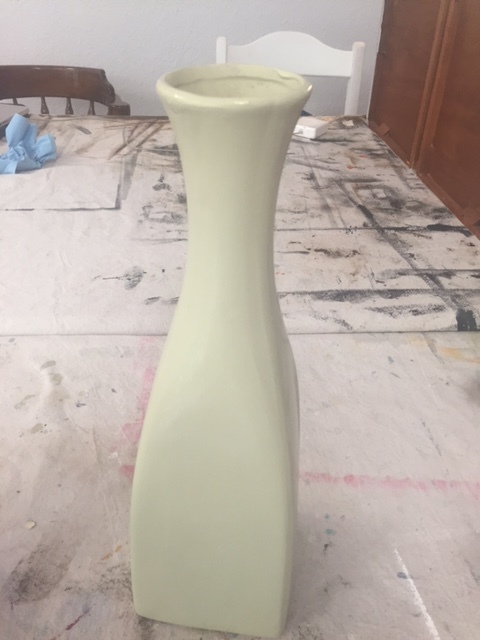
I've used Chalk Paint® to successfully paint over both metal and glass countless times- windows, jars, vases, cast iron furniture, you name it. However there are some key steps to achieving success! I painted these metal vases over the weekend and documented what I did. They had a not so fortunate (faux-tiger?) pattern on them to begin with, but they had great bones (great forms). Why not upcycle with these steps?
1. Step 1 of painting over any item, furniture or otherwise, is to clean it really well! I'm talking a damp cloth at the very least- soap and water or vinegar and water are preferable. If the item has any gunk, stickiness, or looks worse for ware, you can always clean with Krud Kutter or another similar biodegradable degreaser. ALWAYS make sure to wipe down with a damp cloth afterward to remove any potential lingering cleaner residue, and then let dry thoroughly.
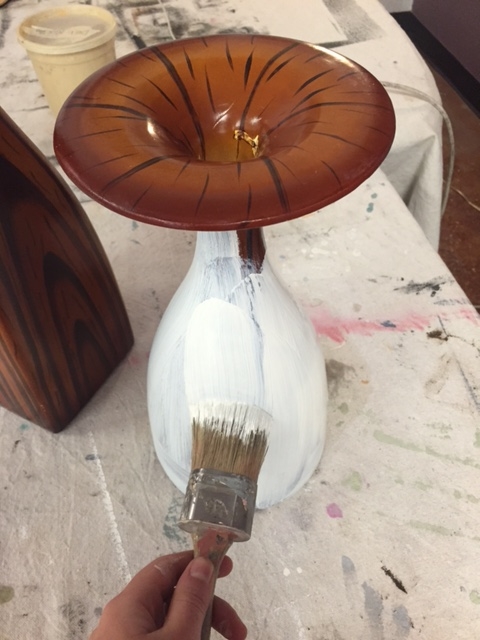
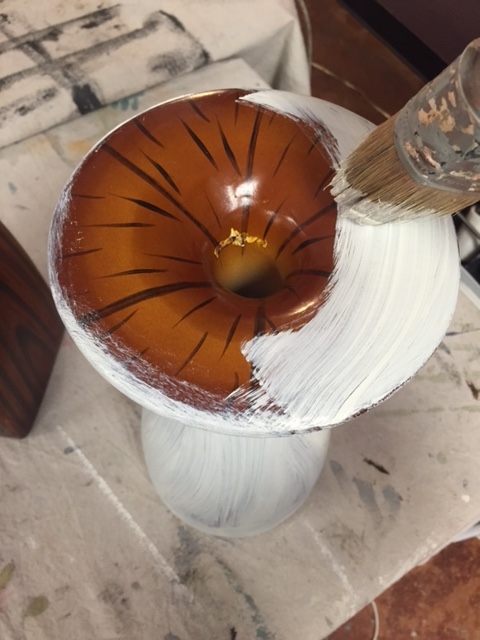
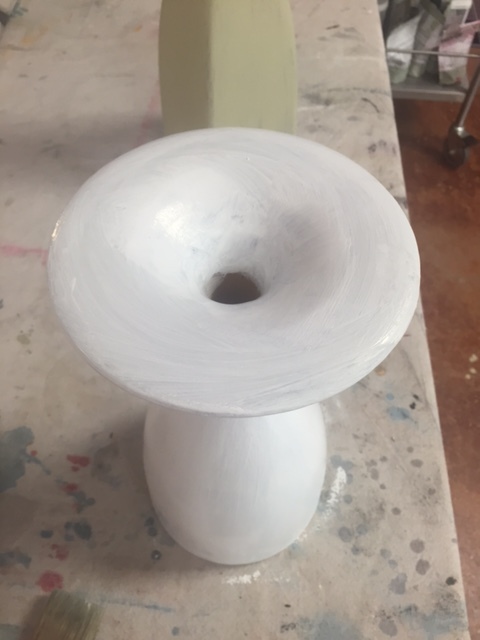
2. Once dry, start with your first coat of paint. Over metal (or glass) the first coat may look very brushy or streaky. Not to worry though! Your first coat of Chalk Paint® is basically a priming coat. When the paint sits over a slick surface, like metal or glass, it will need to sit on extra long before you add a second coat, so that it has time to really adhere to the surface. If possible, sanding your slick surface will also increase adherence. Here I chose Versailles and a first coat of Old White (though I followed up later with Pure White- I did a coat of the Old White first because it would block the dark pattern underneath better- true Pure Whites don't contain pigment and therefore are a little sheer).
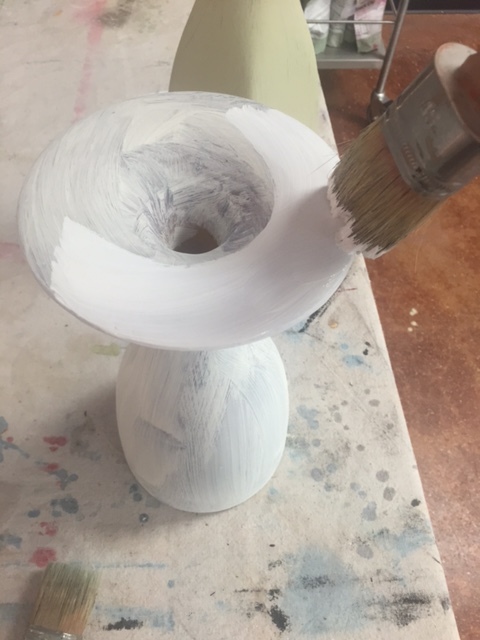
3. When I state that the first Chalk Paint® coat needs to sit on for extra long before the second, I mean let it sit undisturbed over night. Come back to it the next day and apply a second coat. For the vase I painted Versailles, the second coat was enough. However, since Pure White was a little sheer, I waited over night again before applying a third coat as well.
4. If leaving the paint as-is, you can go ahead and seal with Annie Sloan's Soft Waxes, or another compatible water-based sealer. If you wanted to distress, do a wash, or any other decorative technique, you'd do that before sealing. Let dry to the touch (24-48hrs) before using!
I didn't stop there though... I wanted to add a metallic pop to the bottom of each vase using gilding leaf. Gilding leaf is applied wherever you add gilding size, or the glue, and won't stick wherever there isn't the size. It brushes on very milky but dries clear and tacky. Once tacky, guide the gilding leaf on and press down using your fingers and a craft chip brush, pressing it down firmly. I chose imitation gold leaf for the Versailles vase, and copper leaf over the Pure White vase.


If you find that the gilding leaf gets stuck to your hands, dip your hands in corn starch and that will prevent this from happening. After you're satisfied with applying gilding leaf, rub your craft chip brush over the leaf to burnish it and remove excess metallic flakes!
You can seal the leaf with Annie's Soft Waxes too, but since I wanted to give someone the option to use these outdoors, I sealed with Clear Topcoat Sealer by Artisan Enhancements® because it is an exterior-grade sealer. It works well with Chalk Paint® by Annie Sloan. *Please Note: over Pure White, it can penetrate and bring up tones from underneath the paint- I did not mind this aspect here, but when using over Pure White on furniture or decor, you should seal prior to painting (seal with a coat of Clear Topcoat Sealer- it can be used as a clear priming coat that blocks stains, colors, odors, etc).
Brush the Clear Topcoat Sealer on with a very soft natural bristle or synthetic bristle brush- it can also be rolled with a foam roller. When applying, you're going to use the tiniest bit on your bristles. It should look clear and wet, not milky. If you notice you're applying too much, try to spread it over your surface as much as possible, keeping your brush moving from one spot to the next as to not over process the surface. Let dry overnight (24 hours recommended) before applying a second coat, or before using. If the surface is still tacky, it may be that there's too much product left on the surface. Just allow it to dry longer if this happens!
And there you have it! You can replicate this at home with any of the same materials. Stop by our online shop to look at Chalk Paint® by Annie Sloan, color choices, and sealer options!