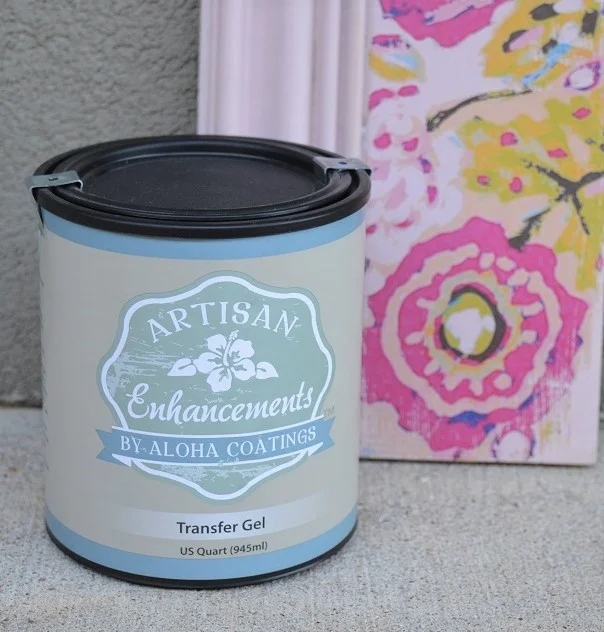
Transfer Gel by Artisan Enhancements®
Transfer Gel is really a 2-in-1 product— it’s a medium for both image transfers AND decoupage. It’s a translucent (dries clear) gel medium that can be used over porous and sealed furniture, walls, decor, and more.
To Use With Image Transfers:
*Image must first be either commercially and/or laser printed to size and orientation (you may need to mirror/ flip the image so that it will print ‘backward’ but then transfer in the correct direction), and thicker papers work best (26-28 lb).
*Do not attempt to ink-jet print your image prior to transfer, as the inks will not transfer properly.
Stir Transfer Gel thoroughly. Test a small area of the surface you are working over with the Transfer Gel- apply a small amount and see if the Gel sticks. If so you can proceed! However if the Gel separates, splits, or slides off the surface, you’ll need to seal that surface with Clear Topcoat Sealer or a paint prior to transfer.
Using a not-so-high-quality brush, apply a thin but liberal coat of Transfer Gel to the face of the image (ink side up) with full coverage. Then lay the print with the ink side down onto the surface it’ll transfer to. Use a sturdy but flexible tool (like the Color Shaper) to smooth out the print, any bubbles and creases, and to adhere the image firmly.
Once completely smoothed all over, apply another thin but liberal coat of Gel over the backside of the image (plain paper) and let it unify. Let dry a minimum of 24 hours after application to allow for the most crisp and clear image.
Once fully dried, begin to remove the excess paper backing. Spritz (don’t drench) the paper surface with water and begin to massage it with hands or a sponge until it’s been peeled and rolled away (spritzing gently as you go if needed).
Be careful not to overwork the surface as you peel the excess paper backing away— the image transfer is actually sitting in the Transfer Gel between the original surface and that excess paper backing. However if you do end up removing a little bit of the image transfer in the process of removing excess, you can distress the transfer to make it look aged and faded!
Allow to dry fully, then topcoat with your favorite Topcoat.
*If a ‘halo’ appears around the image transfer, especially on darker painted pieces, you can absolutely fix it. To lessen the appearance or hide this, you can: lightly sand the edges with a very fine grit of sandpaper (320-400), or touch up with paint. Lighter paint colors tend to not show halos around image transfers as much.
To Use as Decoupage Medium & Varnish:
*Can be used to decoupage a variety of cutouts ranging from thin napkins to magazine prints, though paper thickness may vary in success.
Make sure images are cut out exactly as you want them to appear on the surface they’ll be applied to.
Using a not-so-high-quality brush, apply a thin but liberal coat of Transfer Gel to the back of the cutout— you’ll essentially be gluing it down.
Adhere on one corner and slowly lay the image down, using a firm but flexible tool (like the Color Shaper) to work out bubbles and creases as you go.
Then apply another thin but liberal coat of Transfer Gel over the image with even coverage, using your tool to further smooth the cutout and any excess Gel.
Transfer Gel can act alone as a sealer with a satin sheen, however depending on use of the surface, you may want to seal over top with Clear Topcoat Sealer after 24 hours has passed for waterproofing or if you intend to wax over top.
*Use rubbing alcohol to remove any goopiness from hands and tools! Wash away any alcohol residue with fresh water before storing tools away again.
**Do not use in an environment with extreme temperatures— air and surface temperature must be 50 degress F or above for product to behave correctly. Do not allow product to freeze or be exposed to direct heat.
*View our Shipping Policies here.


