How to Stencil Properly
Stenciling 101 with Chalk Paint® by Annie Sloan.
Now you have probably used a stencil at least once in your life and are very familiar with how a stencil works. But what if I told you that using stencils on furniture, floors, and walls had a slightly different technique to it? It does, and is very easy to follow.
One of the main concerns with stenciling on furniture and interior spaces is 'bleeding'- that pesky act of paint seeping underneath the stencil lines and creating the opposite of clearly defined shapes. This can be a big bummer once you lift a stencil up. But I'll teach you how to escape this! The key to cutting bleedthrough under the stencil and to making your stenciled image not look harsh is to use less paint.
You'll Need:
- a stencil brush
- stencil of choice (preferably cut out of Mylar or another durable, thin plastic)
- a sprayable tacky adhesive
- paint
- paper towel
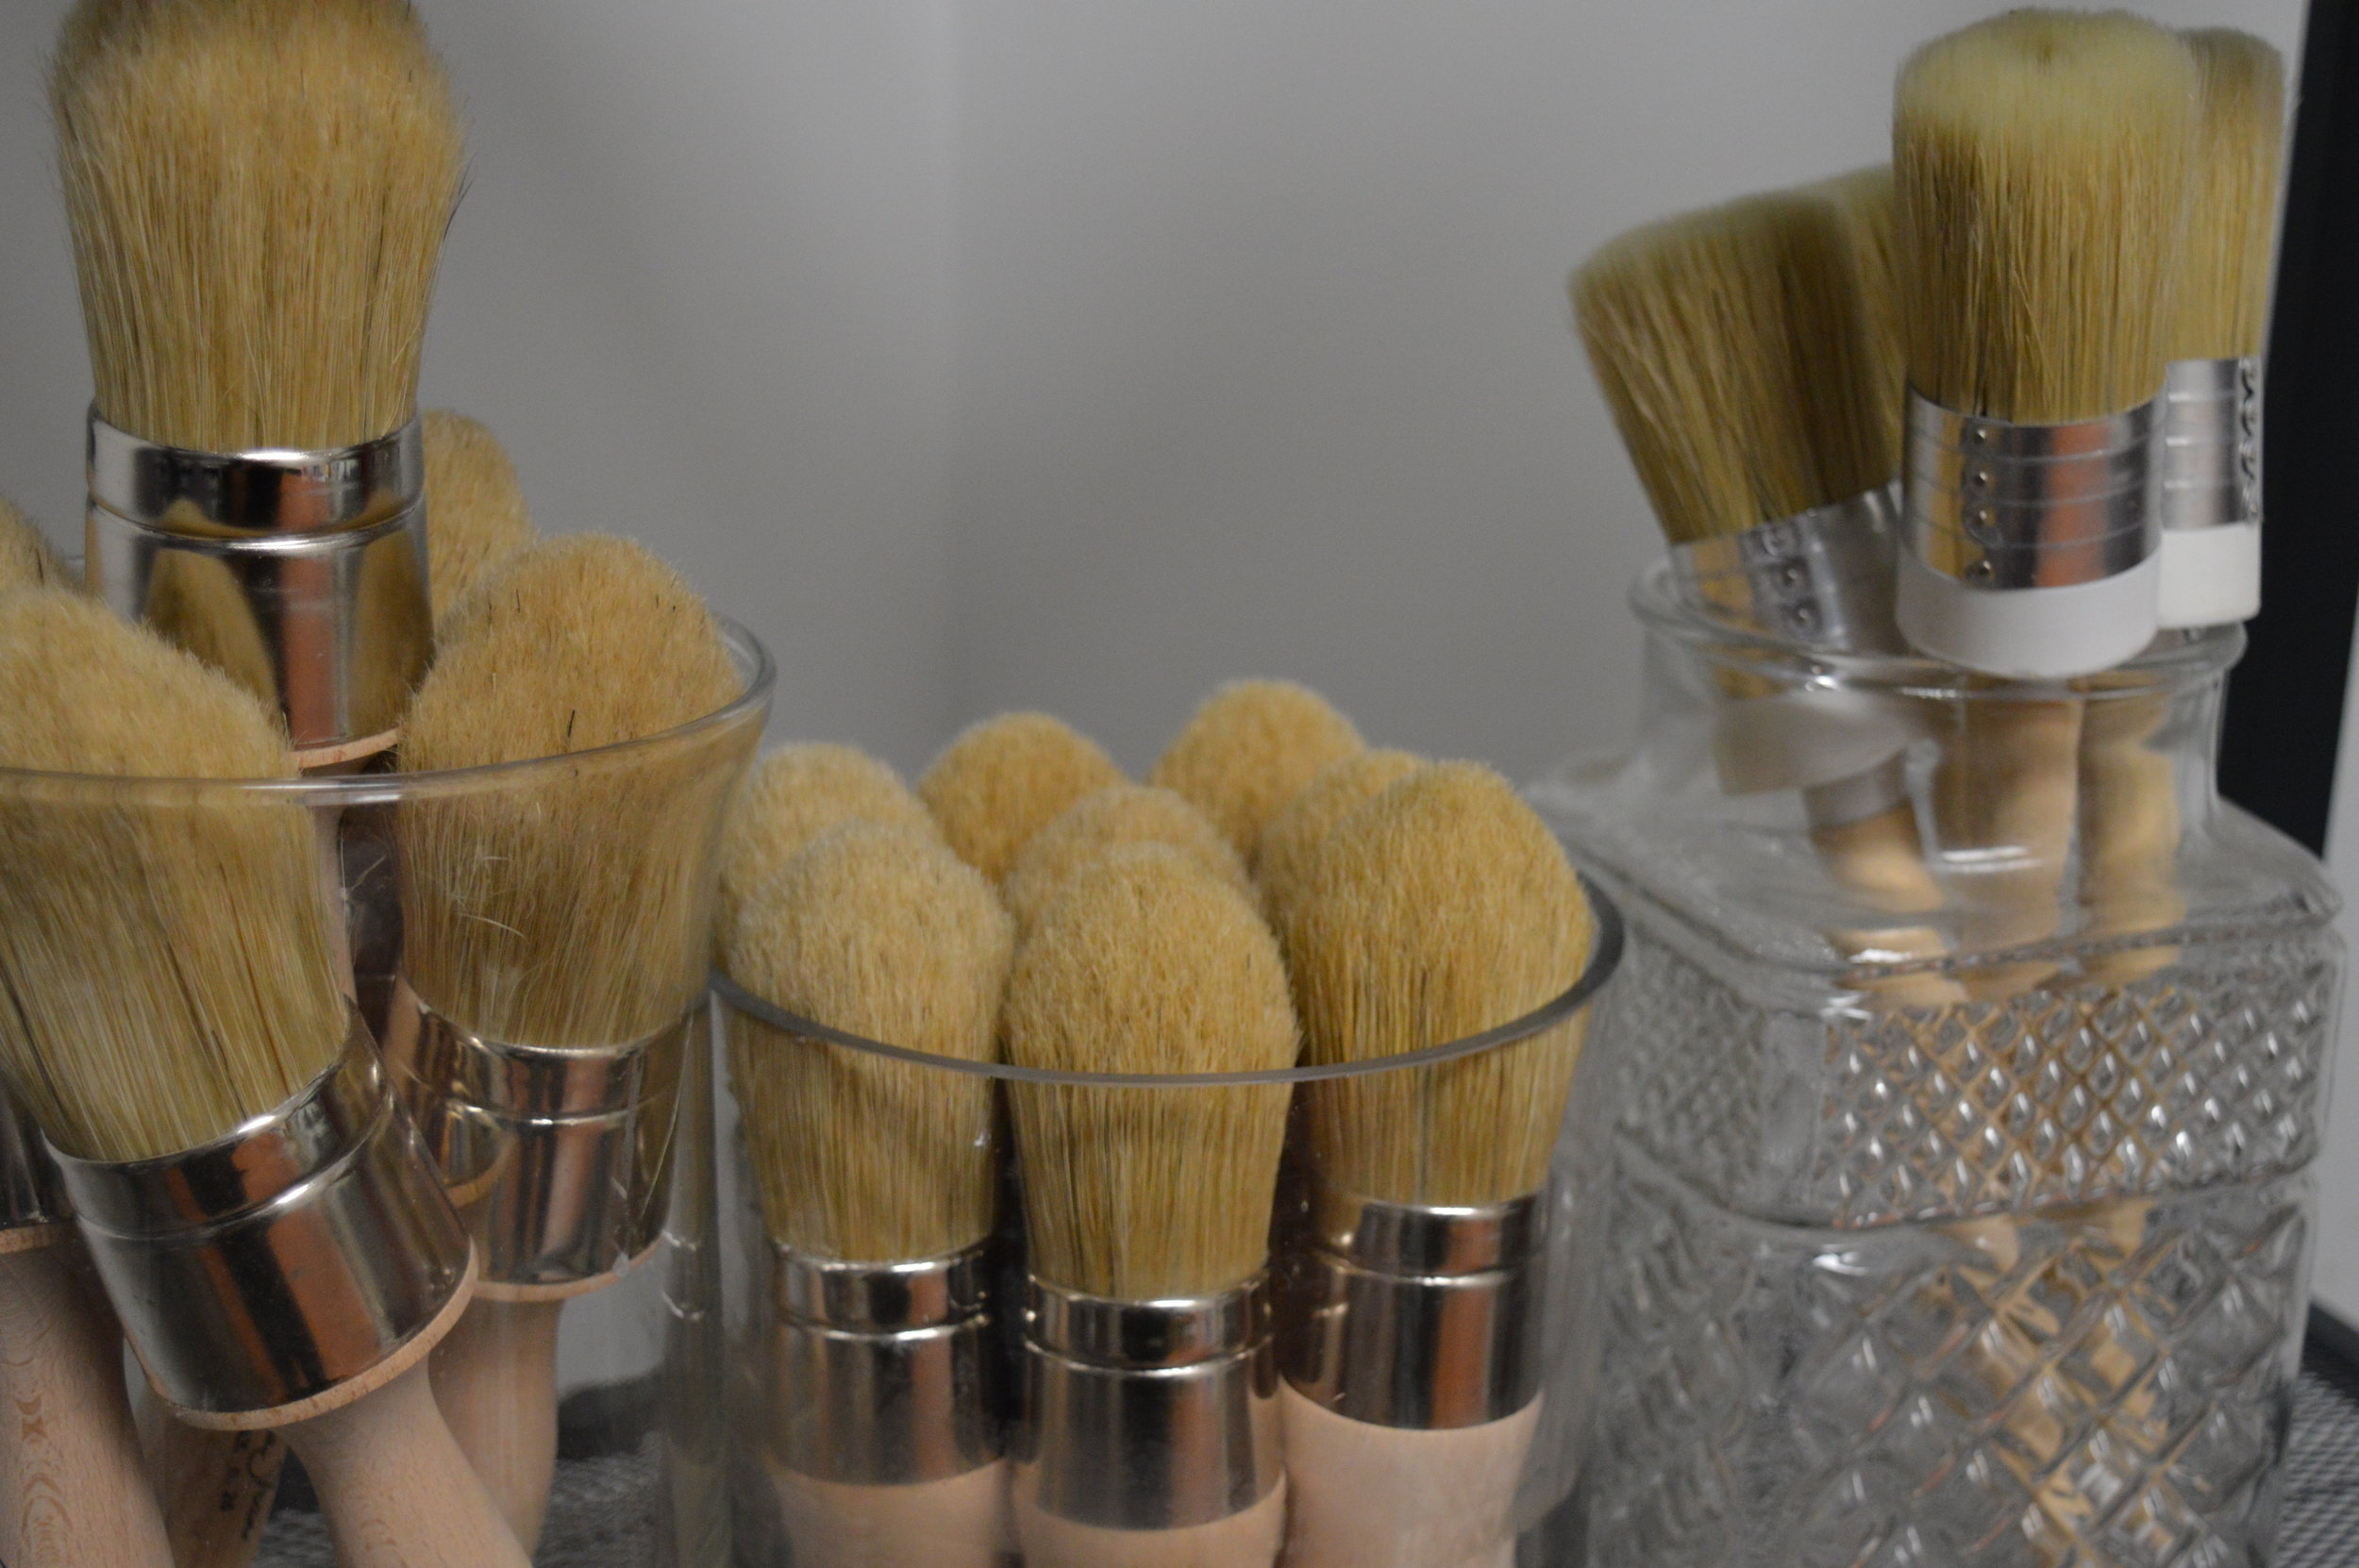
Stencil brushes, as you can see, come in different sizes. However they should always have a dense bunch of bristles that come to a flat, even surface across the top. This will provide even coverage of paint over your stencil.
Now why do we use stencils made of Mylar or similar thin plastic? Because they are durable, easy to clean, and will last years. They are more pricey but they're an investment, well worth it to not have your favorite stencil fall apart after a couple uses. Some of my favorites come from Royal Design Studio.
After you choose your stencil and paint (or paint combinations), spray the tacky adhesive to the back of the stencil. This will keep the stencil in place, super important! Lay the stencil across your flat surface. Dish out a small portion of your paint into a shallow container, you will only be using a tiny bit at a time. Make sure your stencil brush is completely dry, because the 'drybrush' technique is what prevents bleedthrough. Watch my quick video demo of how to properly stipple the paint over the stencil:
- Dip your brush head into the paint so that just the tips carry some paint.
- Offload a bunch into your paper towel by pushing down once or twice into it. This absorbs excess paint and keeps the bristles dry.
- Quickly stipple your paint over a small area of the stencil by rapidly pushing the brush head down flat over the surface.
- Reload paint onto the brush head, offload, and repeat as needed!
- Seal your painted surface with your normal sealant, such as wax, hemp oil, or tung oil.
Pretty simple right? The outcome will look 'powdery.' This is more aesthetically pleasing on furniture since the image is not harshly defined. On floors or walls you may want to apply with a foam roller depending on how much space you need to cover. Whenever using a roller you'll want to wet it a tiny bit so that the paint doesn't completely absorb into the roller (you'll use more paint). Check out our most recent project- to stencil a simple central image onto this set of bamboo serving trays. This is an example of how a stencil can transform and add depth to your home!
*As a closing note, most stencils have a repeat-pattern. This means there are special marks on the Mylar that guide you to overlap your stencil onto the image you just painted that help to keep your pattern straight, accurate, and able to repeat for however large a space you want your stencil to cover.
Happy Stenciling!
