Before & After: 'Persimmon' + Greek Blue Cabinet
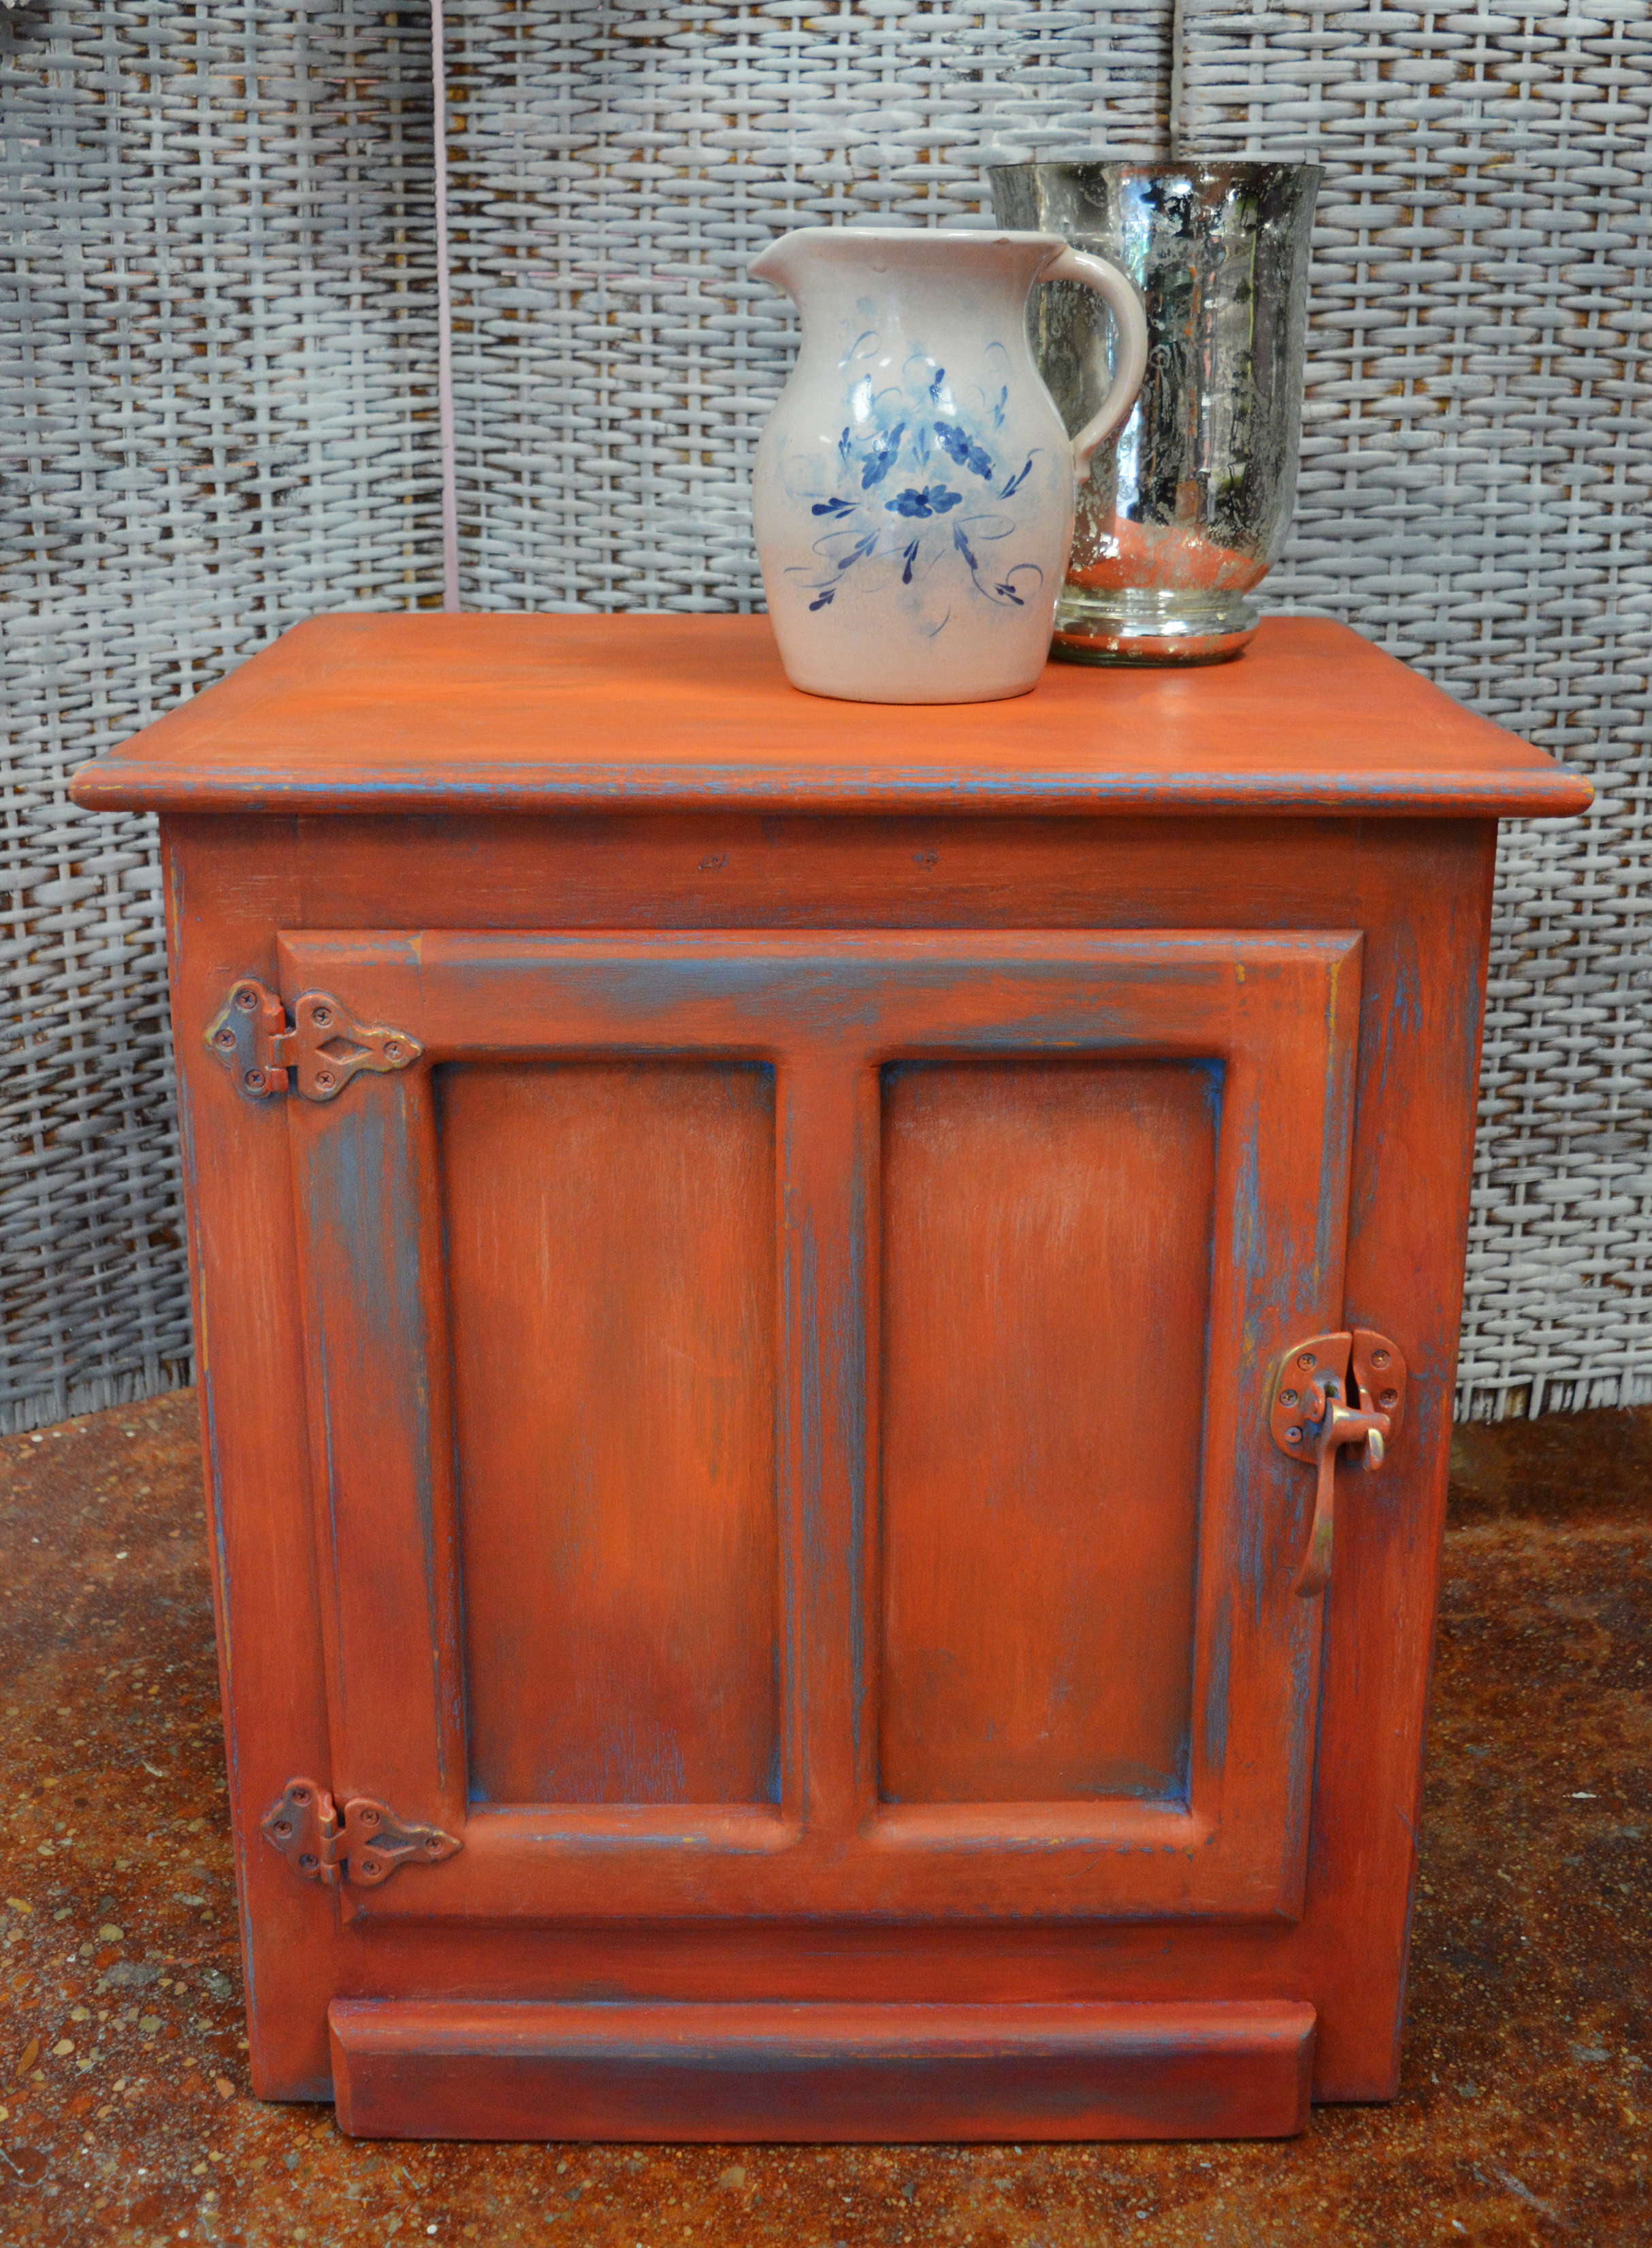
A pop of color is just what this little cabinet needed...
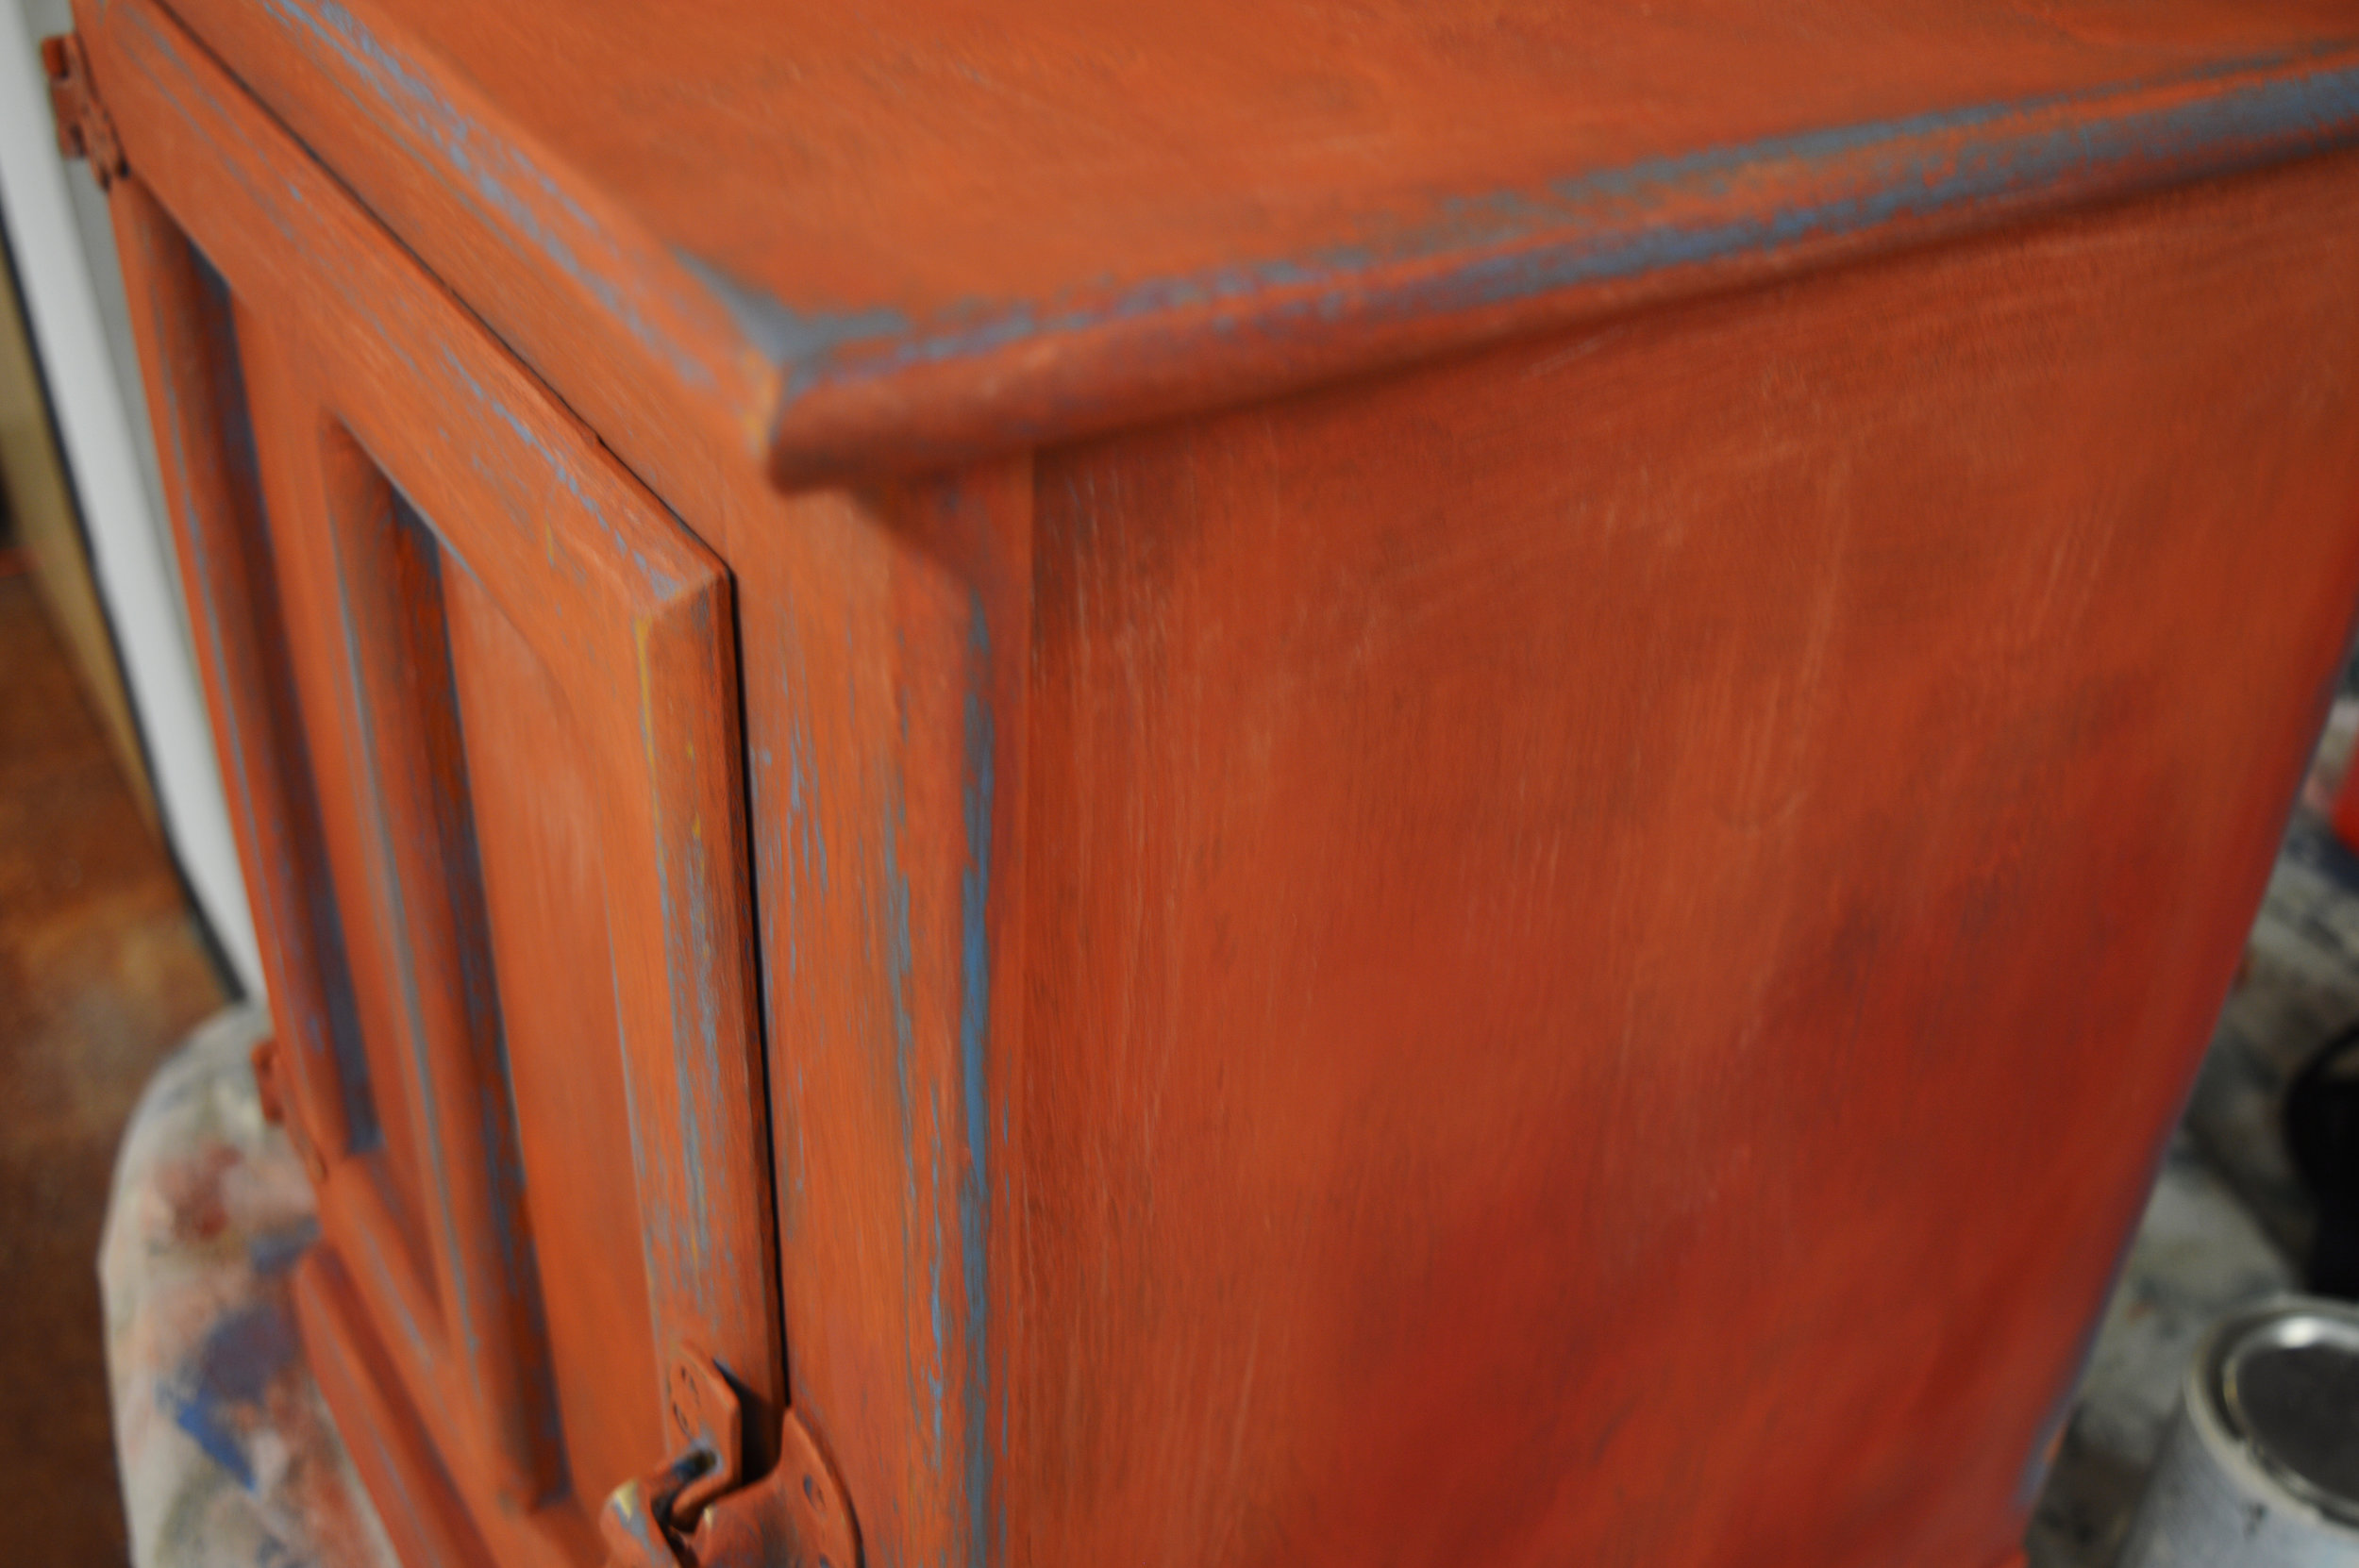
For us furniture and interior painters, we know that projects often go in 'inspiration stages,' during which choosing the color can be the hardest part! We had a little boxy cabinet that was hanging around the studio just waiting to be painted, that we knew should have a pop of color and texture. We were a little stuck... until we remembered a piece that we had been previously been inspired by, by Leslie Stocker. Using Chalk Paint® decorative paint in Greek Blue, Barcelona Orange and Emperor's Silk blended together, and Old White accents, we created a finish that we absolutely LOVE! The idea was to combine opposite colors from the color wheel for a distinct look (such a great design technique for you to explore on future projects).
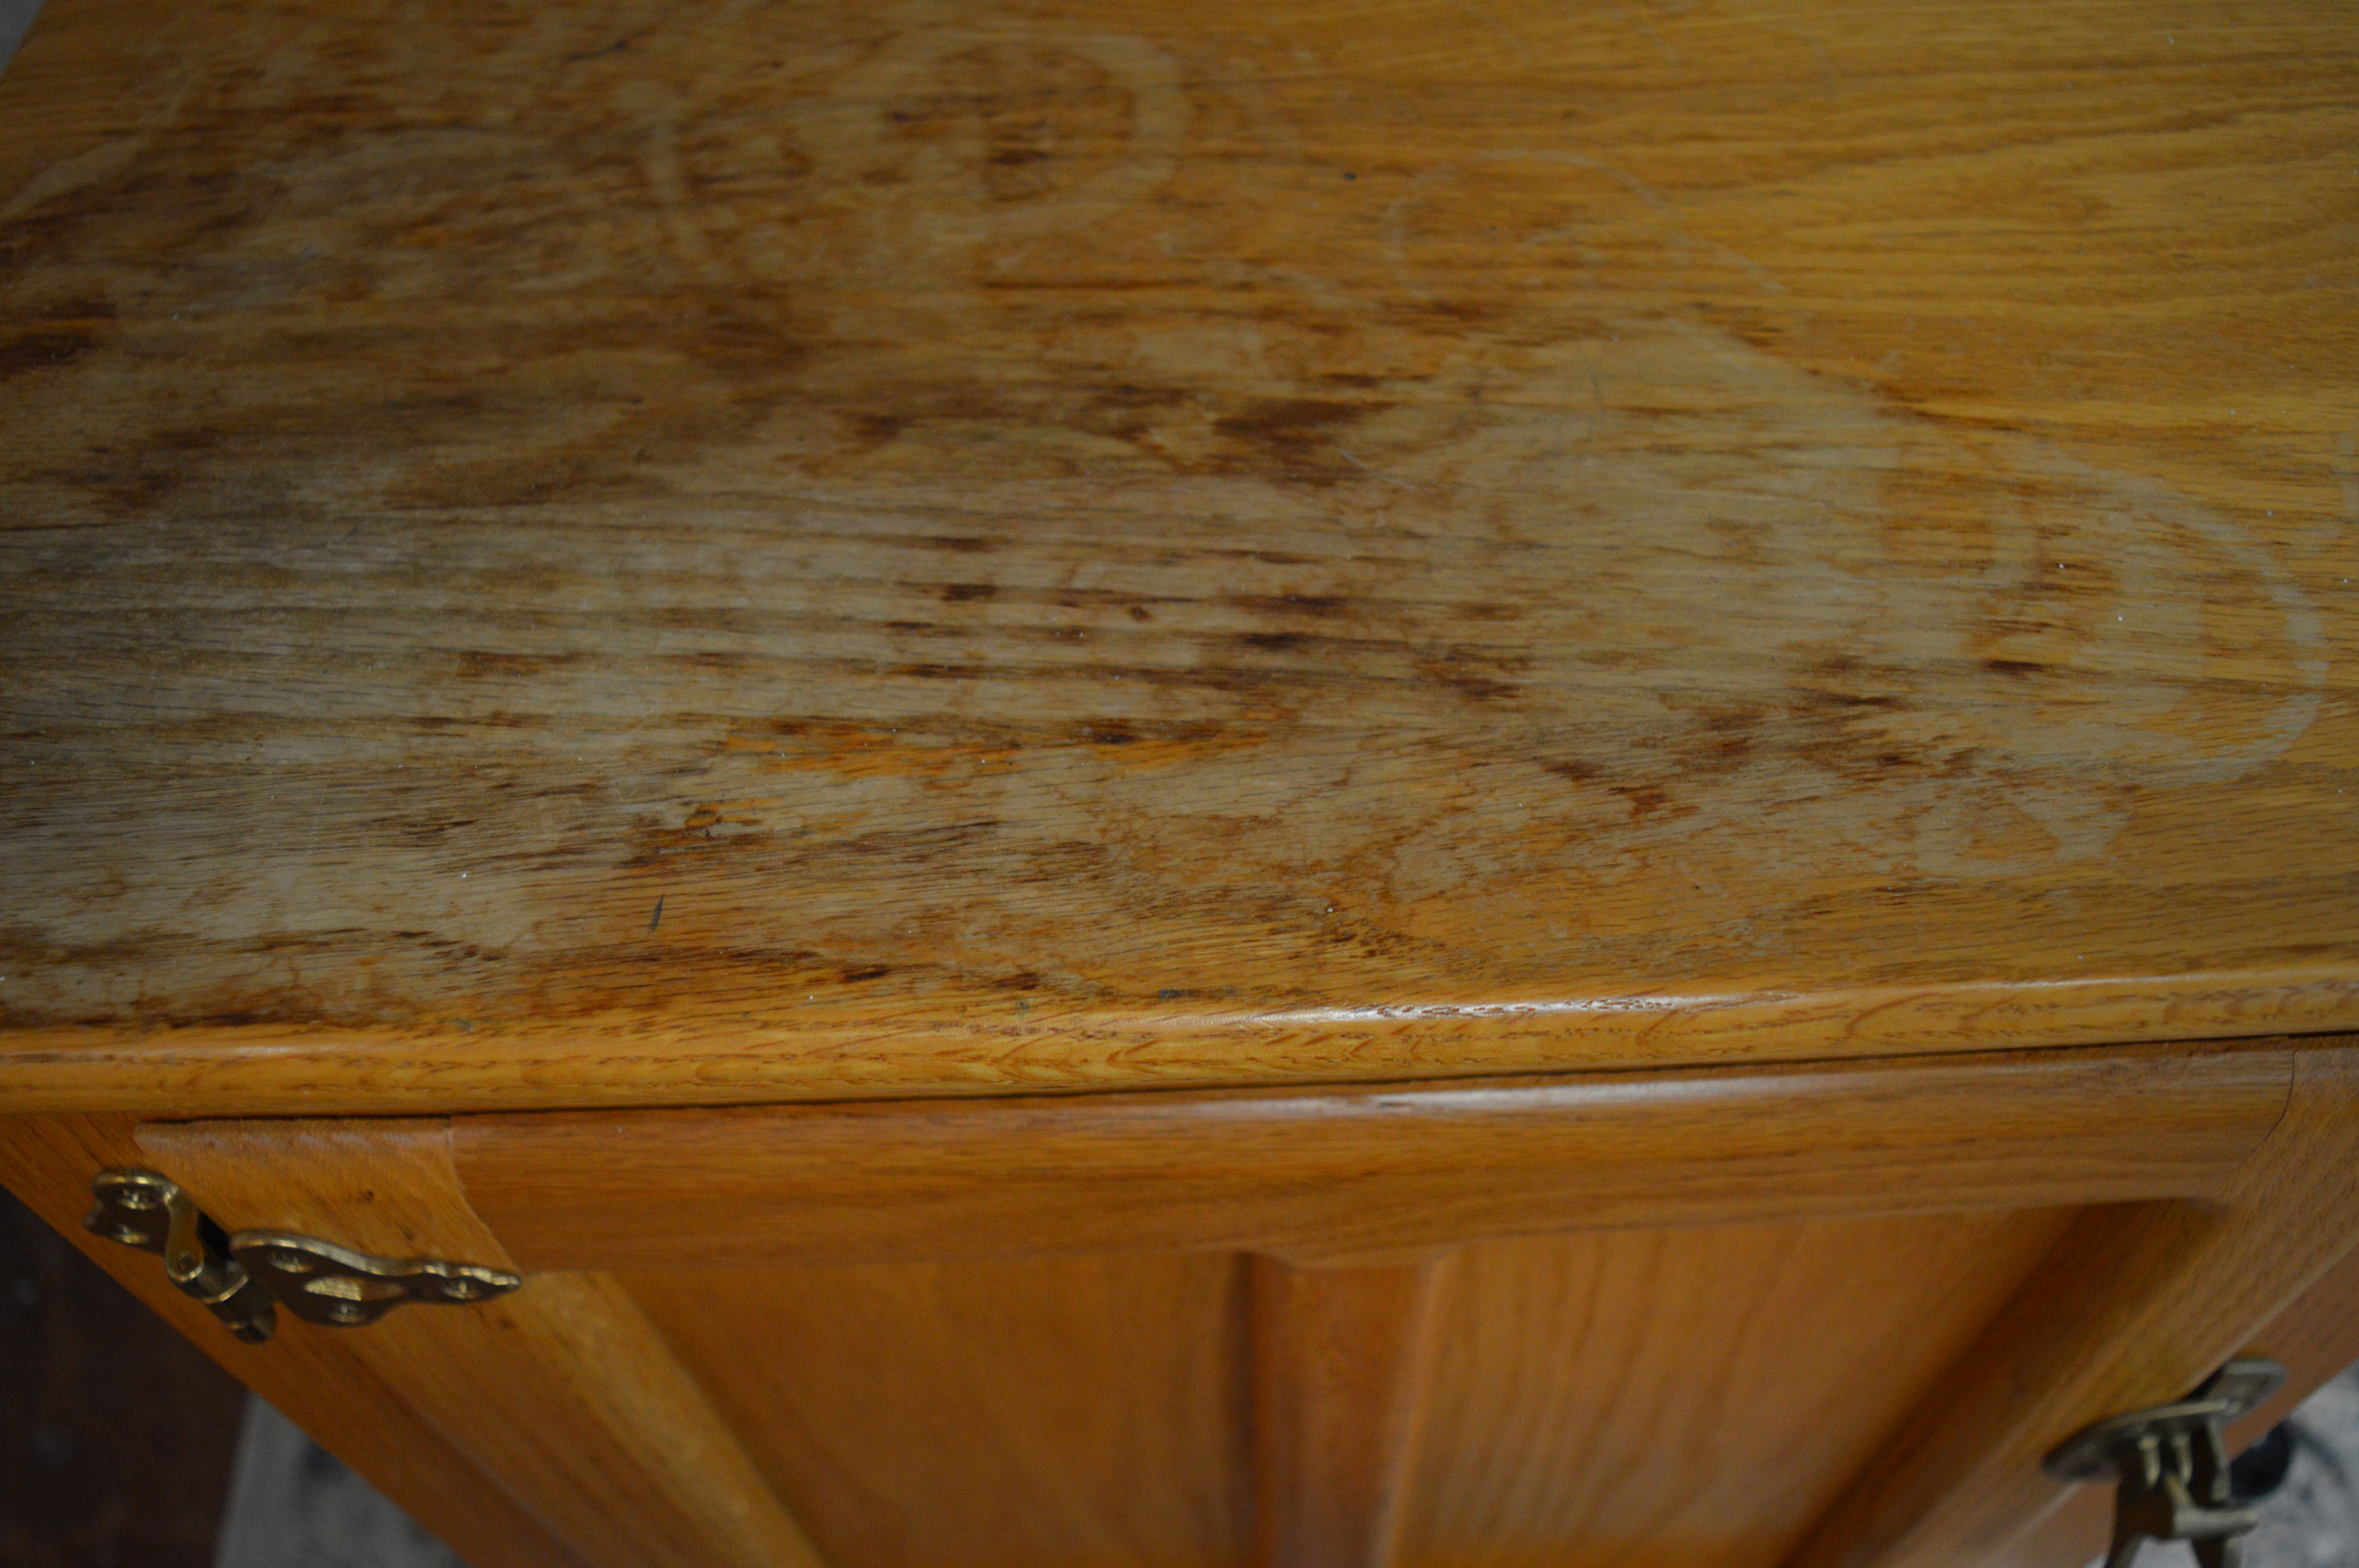
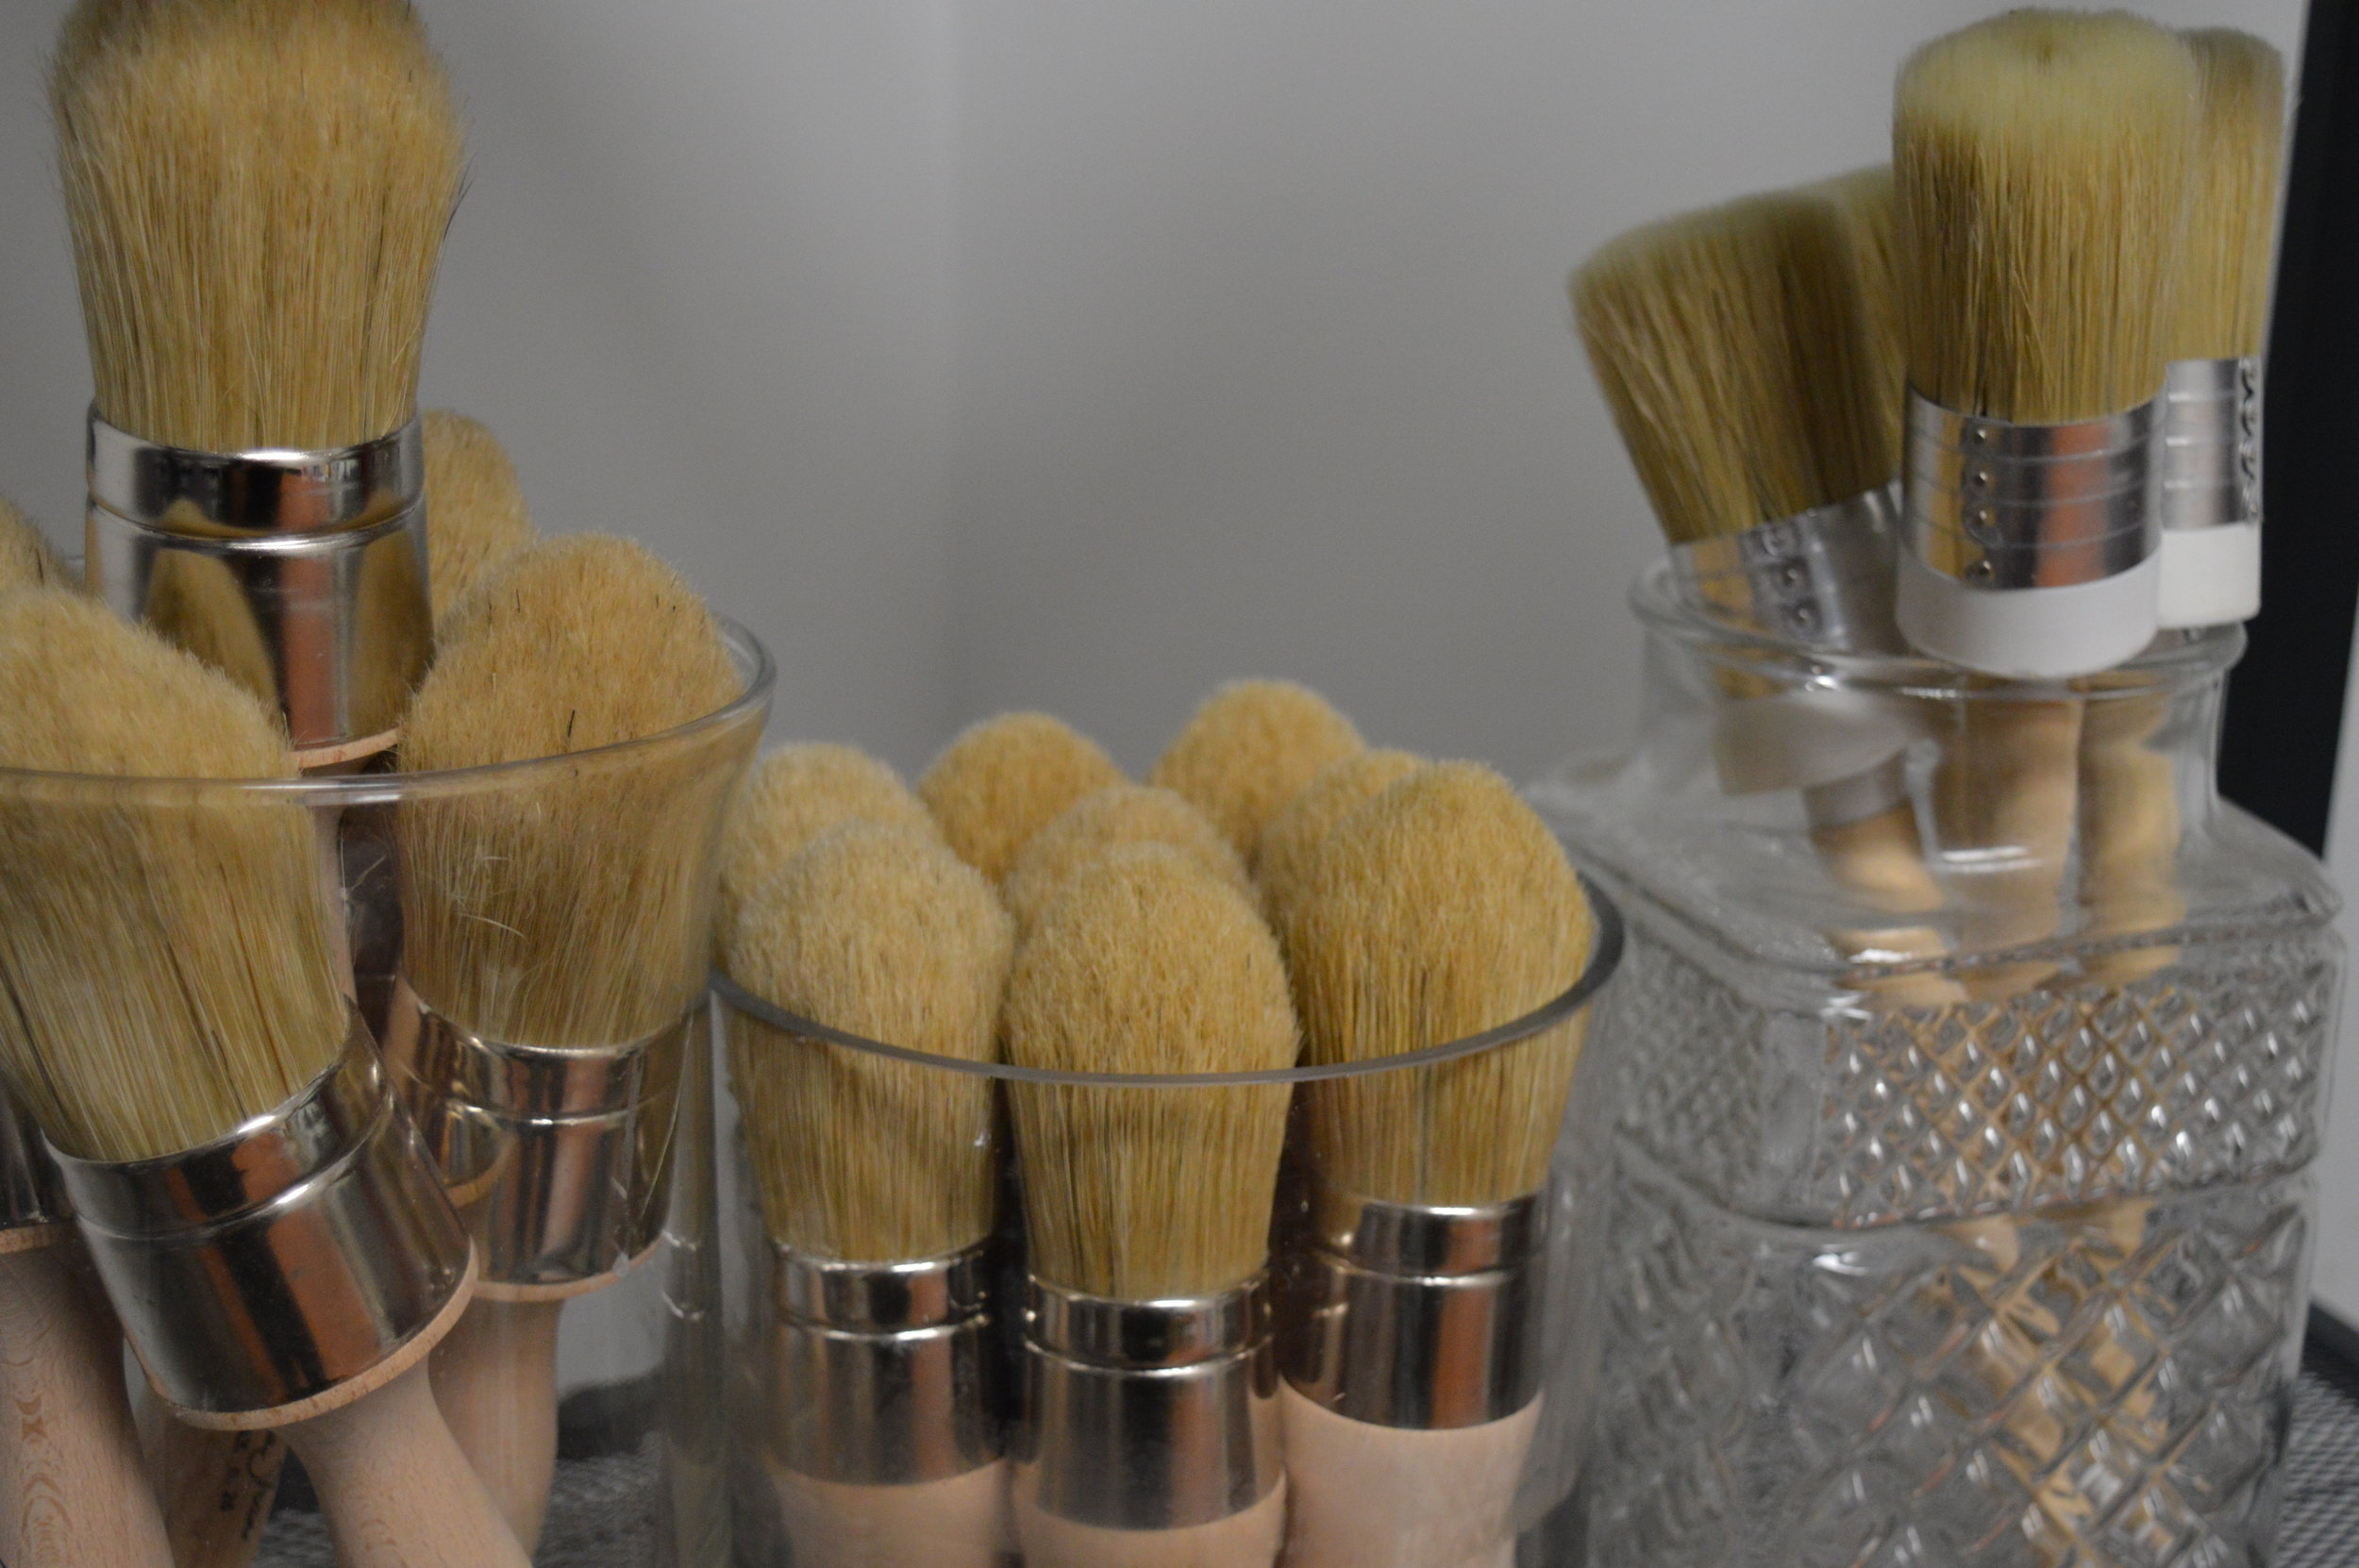
As usual, we cleaned the piece down first. Then we base-coated with Greek Blue, applying it thickly and essentially glopping it on for texture with our medium no. 12 Natural Round Brush. This brush helps create anything from barely-there texture to thick hills and valleys! We also waited for some paint to dry for 10-15 minutes and then brushed back and forth over it to pull up even more texture, and then let dry. We wanted the texture to hide some of the water damage to the varnish on the very top.
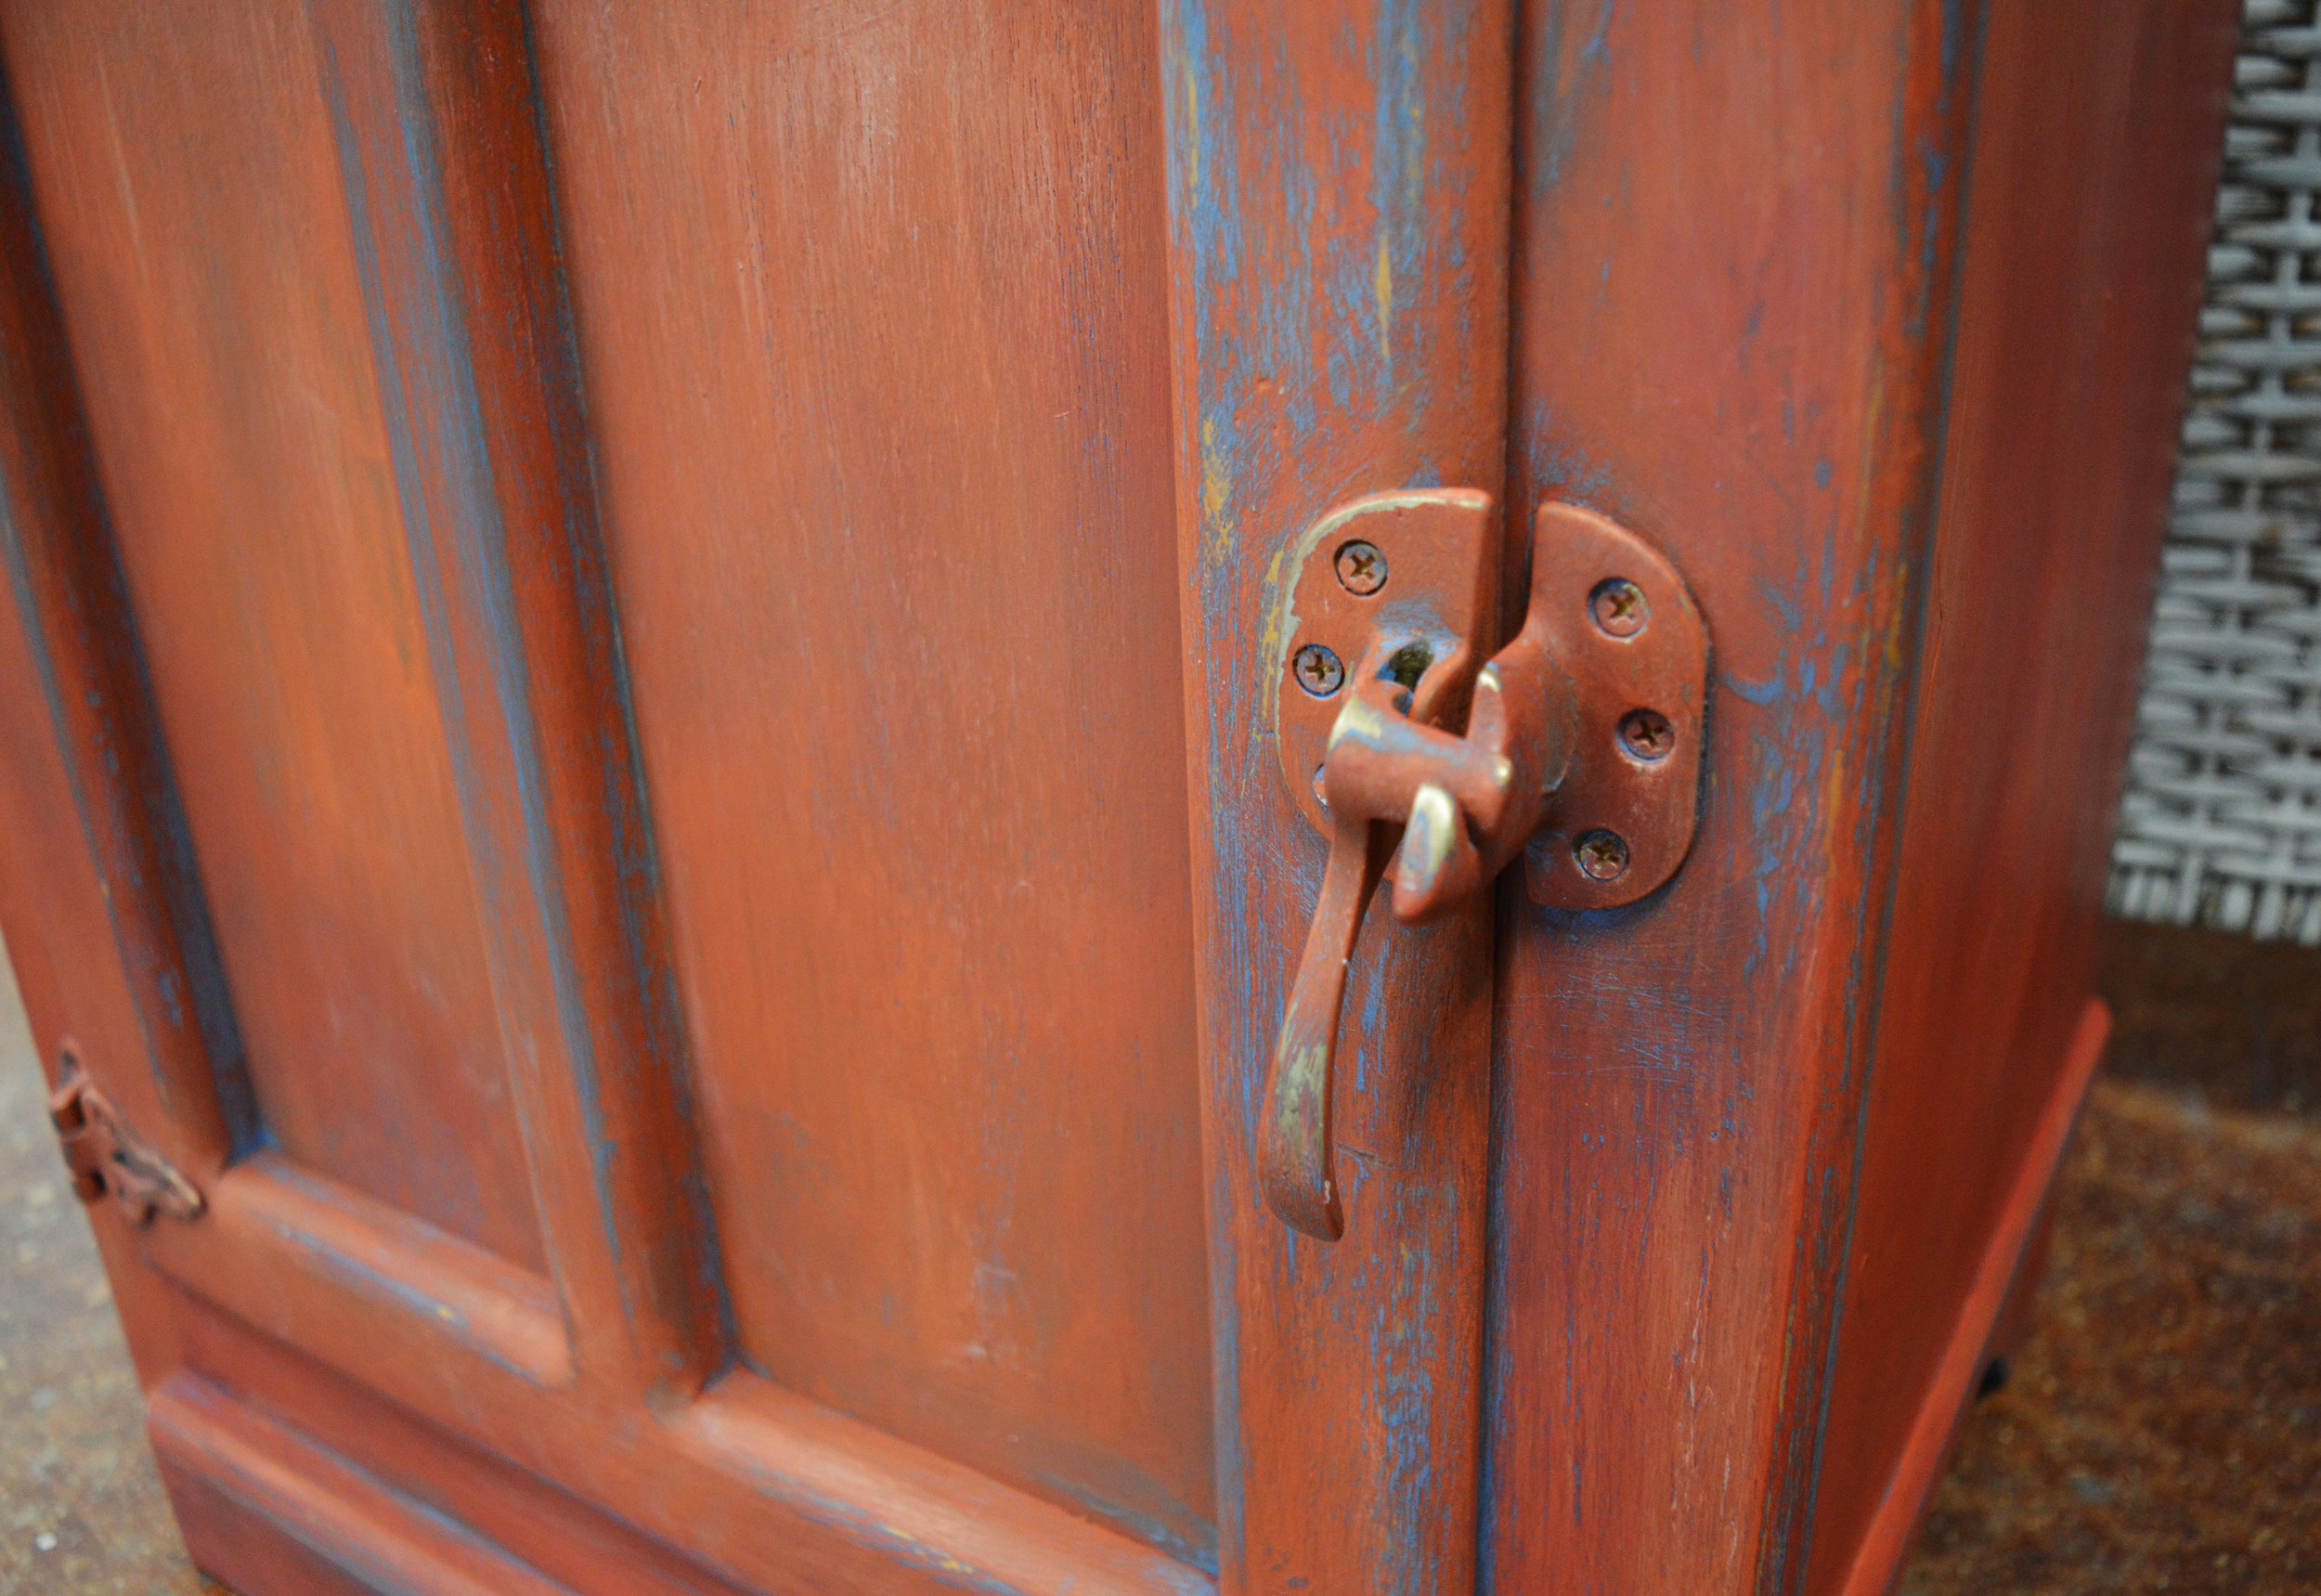
Barcelona Orange and Emperor's Silk were applied next simultaneously with two different brushes, blending together on the surface while wet. The more texture and visible layering, the better! We let some of the Greek Blue show through still in corners and strategic spots, and once the 'Persimmon' tone dried, some Old White was dry brushed over raised edges for accents. The goal was a look of an aged color patina. We even painted right over the hardware!
Then the distressing happened in a natural manner on edges and raised areas that might have aged with the piece if it was truly old (see our previous blog on tips for distressing). We went a bit heavier in areas right along the front and near the handle. Both 100-grit sandpaper and dampened edge of scrubbing sponge were used. And then we applied Chalk Paint® Clear Wax to finish.
We're delighted with the results and might replicate them in our own home! For now though this little piece packs a punch, and is at the shop waiting for its new home. Stop by to see it in person!
Transformative Checkout Counter
How we created our checkout counter with Chalk Paint® by Annie Sloan.
I'll start with the end result!
A LOT has happened in our land. We've opened up shop! And you know what the means... the shop is never complete without a central checkout point. We decided to create ours in style. I had seen a photo on Pinterest (go figure) a few months back that inspired this. All I had to do was find a roughed up cabinet and buy some faux metal ceiling tile, and voila.
I had to first start at the top and peel off all the nasty veneer that was cracking. It's not super difficult, but there is a process. To do this at home you just need a damp rag and an iron that can reach a high steam setting. First you place your damp rag over the peeling veneer, then you set the hot iron on top, rotating in sections for about 10-15 seconds each. This top was stubborn so I needed to go around for a second time, but essentially what happens is that the hot moisture loosens the glue and then you can peel off the veneer in strips with a scraper!
Once all the real dirty work was done, I cut my faux tin tile to size and affixed it into the inset areas of the cabinet. I made sure that for the central section, the designs matched from top to bottom.
I added some Antibes Chalk Paint® over select areas. This will make sense later by imitating a metallic patina.
Super hot-mess status! I added some Barcelona Orange in select areas as well, to mimic rust. But, every project has a moment like this where it looks really scary and feels like you messed it up. Not to worry, like I said, carry on because it will all make sense later.
Looking a little bit more put together. A layer of Graphite helped complete the look.
Now for the icing layer! I distressed with corse steel wool and sandpaper to bring up the under tones.
I applied clear wax over the whole cabinet first, mainly to prevent the top surface from being vulnerable. After all, it will get lots of traffic! Then I took some dark wax to the high and low tile areas to further patina the surface.
And there you have it! I did it over two days, to let the paint fully dry over the faux tin tile. Since that part was plastic, it was a bit slick to paint over (same goes with metal or glass). But if you let the paint fully dry between coats it'll stick just fine!
Come check it out in person at our studio at 2700 W. Anderson Ln, Suite 228, Austin!


